‹ Back to Works返回作品
Vector 18Vector 18
Concept Proposal概念提案
CMF DevelopmentCMF 開發
IMRIMR 製程
Texture Validation咬花驗證
Laptop · MSI筆電 · MSI
Mass Production 20252025 量產
A step down in price, not in finish. Built on Raider 18's tooling with only four new parts, for a big cut in cost and a workstation identity of its own.價格降一階,質感不降。 沿用 Raider 18 的模具,
只新增四個件,C 件從噴漆改成 IMR,並做出屬於工作站的外觀。
The Brief設計命題
Same tooling,
a new series同一套模具,
另一個系列
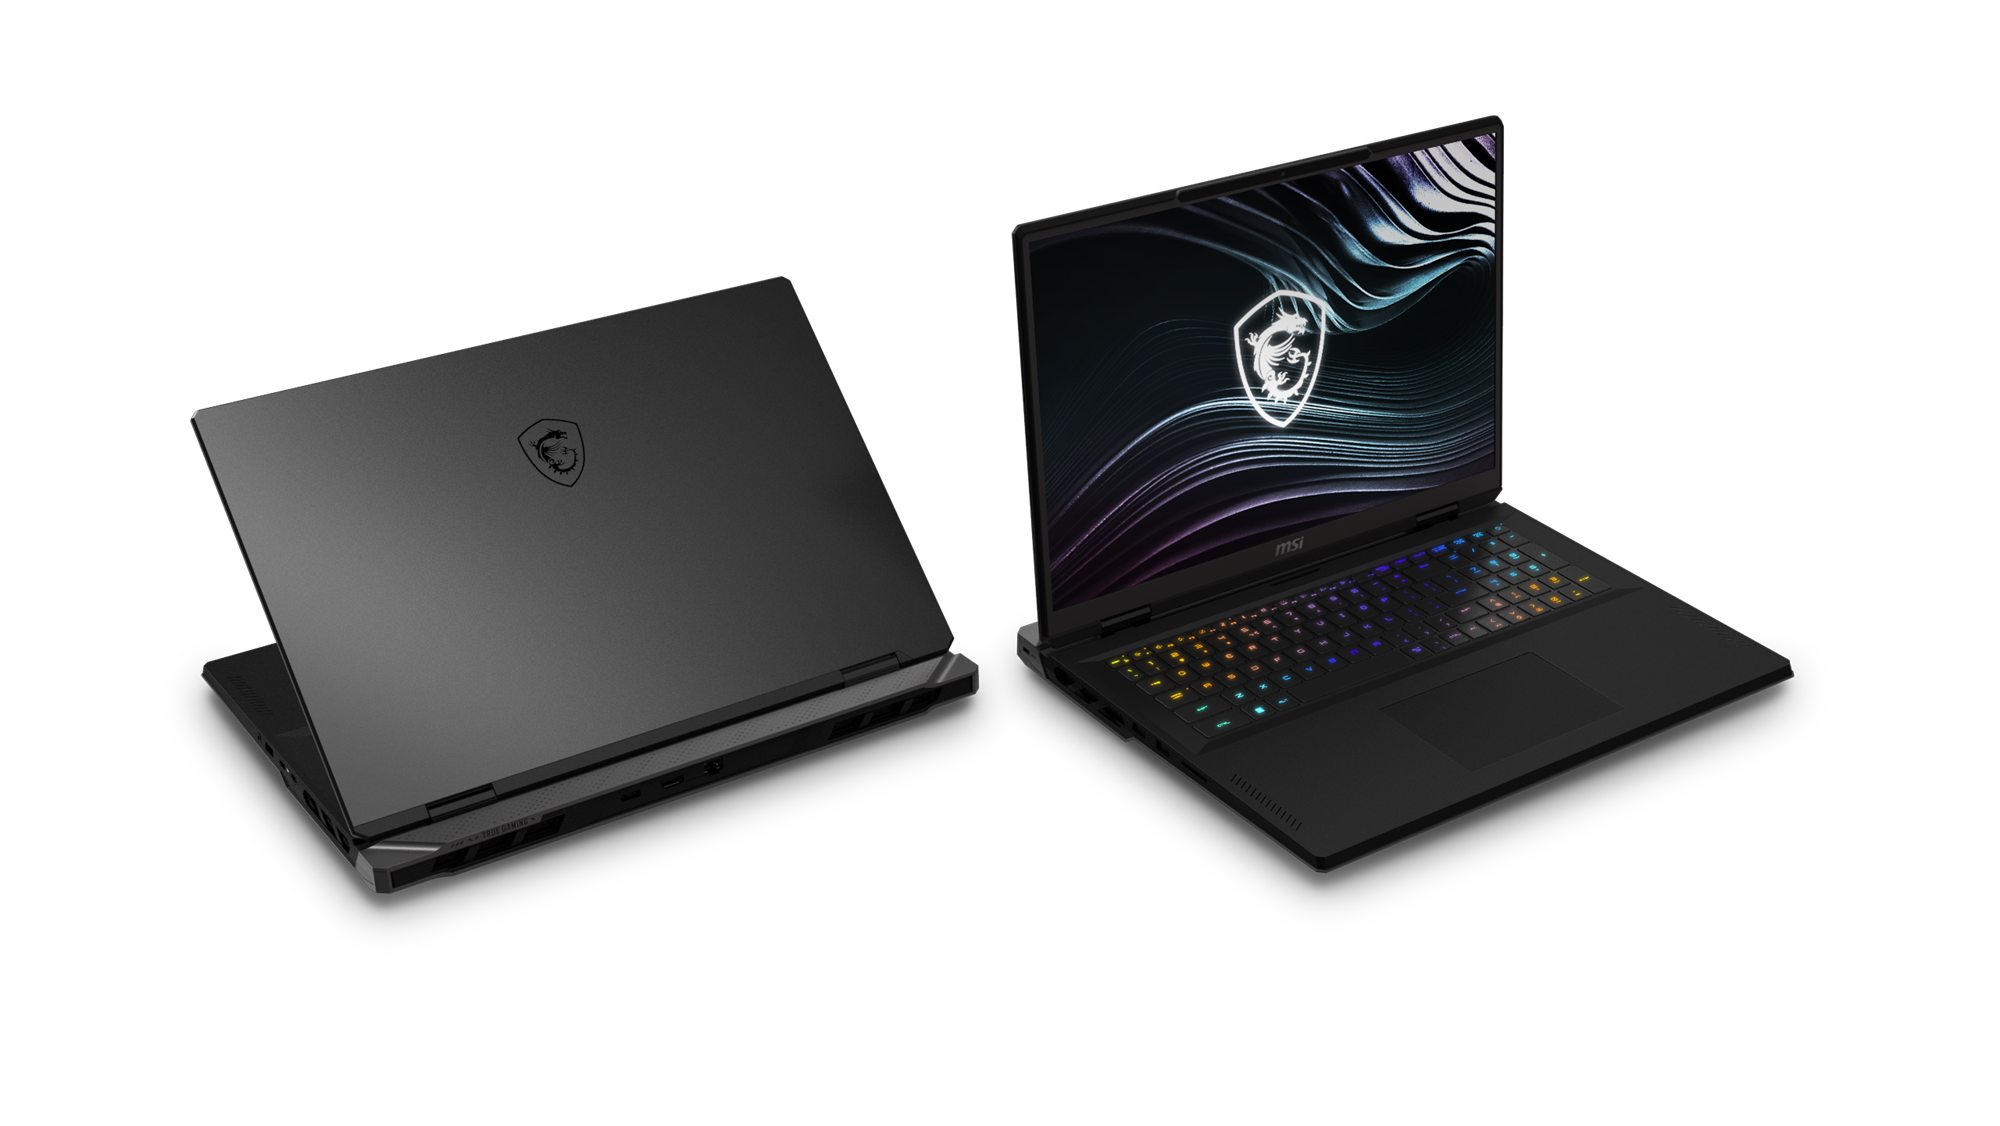
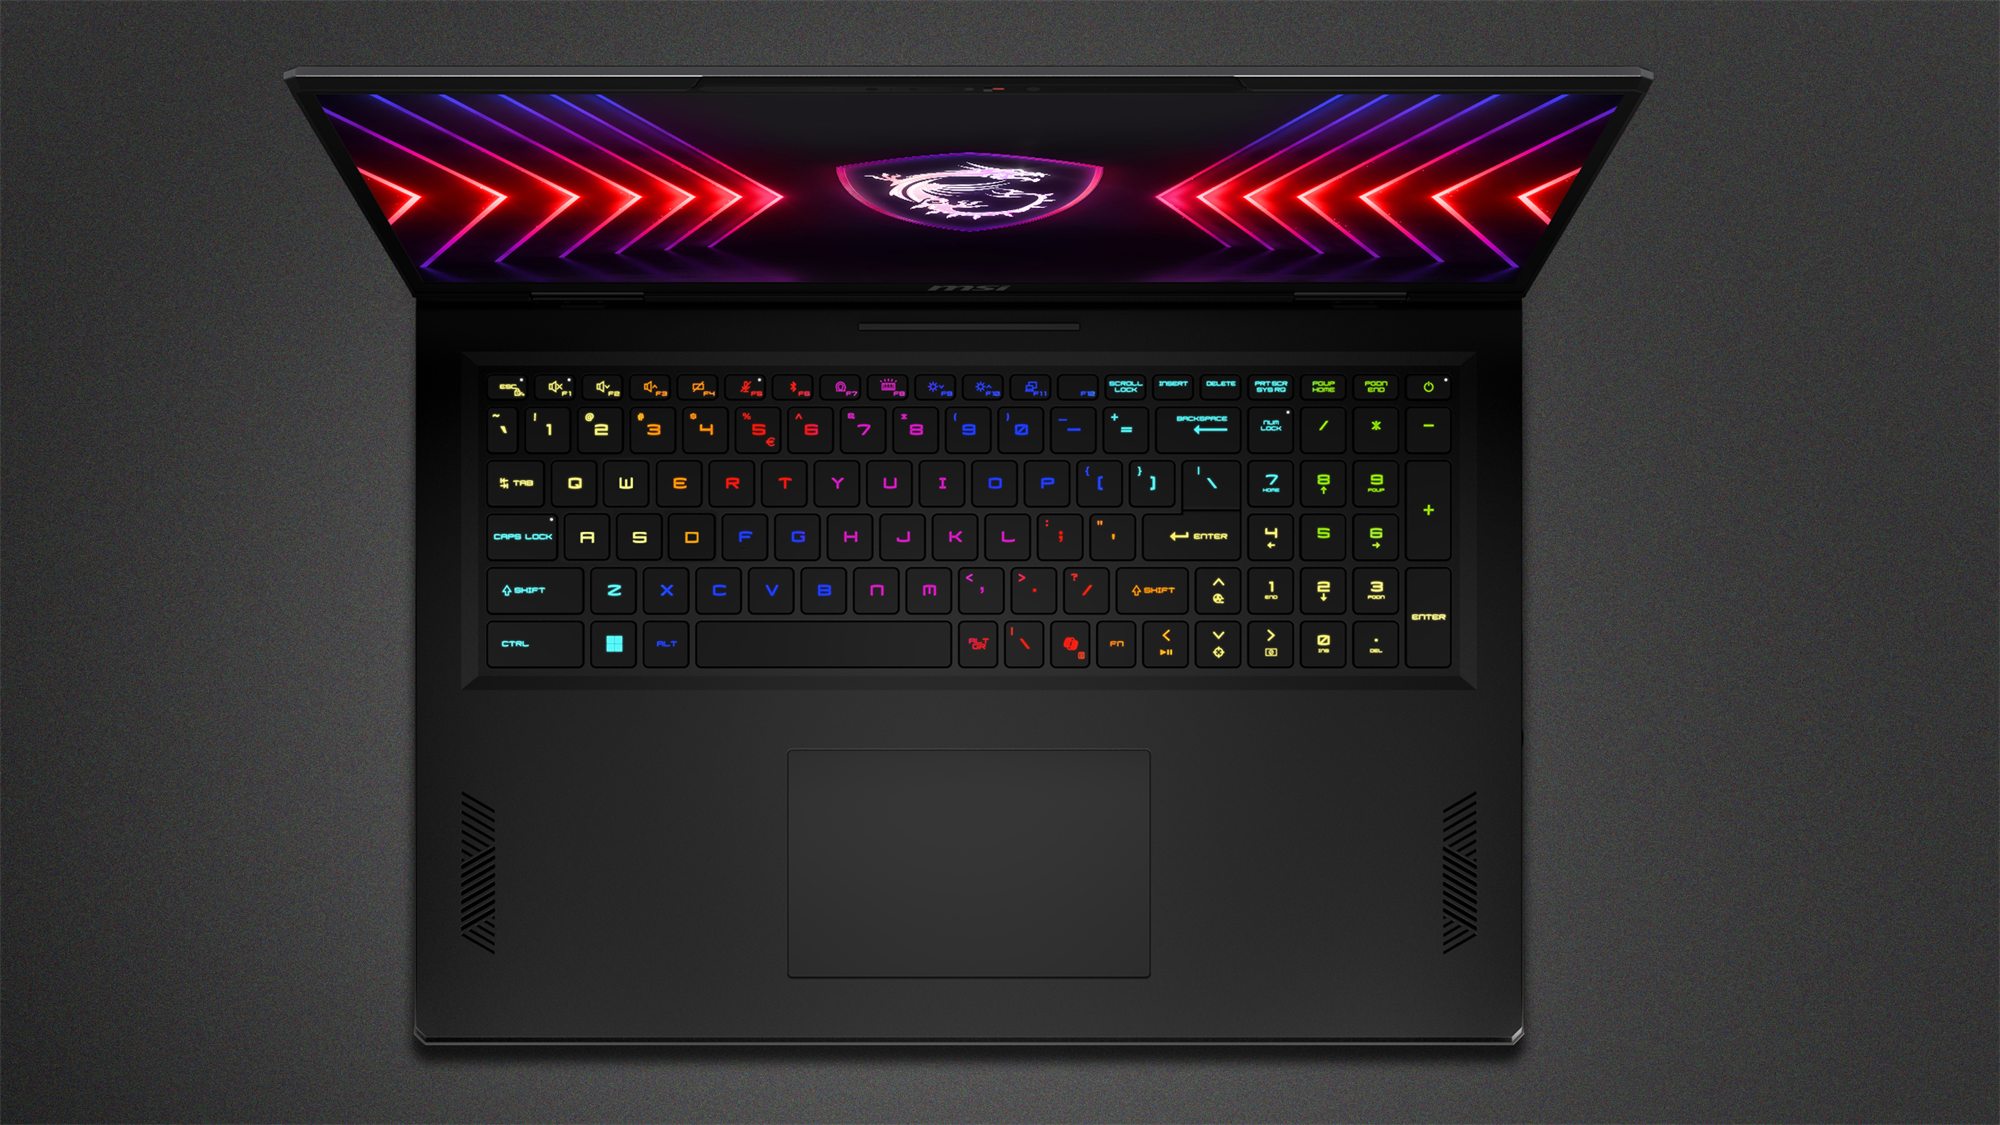
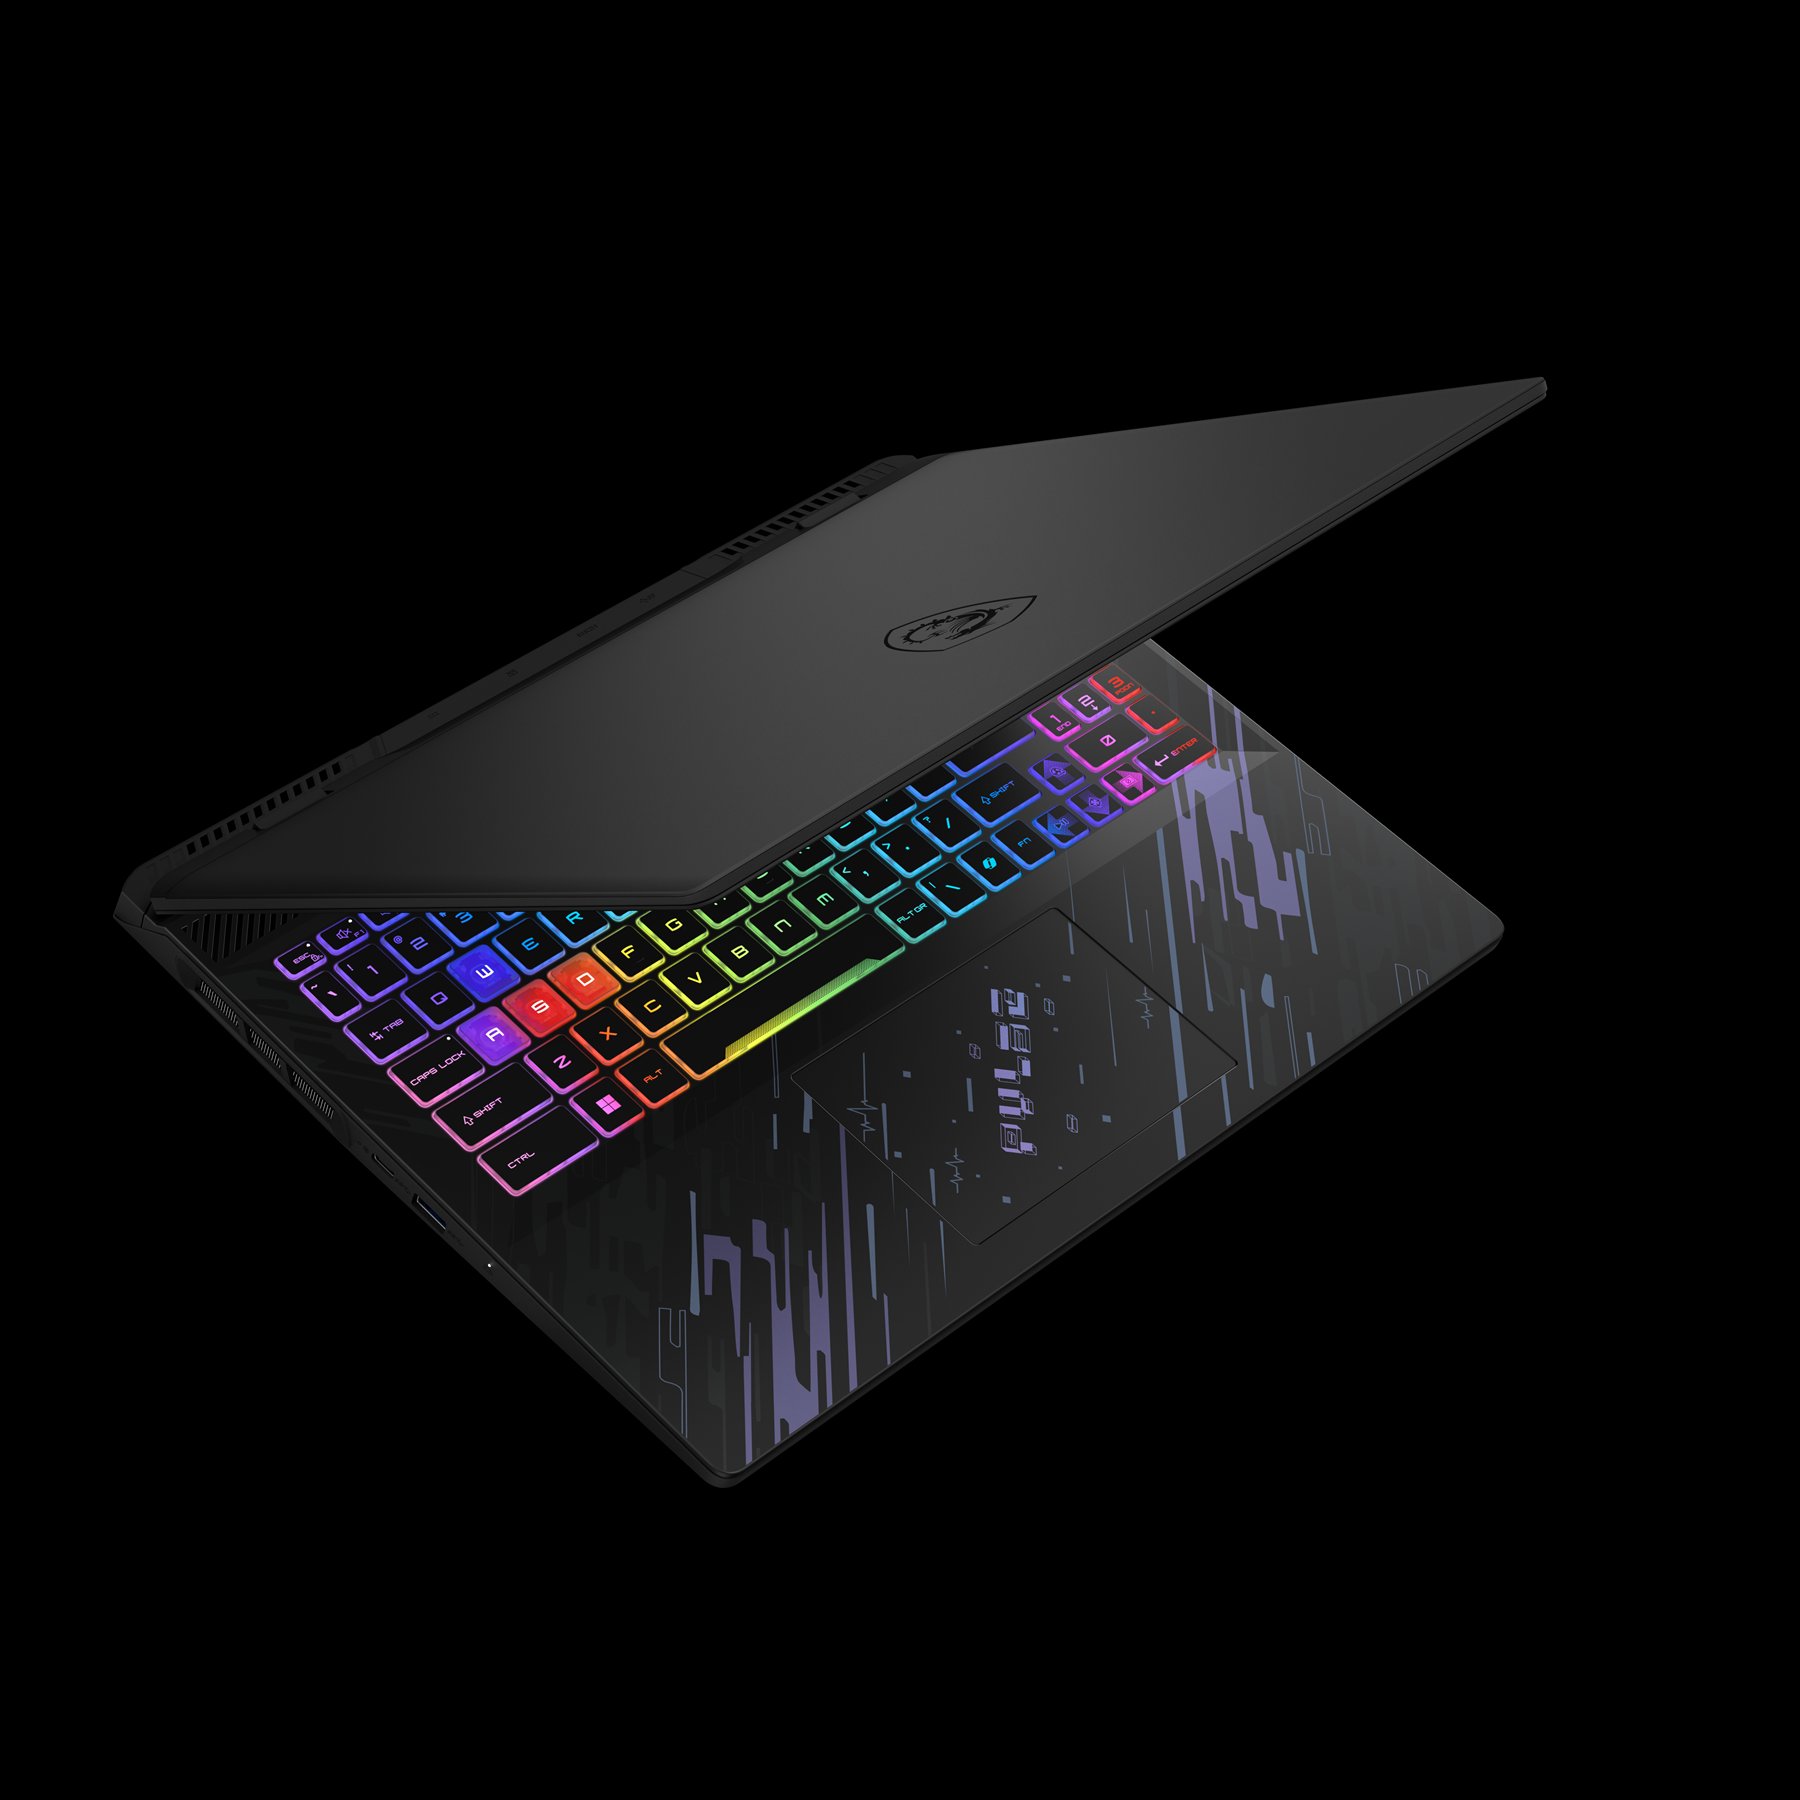
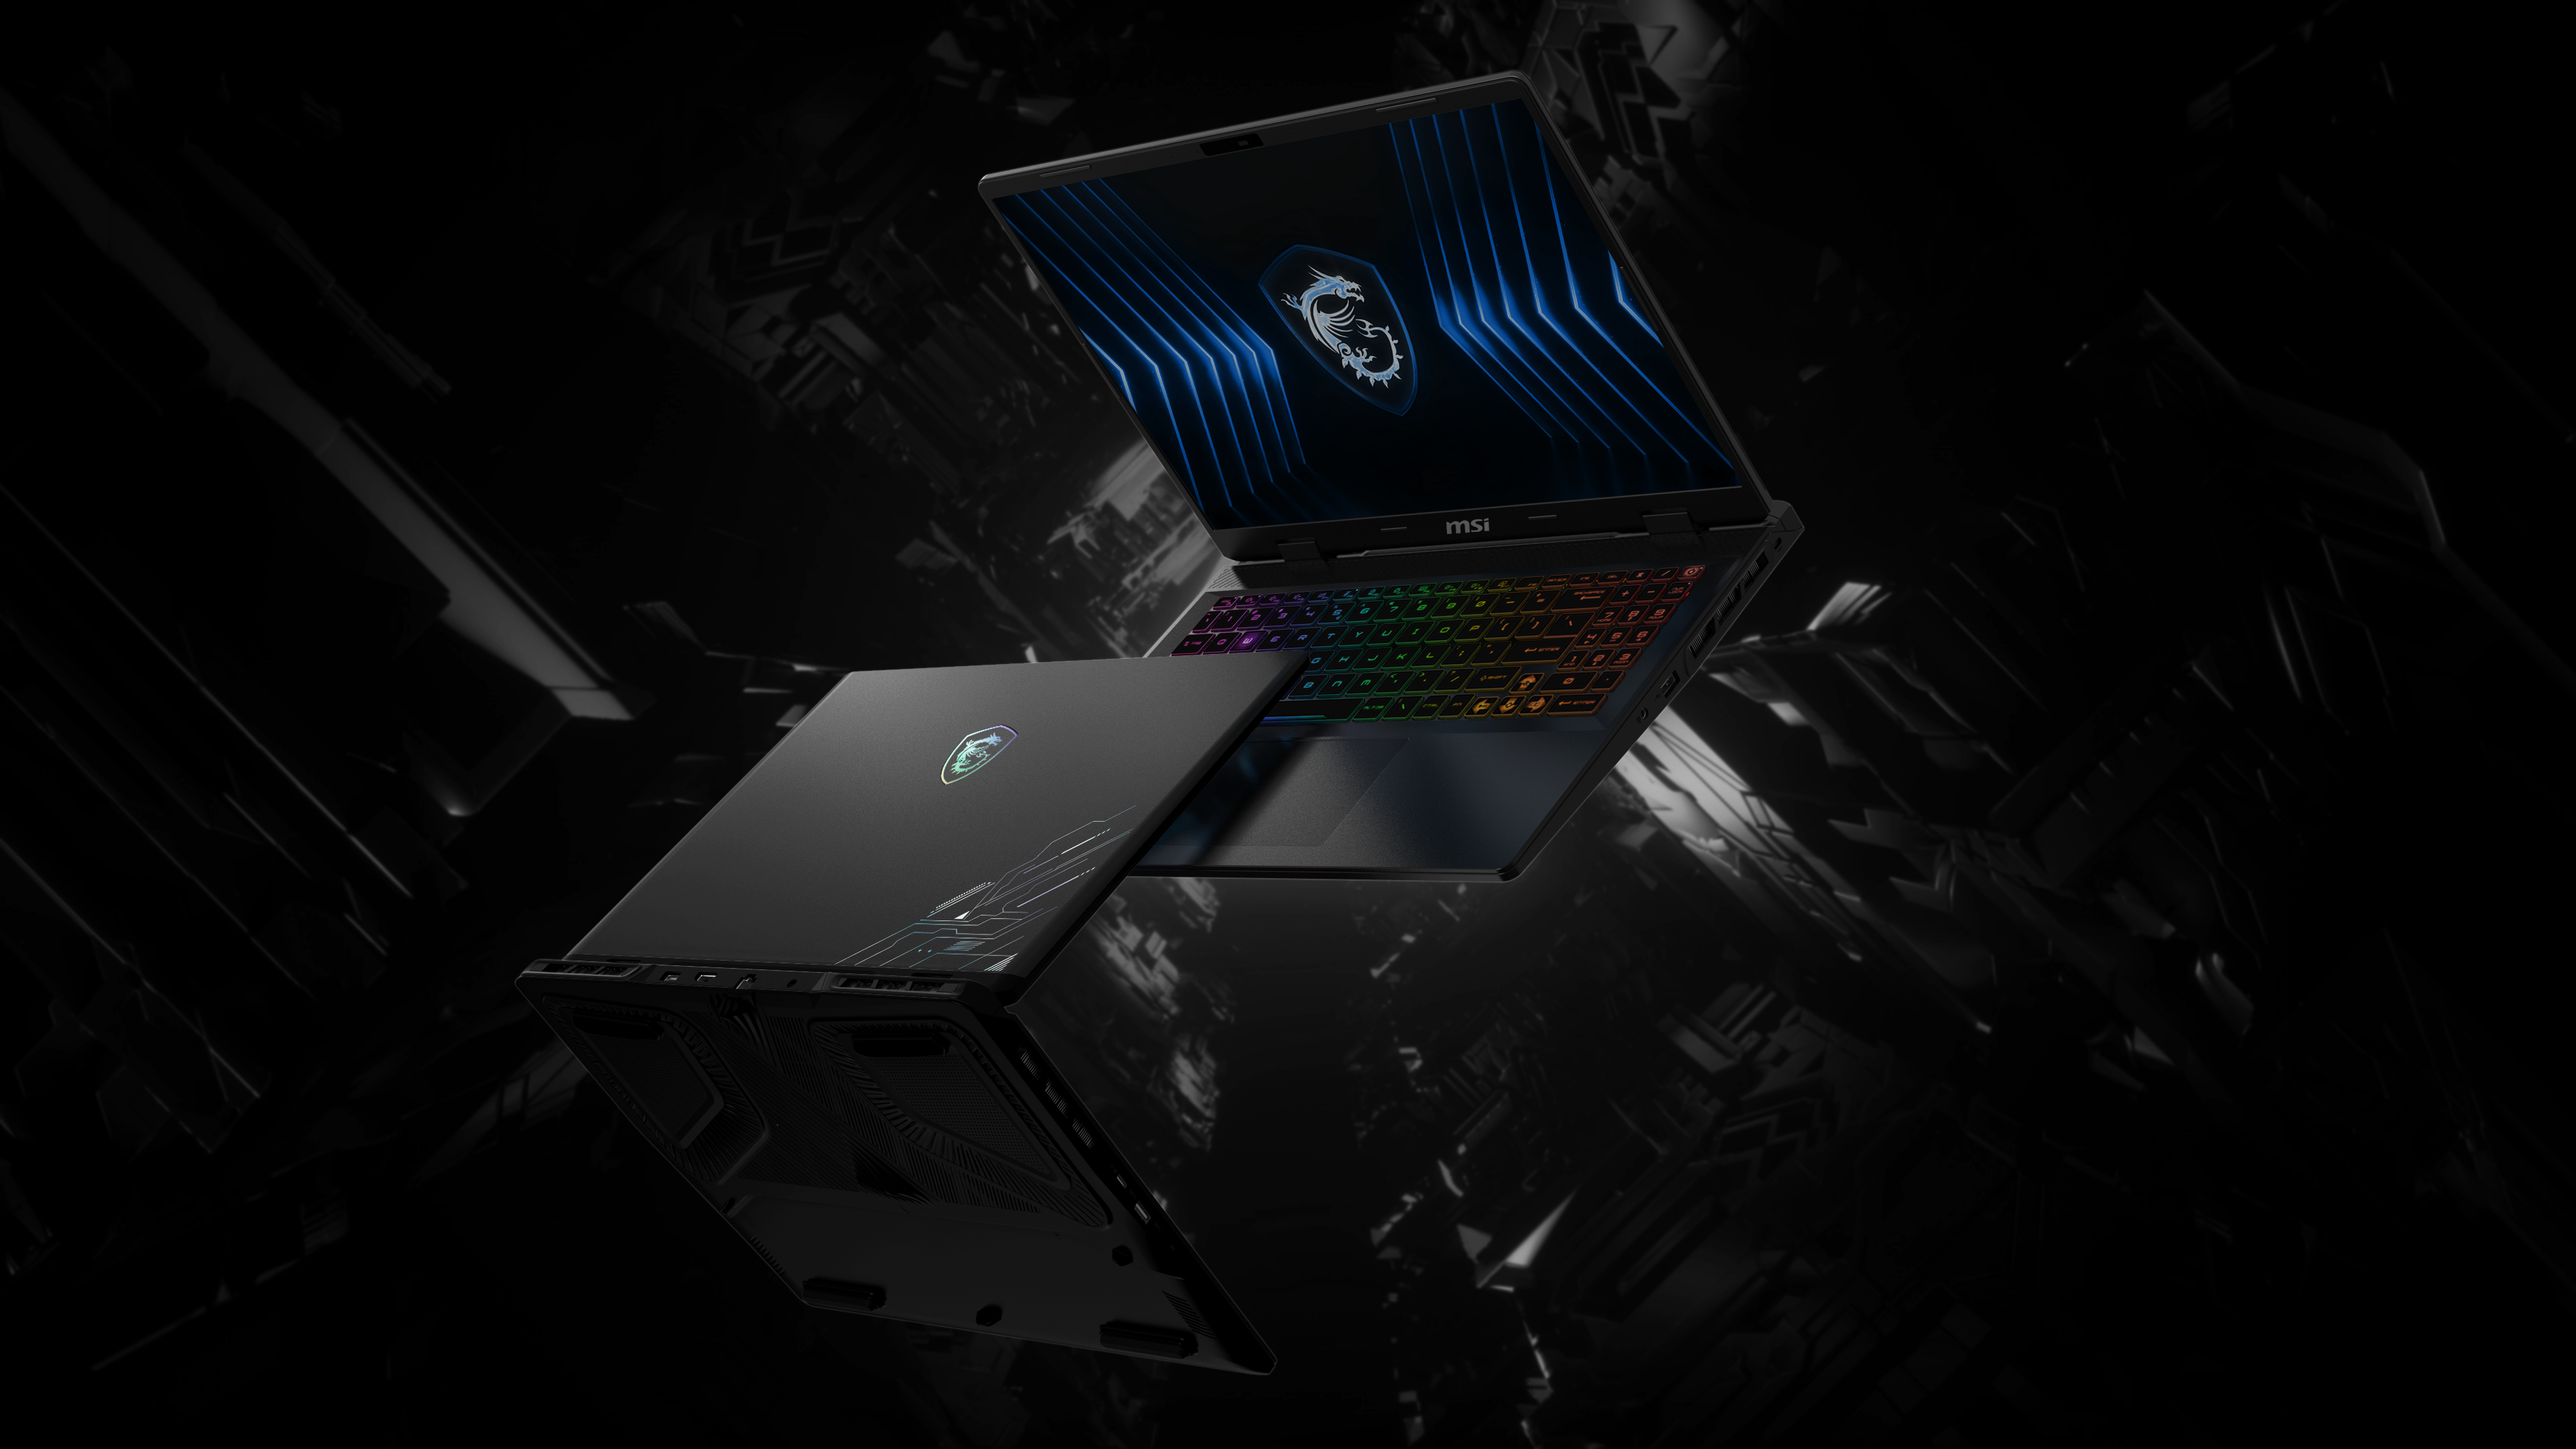
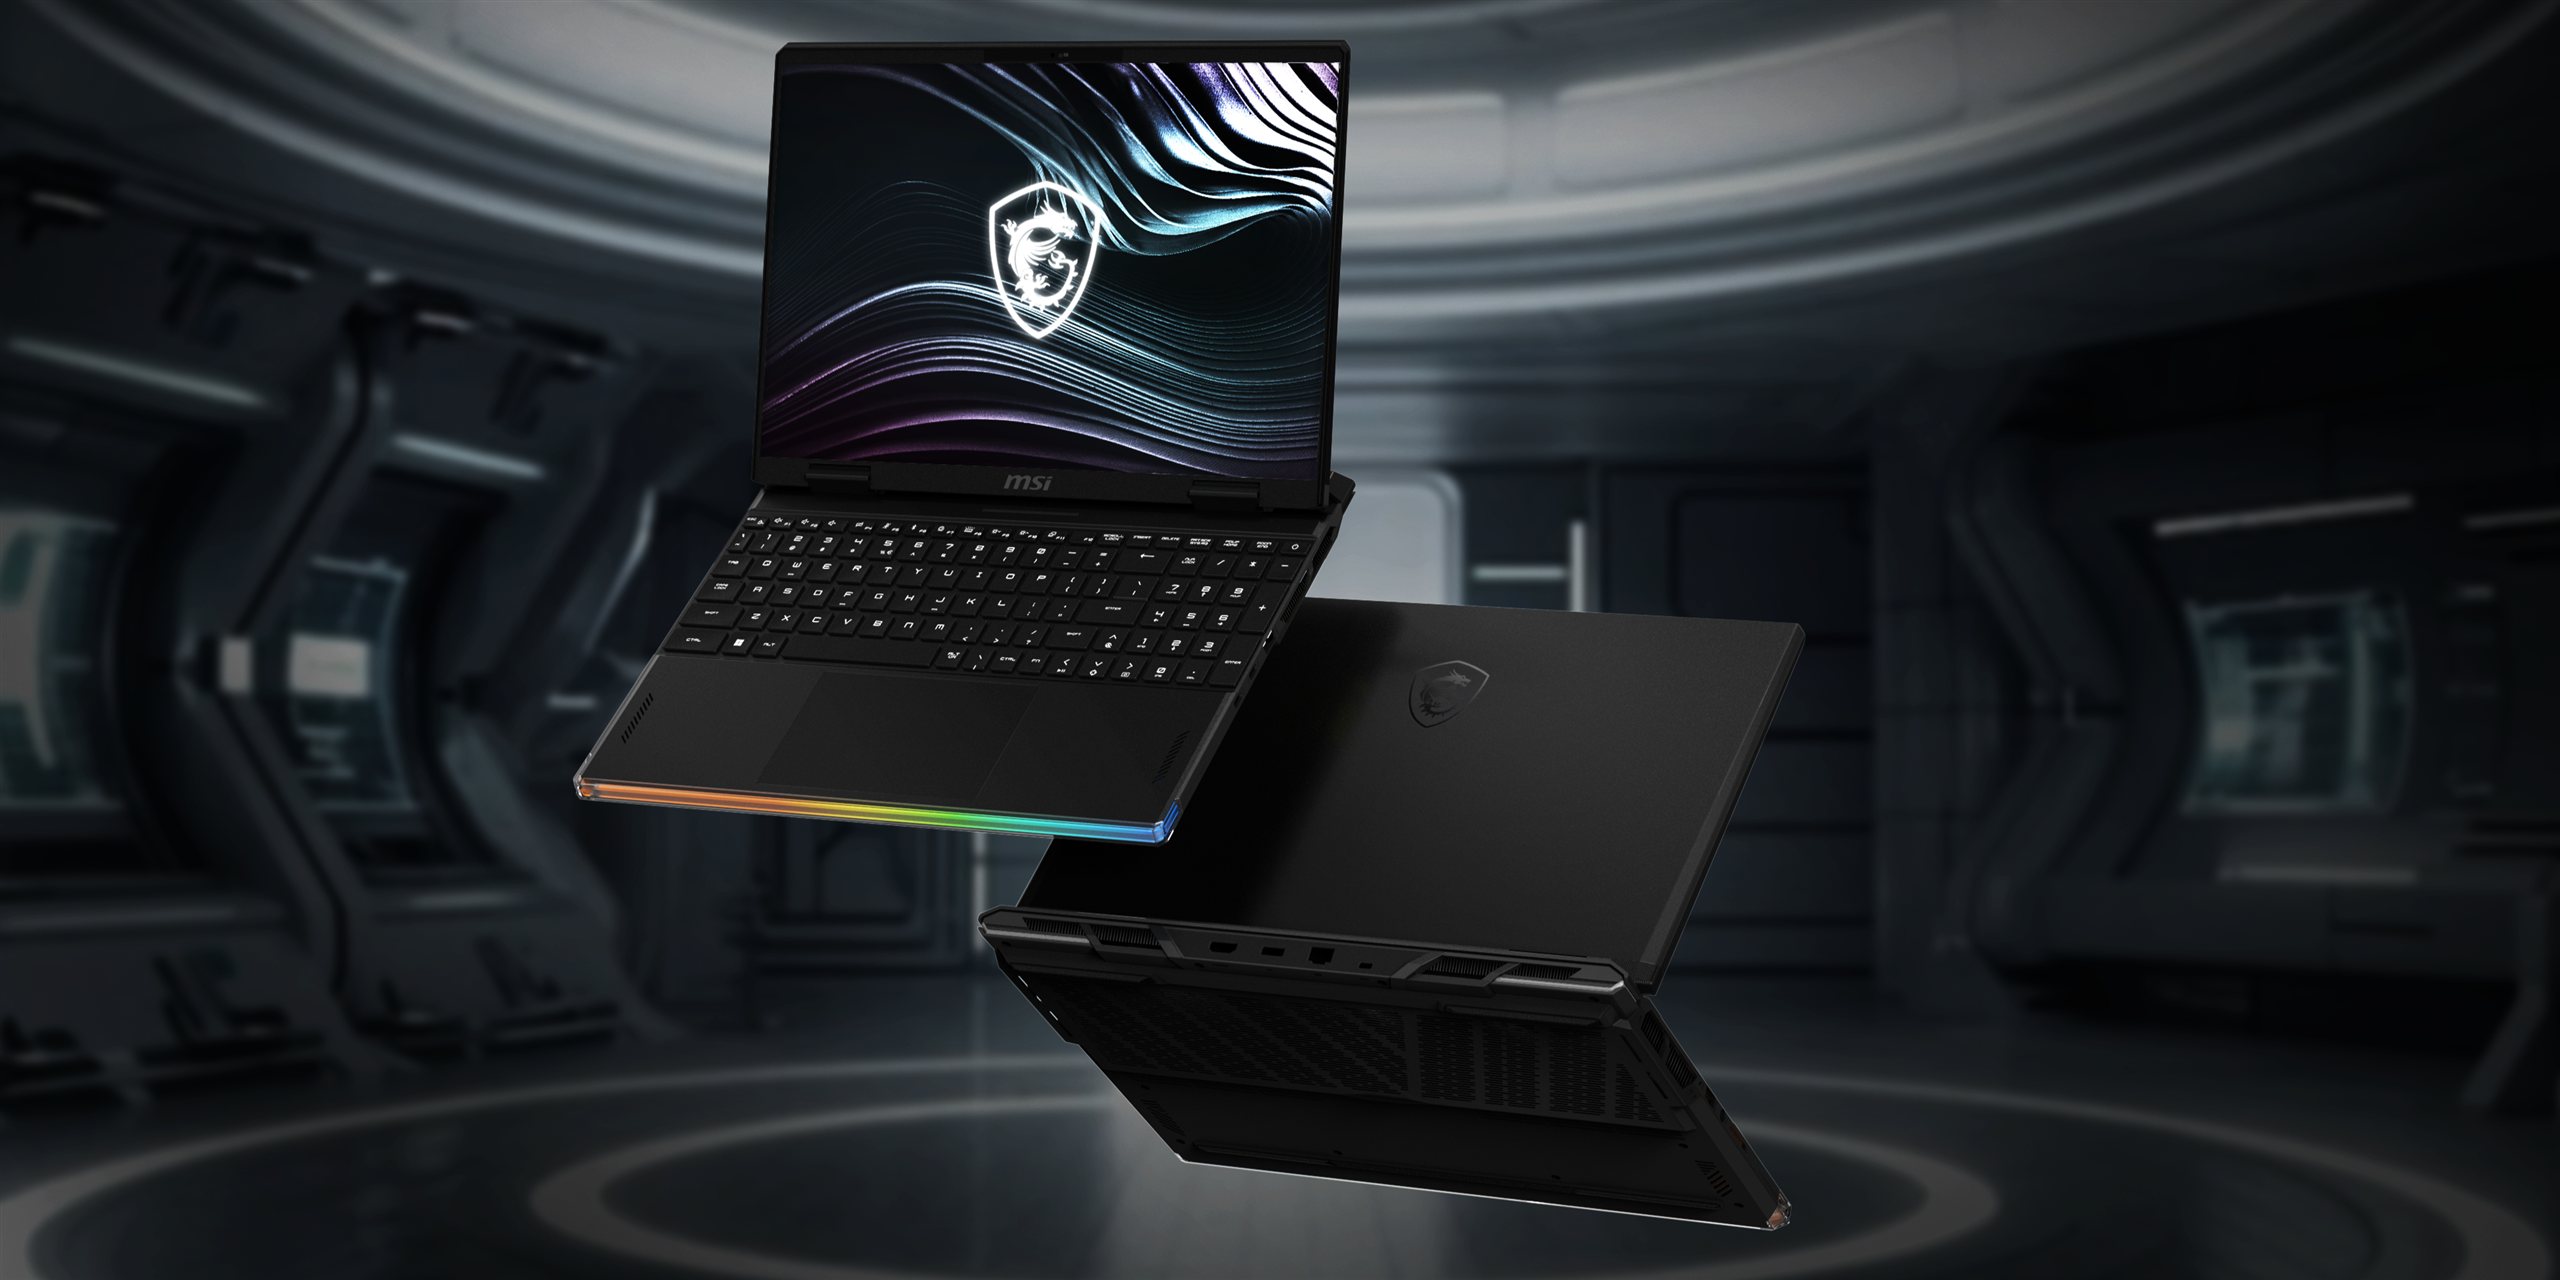
Raider 18 is the high-end gaming laptop: an RGB light bar, an illuminated RGB logo and a painted C-side. Vector 18 is aimed at value-minded buyers and STEM professionals. The brief was to reduce cost without it looking like a cost-down model, while keeping the brand's detailing and the finish expected at this level. So we shifted the design language from gaming laptop to workstation: a restrained palette, no lighting, and linear vector detailing carrying the identity instead.Raider 18 是高一階的電競機種:RGB 燈條、發光 logo、C 件噴漆。 Vector 18 定位鎖定效益為上的消費者與 STEM 專業人士。 設計主軸是降低成本,但不能看起來像低階版本,仍須保持品牌細節與該階機種精緻度。 所以設計語彙從電競筆電轉向工作站:顏色收斂、取消燈效,改由線條與向量撐起辨識度。
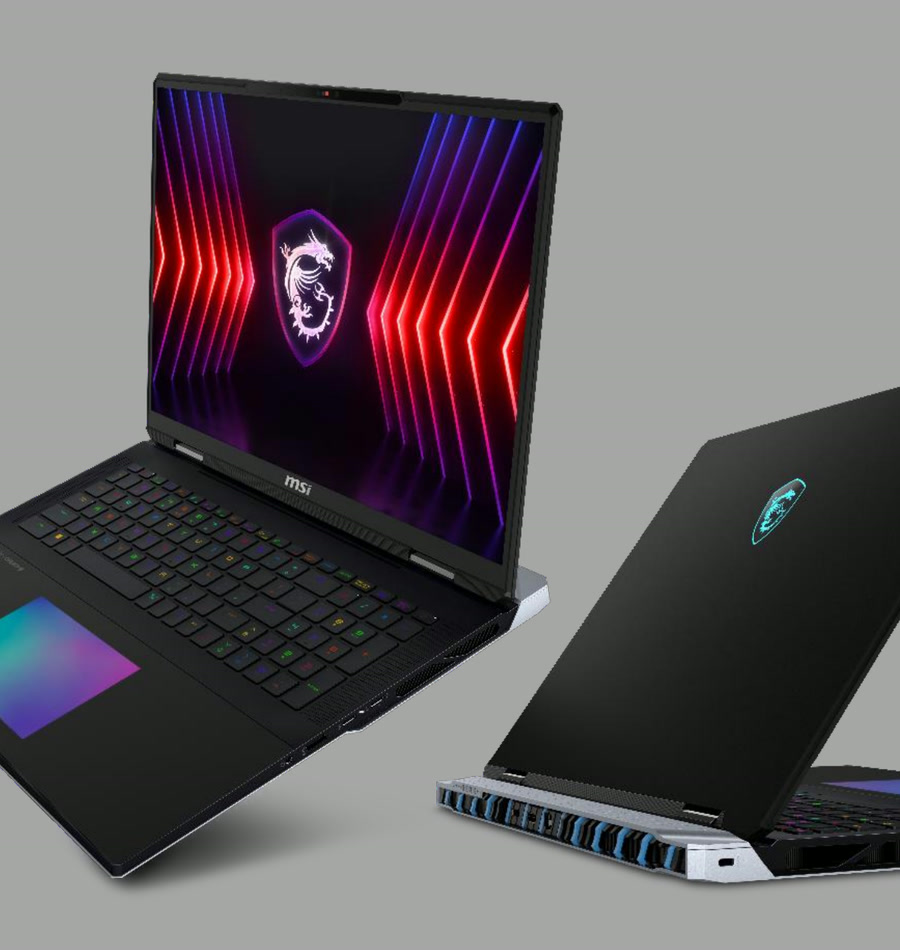
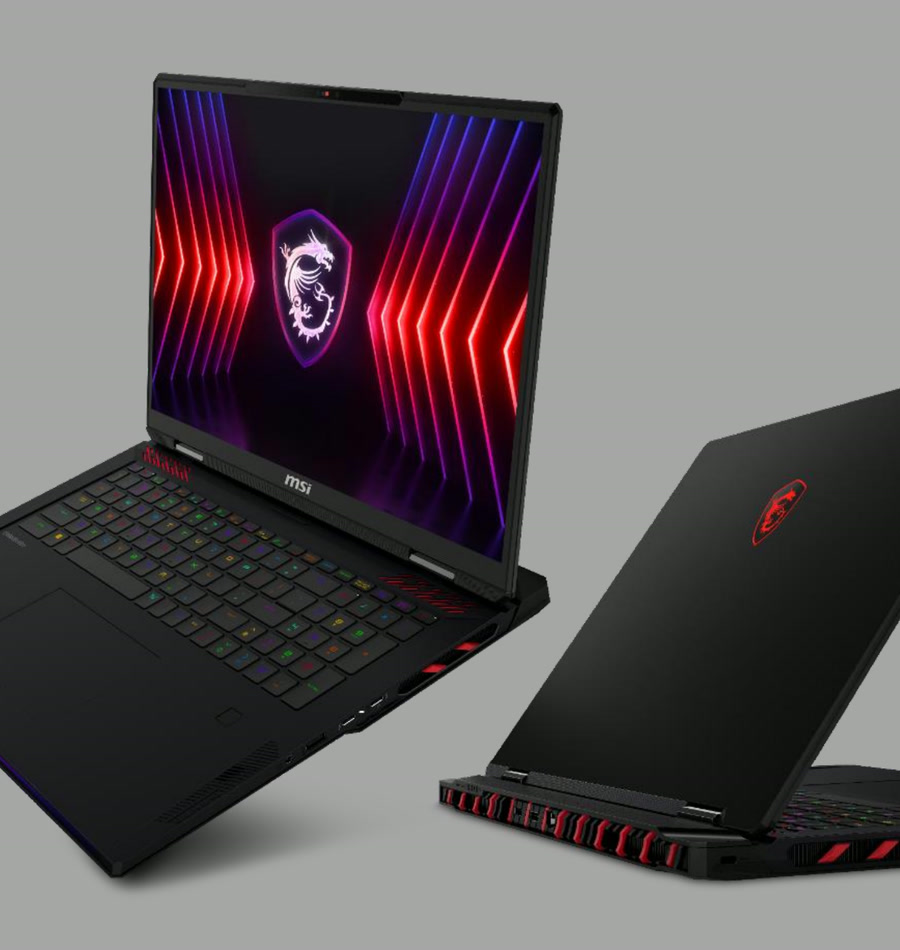
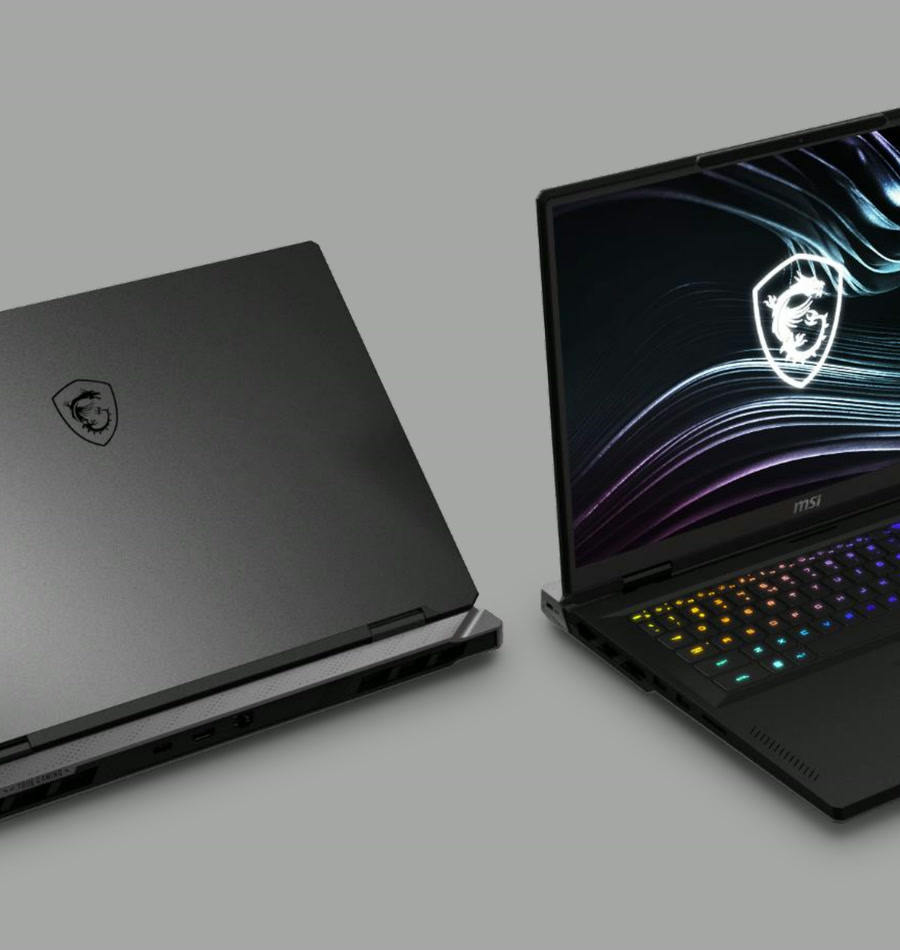
Gaming Series電競系列
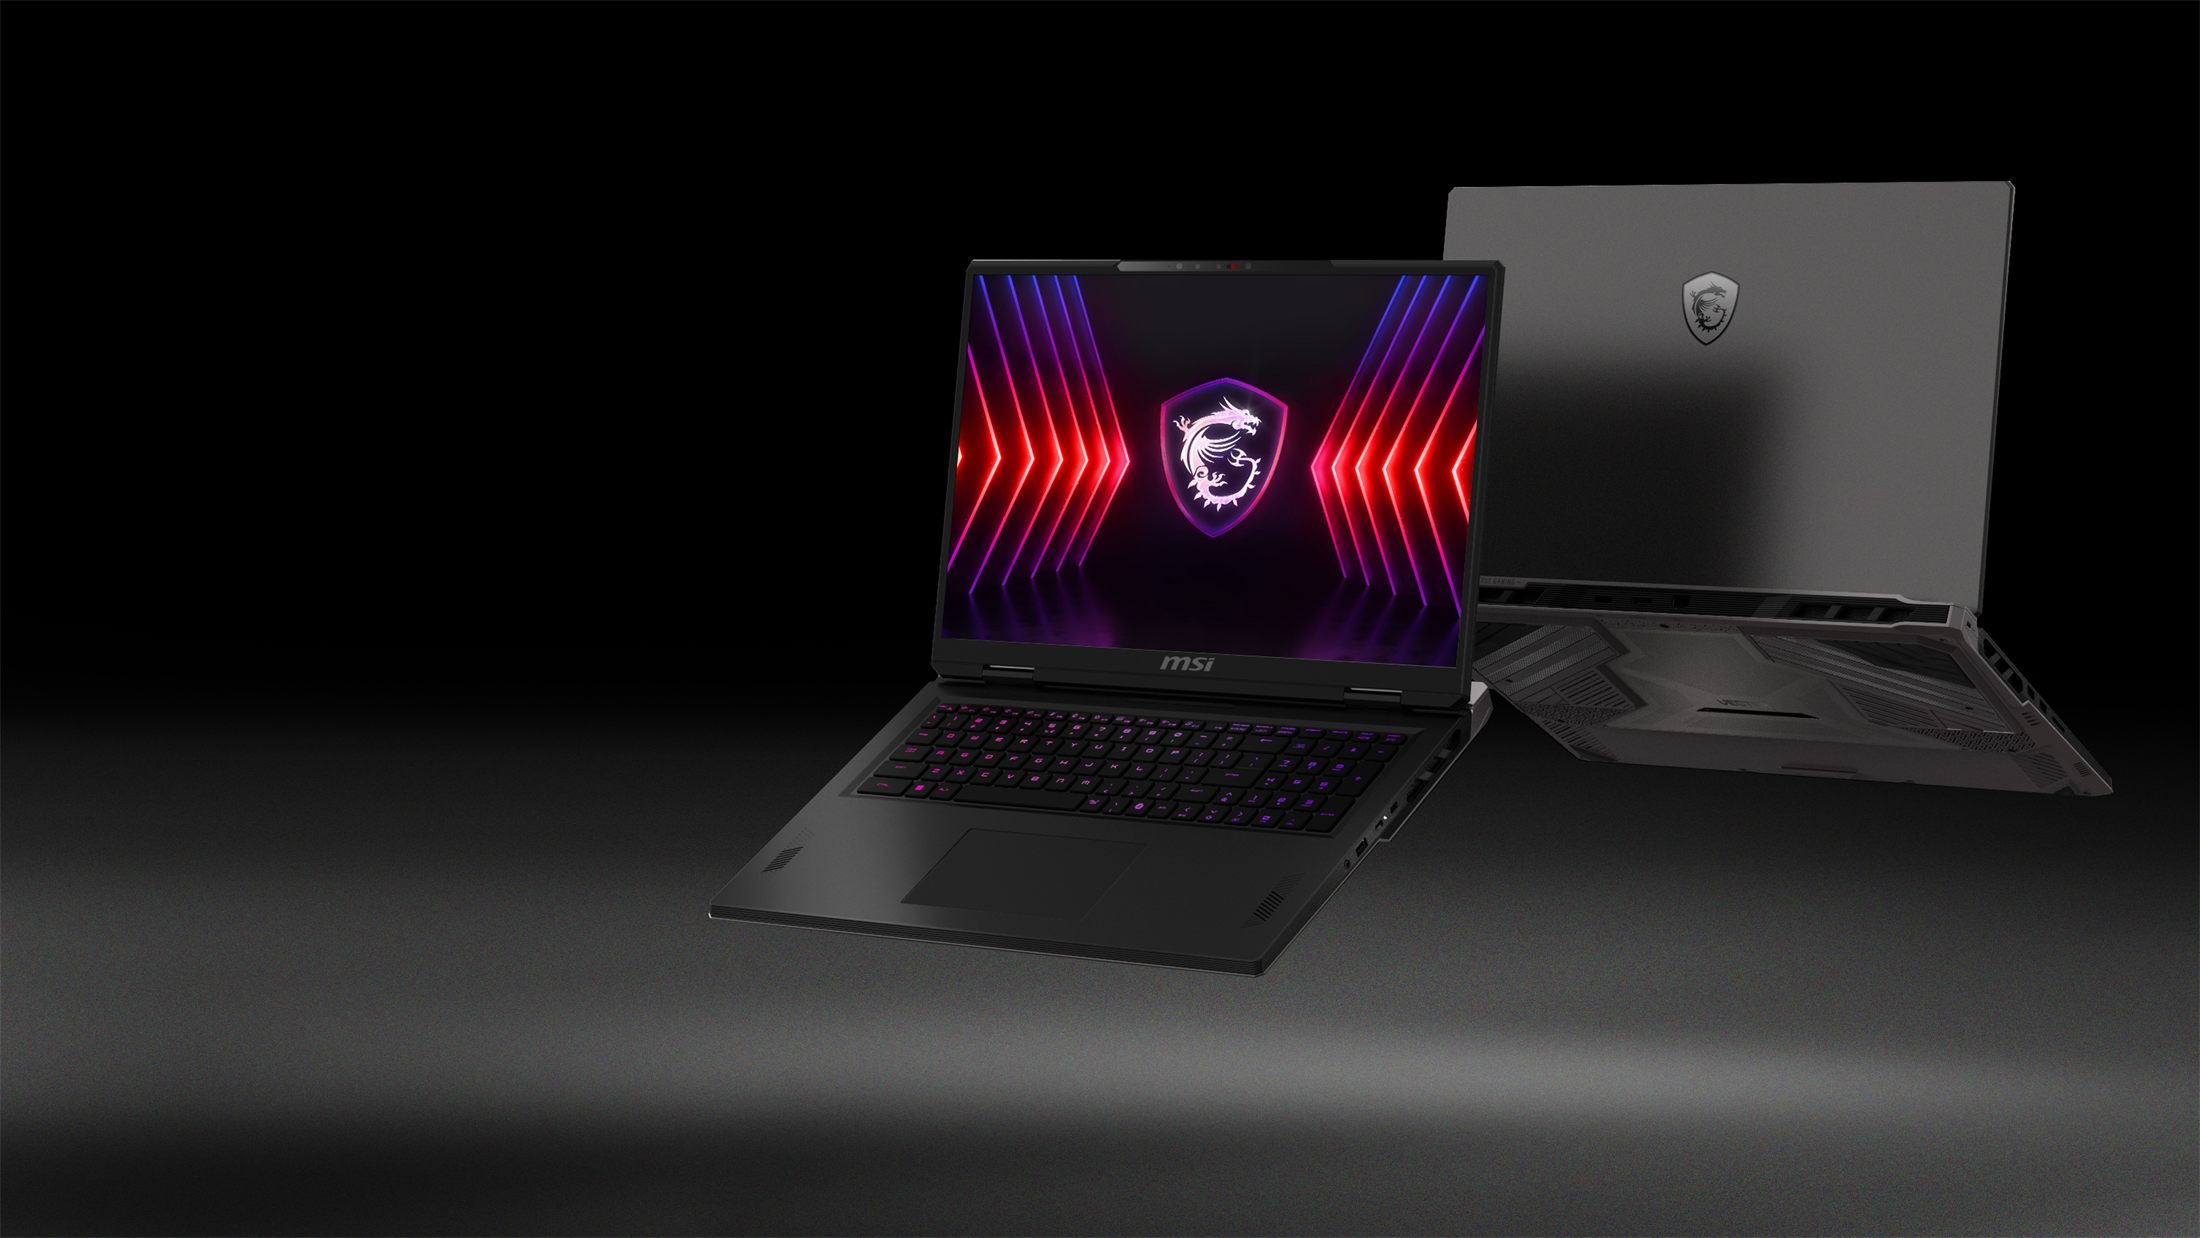
The 18-inch line-up: Titan, Raider and the new Vector18 吋產品線:Titan、Raider 與新的 Vector
What Was Removed拿掉了什麼
Every removal had to leave a finished surface每拿掉一樣,留下的表面都要是完整的
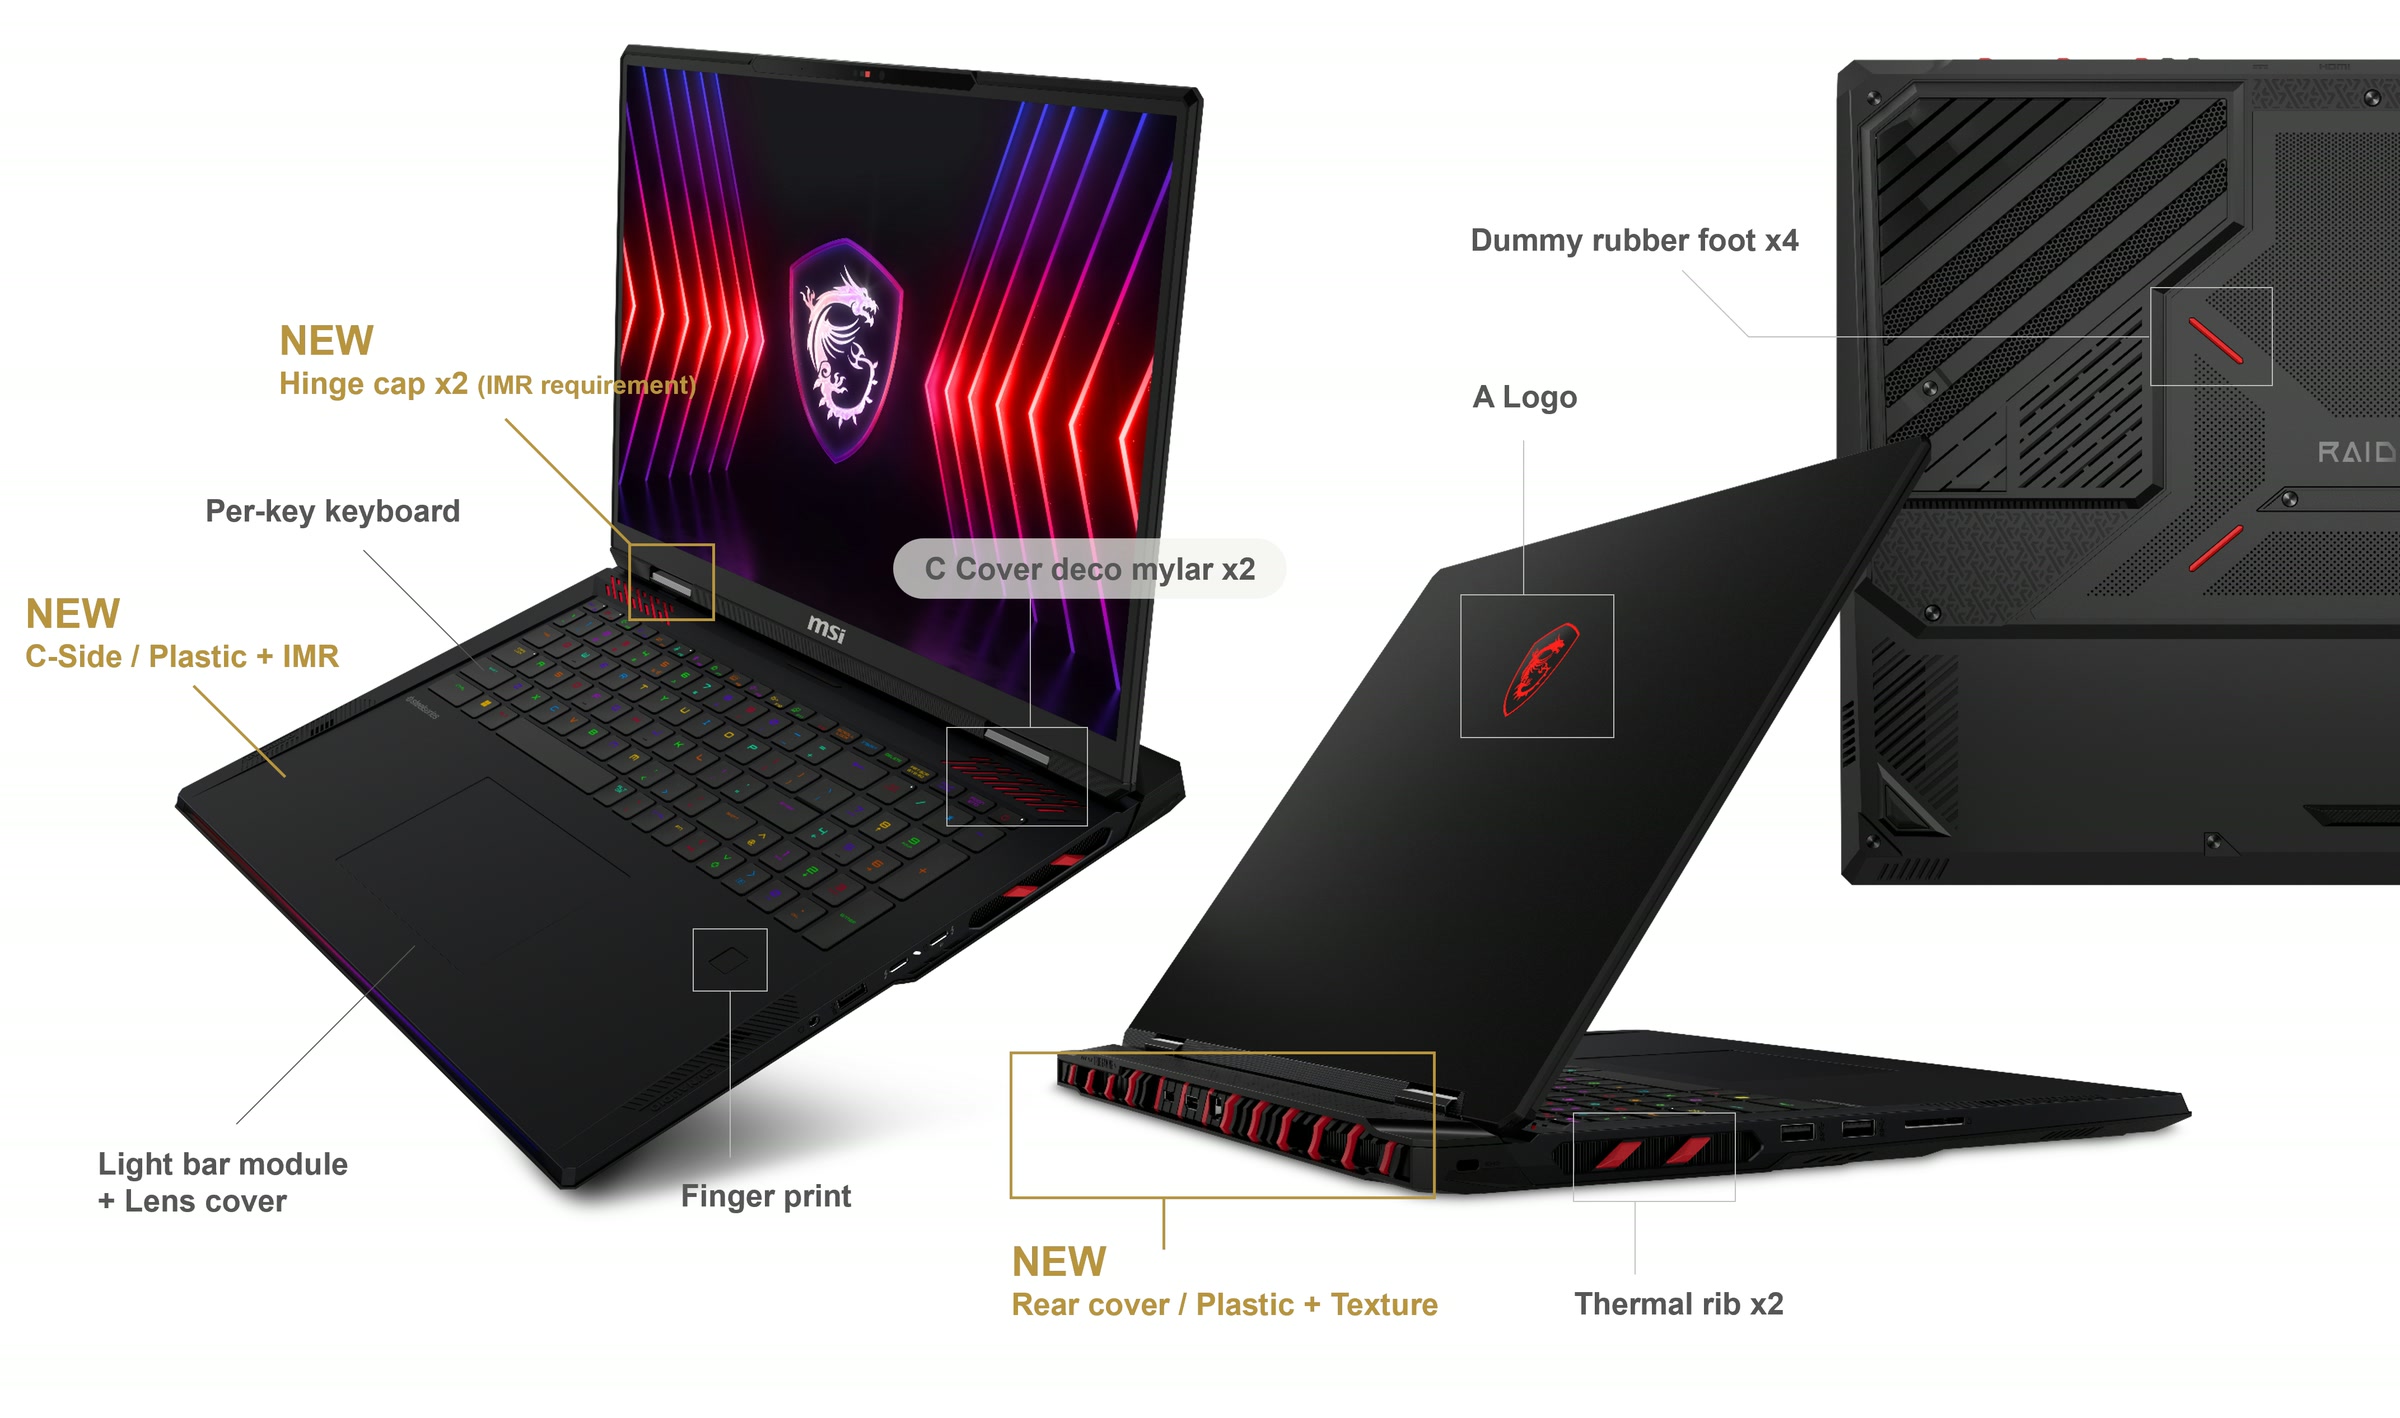
Removing a feature is simple. The design work is in the surface left behind. A light bar leaves an opening; an unpainted part exposes its weld lines. Each removal below came with a replacement surface, mostly a new texture or a new part in moulded-in colour.拿掉一個件很容易,難的是拿掉之後表面長什麼樣子。 燈條拿掉會留下一個開口;原本噴漆的件不噴漆,結合線就會露出來。 下面每一項拿掉的配備,都搭配一個替代的表面,大多是新的咬花,或是素材直接成形的新件。
- −RGB light bar on the rear, replaced by a textured plastic rear cover後方 RGB 燈條,改為咬花塑膠後蓋
- −Illuminated lid logo, replaced by a laser-etched oneA 件發光 logo,改為雷雕
- −Painted C-side, replaced by IMR filmC 件噴漆,改為 IMR
- −Fingerprint reader, two-tone thermal ribs and the decorative C-side cut-outs指紋辨識、散熱鰭片跳色軟膠、C 件裝飾破孔
Proposal slide. Raider 18 with each changed part marked提案頁面。 在 Raider 18 上標出每一個更動的件
What Was New新增了什麼
Four new parts, everything else carried over新增四個件,其餘沿用
A new C-side in plastic with IMR. Hinge caps, needed because the film cannot wrap the shape the painted part had at that corner. A rear cover in textured plastic. A cavity insert. The display, A-side, D-side and thermal module carry over Raider 18's tooling.新的 C 件,塑膠加 IMR。 Hinge cap,因為膜包不了原本噴漆件在那個轉角的造型。 咬花塑膠後蓋。 一個入子。 螢幕、A 件、D 件與散熱模組都沿用 Raider 18 的模具。
Proposal render, January 2024提案渲染圖,2024 年 1 月
+
Where the cost came from成本從哪裡來
Against Raider 18, the housing (A to D parts) carried a cost target about 18% lower. Across the full BOM it came to about 11%, including spec changes PM and EE made in parallel. The costing came from my team lead; the design changes it priced were mine.與 Raider 18 相比,外殼(A 到 D 件)的成本目標約降 18%。 加上 PM 與 EE 同步做的規格調整,整機約降 11%。 成本估算由組長負責,被估算的那些設計變更是我提出的。
Paint to Film噴漆改 IMR
The film has to
end somewhere膜總要
停在某個地方
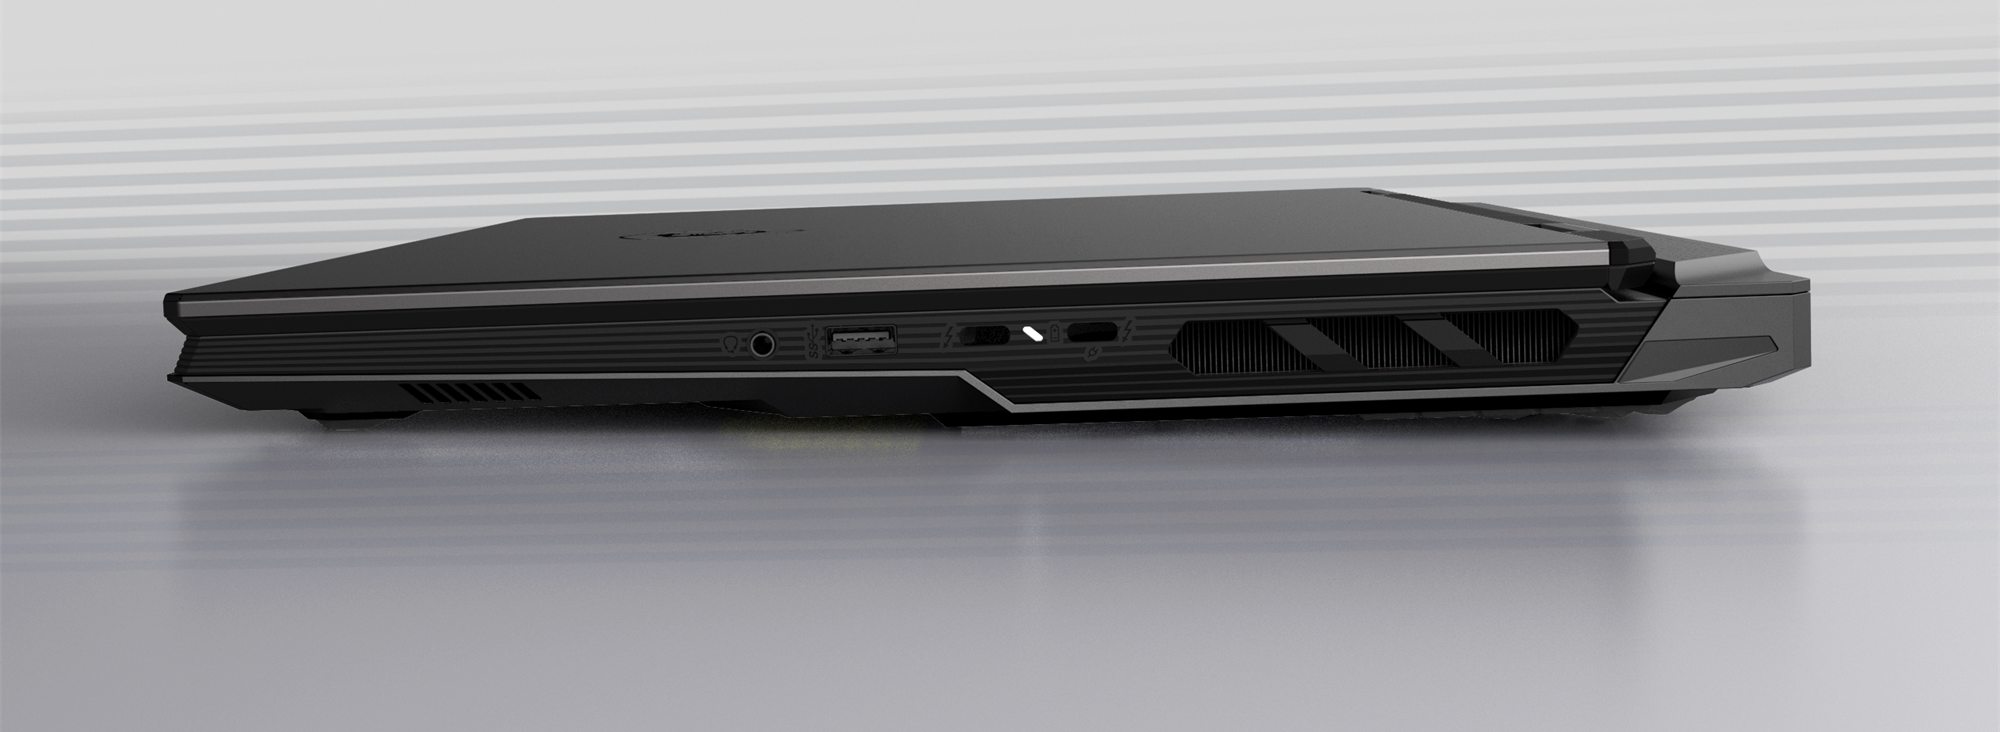
Raider 18's C-side is painted. Moving it to IMR removes the spray line, but IMR film has to stop at an edge, and where it stops there is a visible trim line. The recessed lines along the side wall do two jobs. They are the vector lines that give the series its workstation character, and the raised parts of the tool between them are where the film ends. The trim line falls into a recess instead of sitting on a flat face.Raider 18 的 C 件是噴漆。 改成 IMR 就省下噴塗這道工序,但 IMR 膜一定要在某個邊緣停下來,停下來的地方會有一條斷膜線。 側邊的凹刻線條同時做兩件事:它們是讓這個系列看起來像工作站的向量線條,而線條之間的凸模區,正好是膜停下來的地方。 斷膜線因此落在凹槽裡,而不是露在平面上。
Proposal render. The recessed lines run the length of the side wall提案渲染圖。 凹刻線條沿著側牆貫穿全長
Hiding the Film Edge藏住斷膜線
The trim line sits in the groove斷膜線落在溝槽裡
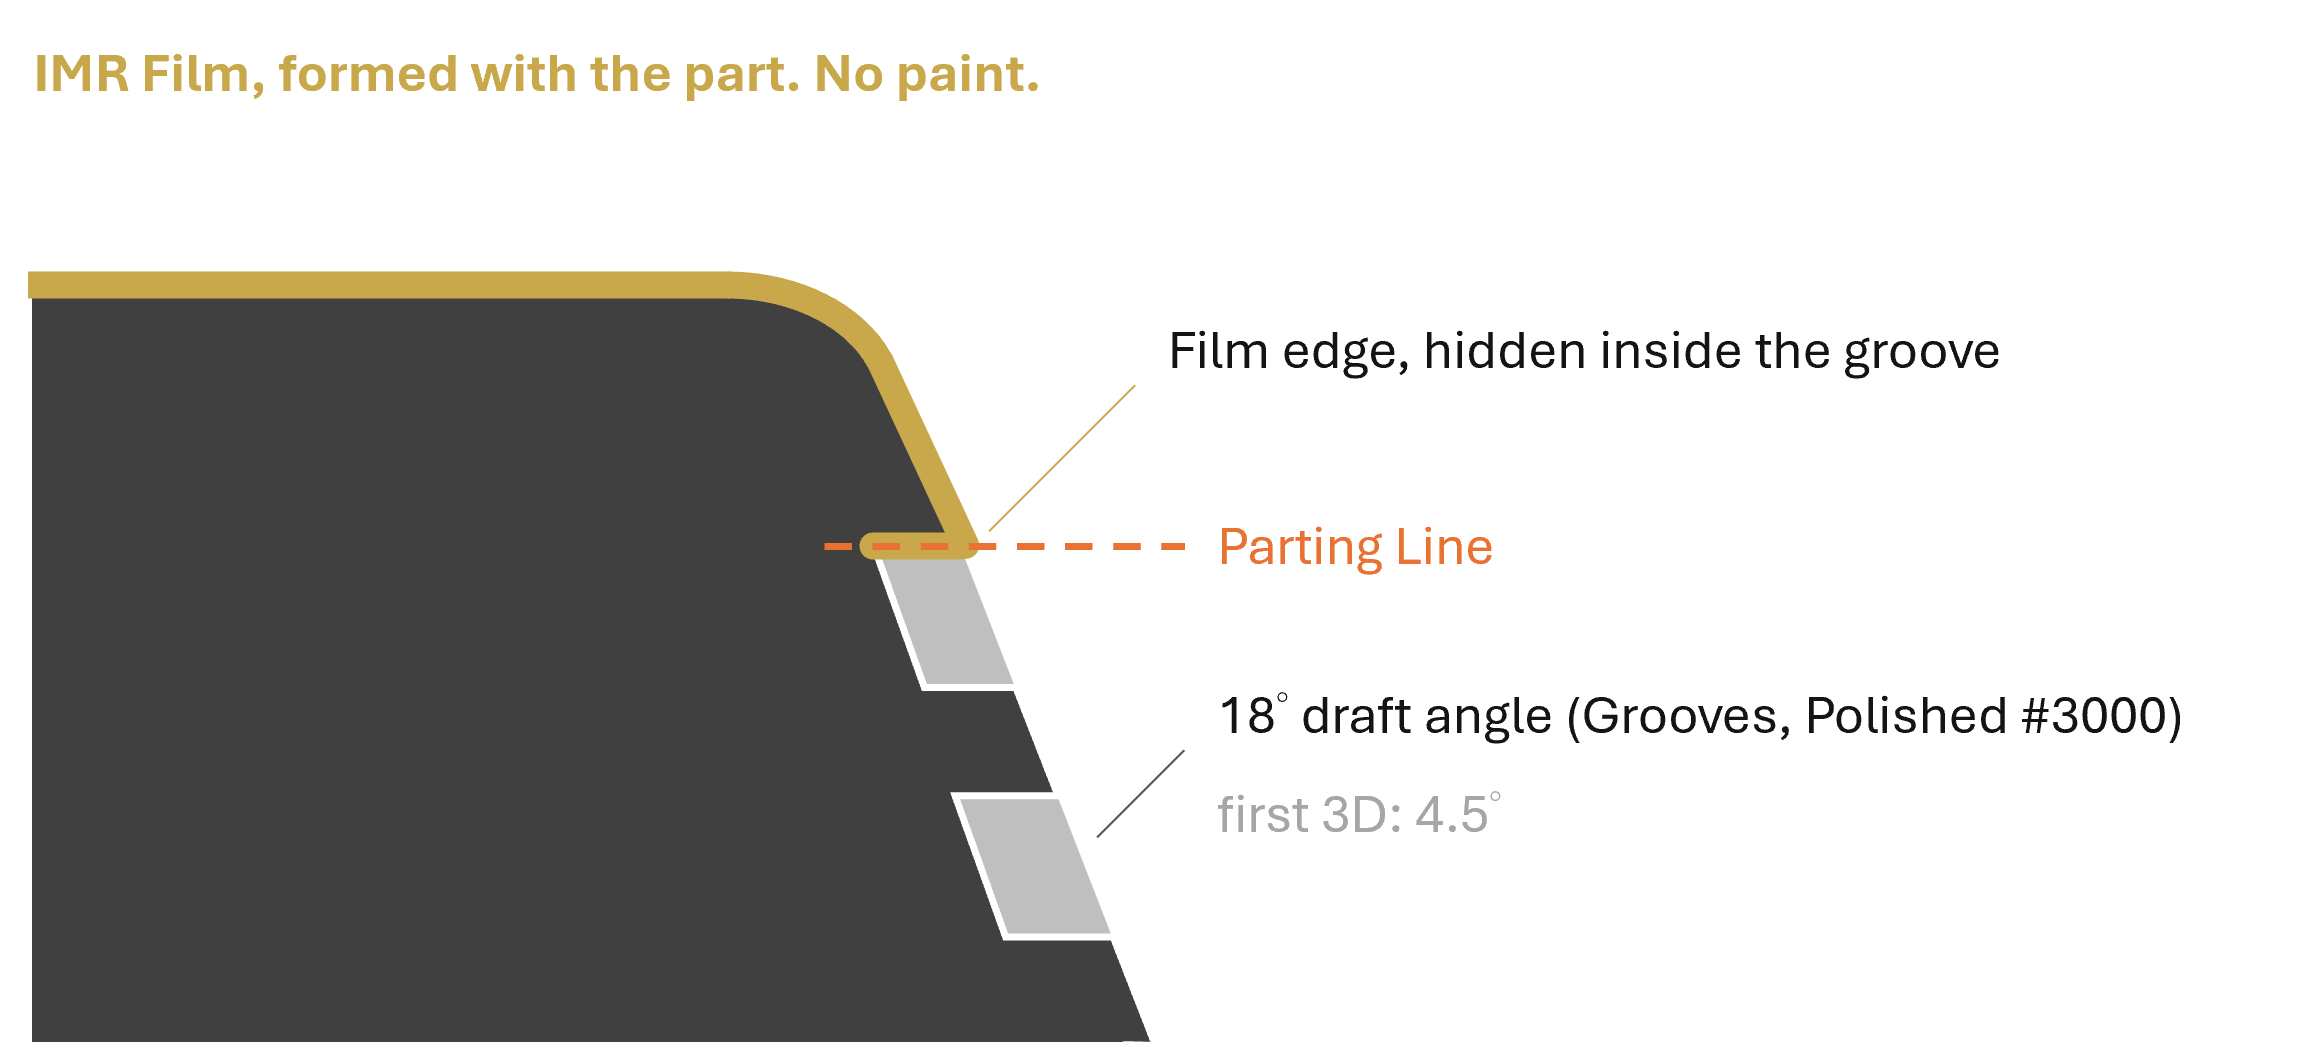
IMR finishes the surface during moulding, so the C‑side comes out of the tool ready to go, with no paint. The catch: the film always leaves a trim line on the side wall, right where the plastic part's parting line sits. So we ran the vector grooves horizontally around the C‑side and let the film finish inside a groove, not on a flat face. Each groove is polished to #3000, and the row of grooves breaks up how thick the laptop looks.IMR 在成型時就完成表面處理,C 件出模即是成品,不需噴漆,但薄膜一定會在外觀母模側牆上留下一道斷膜線與塑膠件分模線。 因此我們設計讓向量溝條橫向環繞 C 件,讓薄膜結尾留在溝槽裡,而不是平面,並在槽內以 #3000 拋光,利用多個刻痕打破整機的視覺厚度。
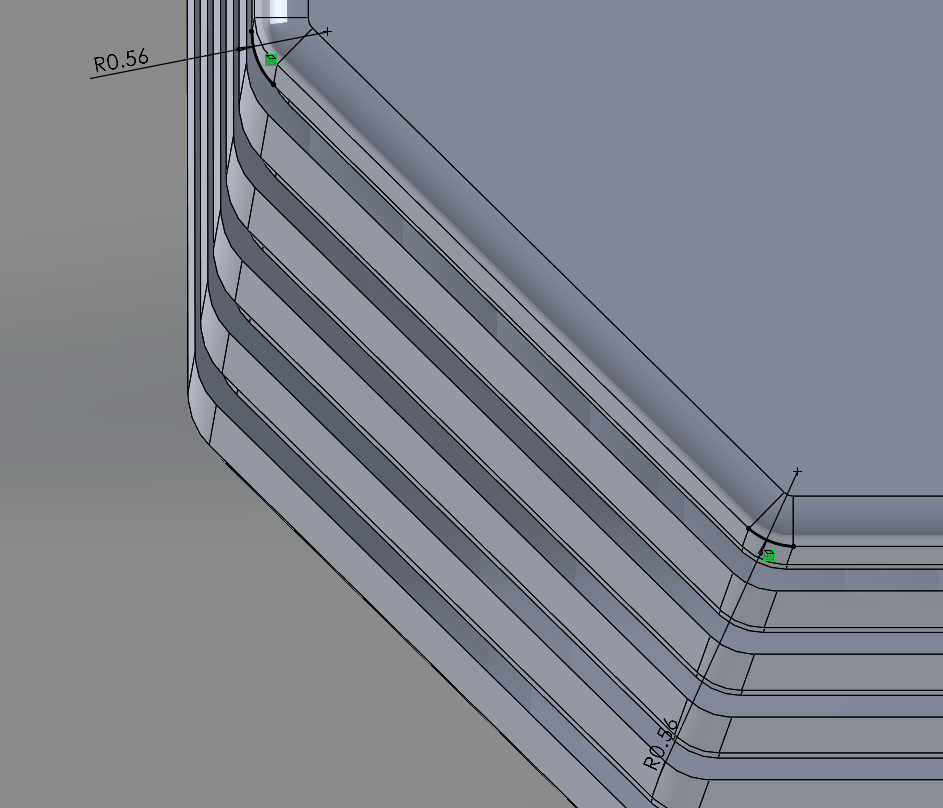
The grooves wrap the C-side corner. Forming review, January 2024溝條環繞 C 件轉角。 成形評估,2024 年 1 月
01
A film that already existed用一張已經存在的膜
Rather than develop a new film, the C-side uses a pearl matte black already in production for another MSI model. The film supplier confirmed the 380 mm width fits this part, so there was no new part number, no new minimum order and no new colour sign-off.沒有另外開發新膜,C 件直接共用另一款 MSI 機種已量產的霧面珠光黑。 膜廠確認 380 mm 的幅寬適用這個件,所以不用開新料號、不用新的最低訂購量,也不用重新簽色。
02
Eleven forming reviews十一份成形評估
The film supplier reviews the 3D for where the film will stretch, tear or leave stress marks. Eleven reports came back between January and July 2024, and I revised the 3D against each one: radii, draft angles, the step against the hinge caps, the film depth around 102 keyboard openings.膜廠會檢查 3D,找出膜可能拉伸過度、破膜或留下應力痕的地方。 2024 年 1 月到 7 月之間共回來十一份報告,每一份我都據以修改 3D:R 角、拔模角、與 hinge cap 對靠處的段差、102 個鍵盤破孔周圍的覆膜深度。
| Check point檢查項目 | First 3D初版 3D | Revised修正後 | Film risk覆膜風險 |
|---|
| Side wall draft angle側牆拔模角 | 4.5° | 18° | High → resolved高 → 已解決 |
| Side wall radius側牆 R 角 | R0.4 mm | R0.4 mm | Low低 |
| Corner radii轉角 R 角 | R0.35 / R0.56 mm | — | Low低 |
| Film wrap depth包覆深度 | 0.37 mm | 0.3–0.4 mm | Low低 |
Excerpt from the film supplier's forming review, January 2024摘自膜廠成形評估報告,2024 年 1 月
Side Texture側邊咬花
3N was
not enough3N
還不夠
The side wall is the edge that meets a bag, a desk and a hand, so the recessed lines had to survive scratching. They are moulded in, not printed, which means the tool decides everything: line depth, polish, and how cleanly three slider faces meet at a corner.側牆是會碰到包包、桌面和手的那一面,所以凹刻線條必須耐刮。 線條是模具成形,不是印刷,所以一切由模具決定:線條深度、拋光等級,以及三面滑塊在轉角處能不能接順。
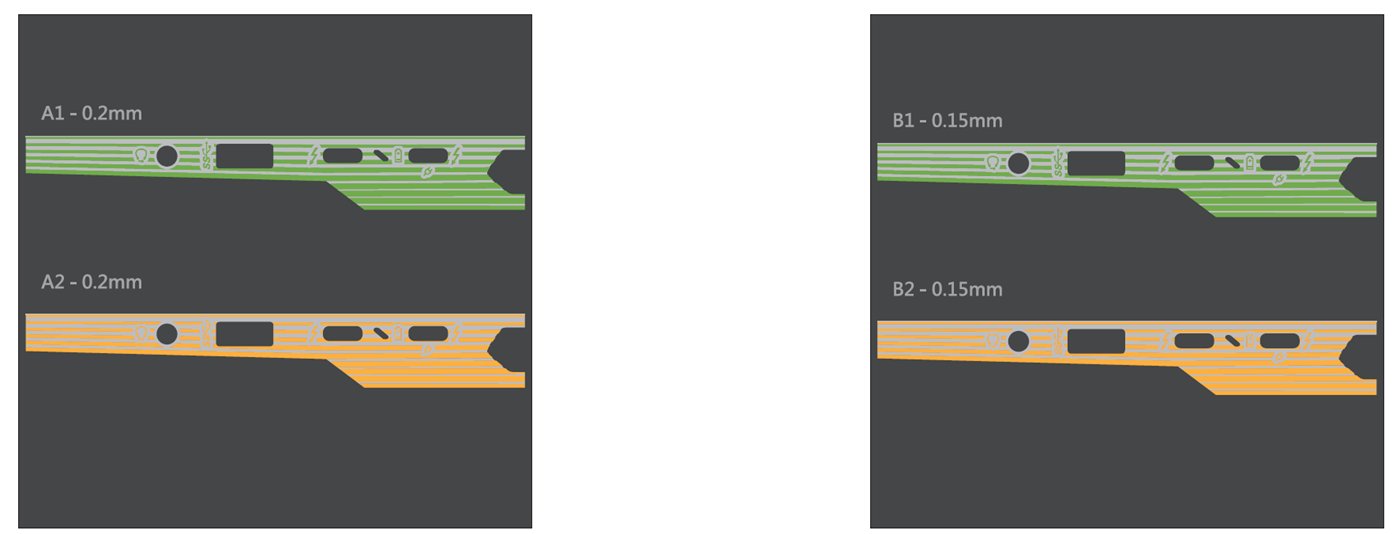
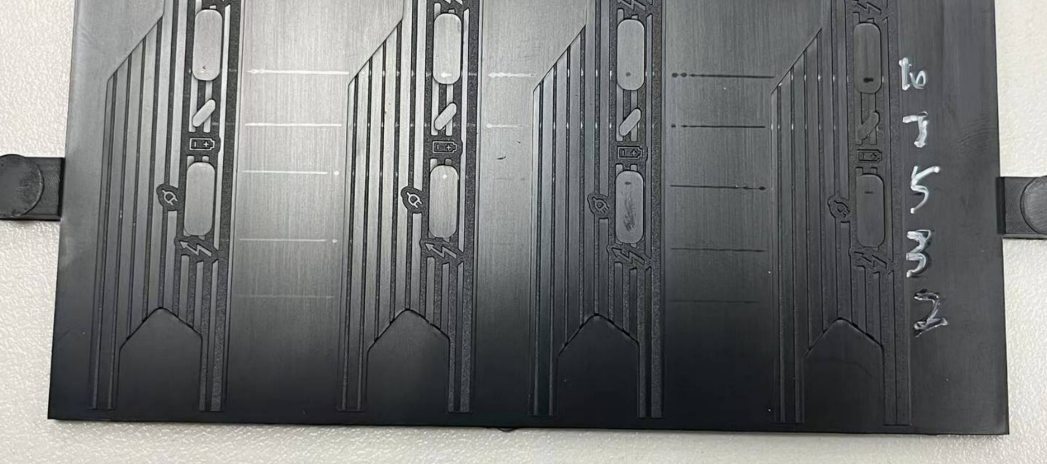
First texture plates on PC+ABS (SABIC T3RC7230P). VDI 30 texture, with recessed lines 0.2 or 0.15 mm deep, polished to #1000 or #2000第一版咬花板,PC+ABS(SABIC T3RC7230P)。 VDI 30 咬花,凹刻線條深 0.2 或 0.15 mm,拋光 #1000 或 #2000
01
Thinner lines, more of them線條變細,數量變多
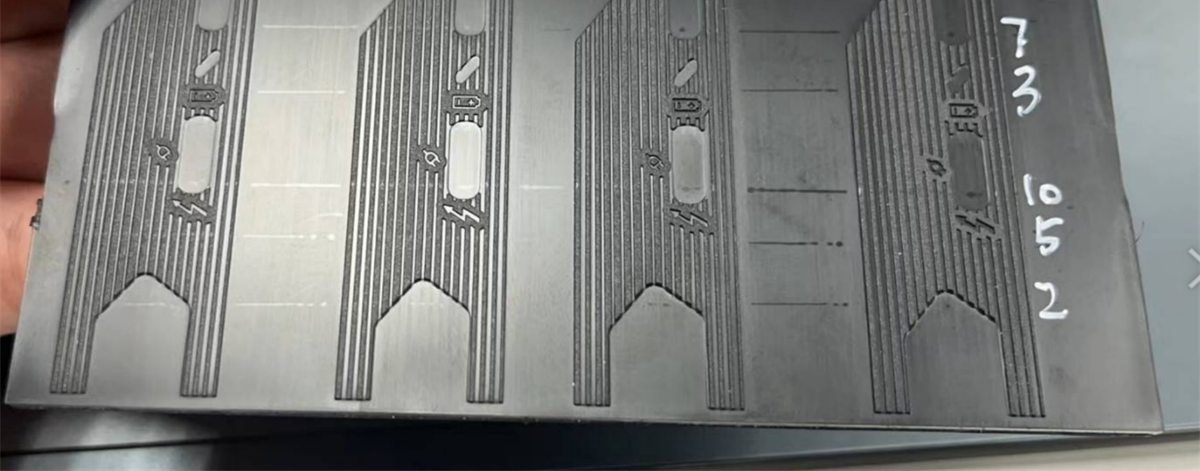
The first plate passed a 3N scratch test at pencil hardness F. Workable, but not comfortable for the edge that takes the most wear. For V2 I made the lines thinner and added more of them, so a scratch has less flat surface to land on. It passed at 5N.第一版咬花板通過 3N 刮擦測試,鉛筆硬度 F。 可以用,但對磨耗最多的那一面來說不夠安心。 V2 我把線條改細、數量加多,讓刮痕能落下的平面變少。 結果通過 5N。
V13N pass · February 20243N 通過 · 2024 年 2 月
→
V25N pass · March 20245N 通過 · 2024 年 3 月
02
The plastic underneath changes the colour底下的塑料會改變顏色
IMR film is thin enough that the resin behind it shifts how it looks. So the resin maker in China sent the same grade of pellets to the film supplier in Taiwan, who hand-moulded samples with it. Base colour and film colour were signed off together, on the material production would actually use.IMR 膜很薄,背後塑料的底色會影響膜看起來的顏色。 所以我請中國的塑膠原料廠把同型號的塑膠粒寄到台灣膜廠,用它手工成形打樣。 塑料底色與膜色一起確認,用的是量產真正會用的料。
03
Into the tool上模具
Once the plates and samples held, the mechanical team opened the slider and I went to the mould maker to check 20 to 50 shots for ink wash-out yield and tolerance. The September 2024 trial parts confirmed film adhesion and the side recess, and re-tested at 5N.咬花板與樣品都確認後,請機構開滑塊,我再到模具廠確認 20 到 50 模的成形,檢查破墨良率與公差。 2024 年 9 月的試模件確認了膜的貼附狀況與側邊凹刻外觀,刮擦複測一樣通過 5N。
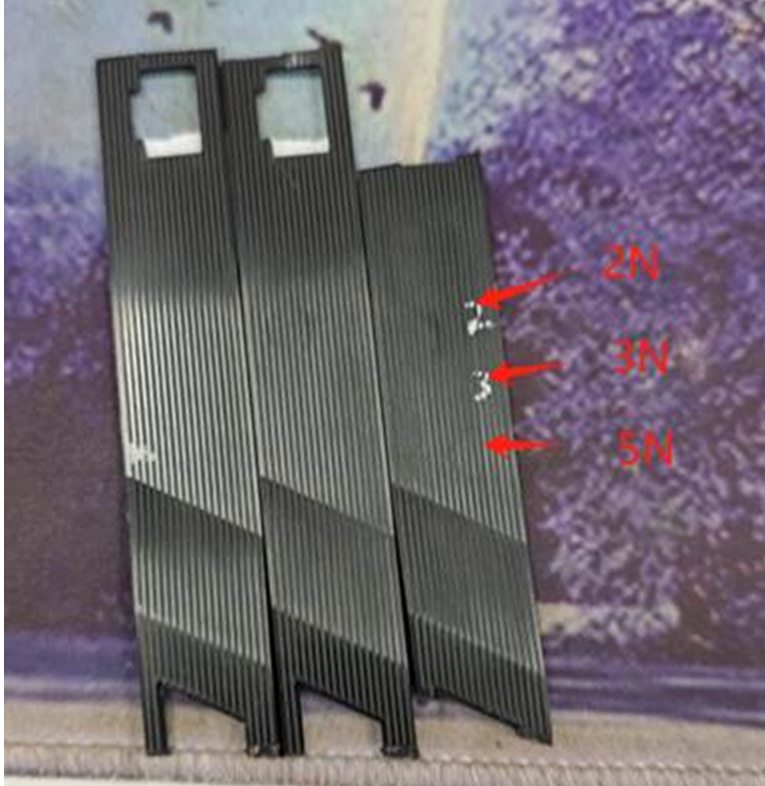
Texture plates after scratch testing at 2N, 3N and 5N咬花板經 2N、3N、5N 刮擦測試後
Rear Cover後蓋
One slider, no print一個滑塊,不用印刷
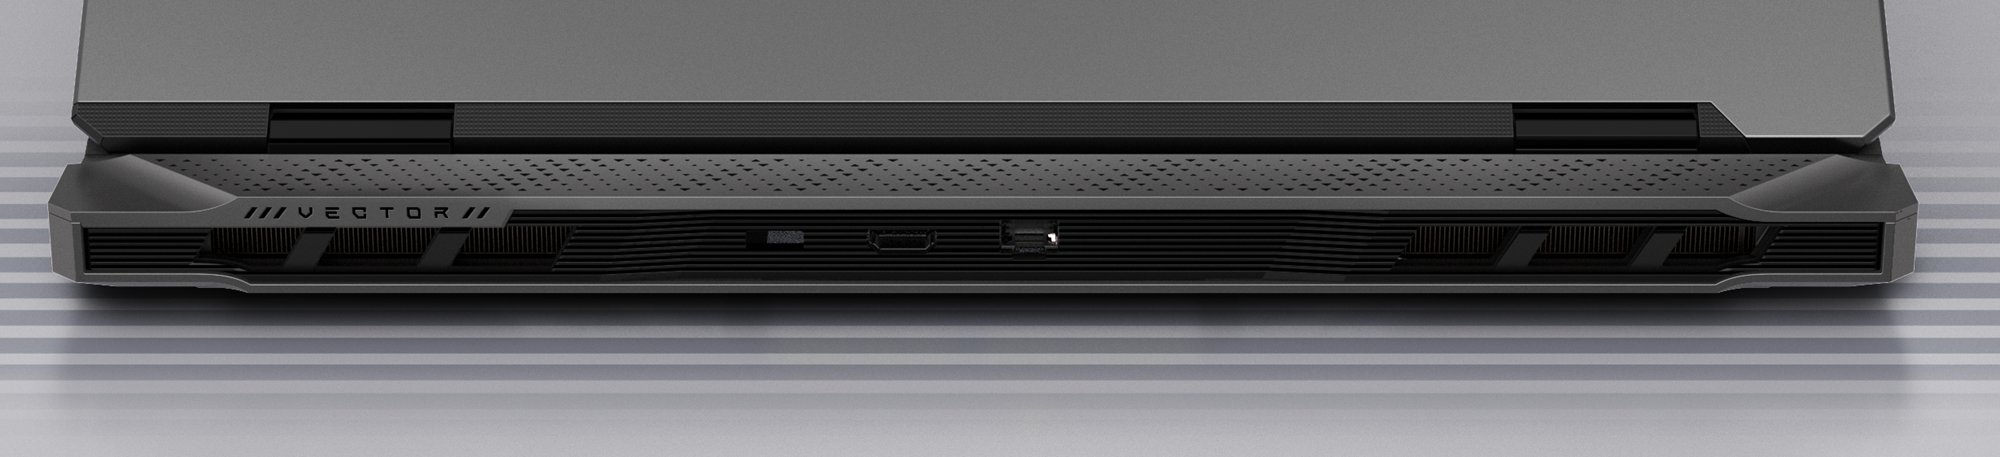
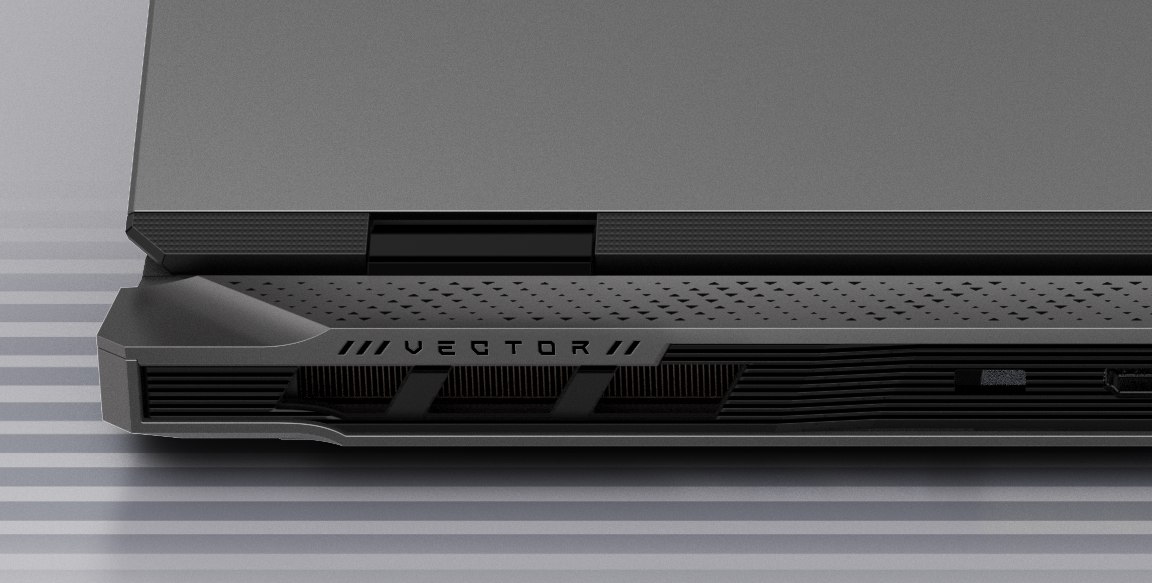
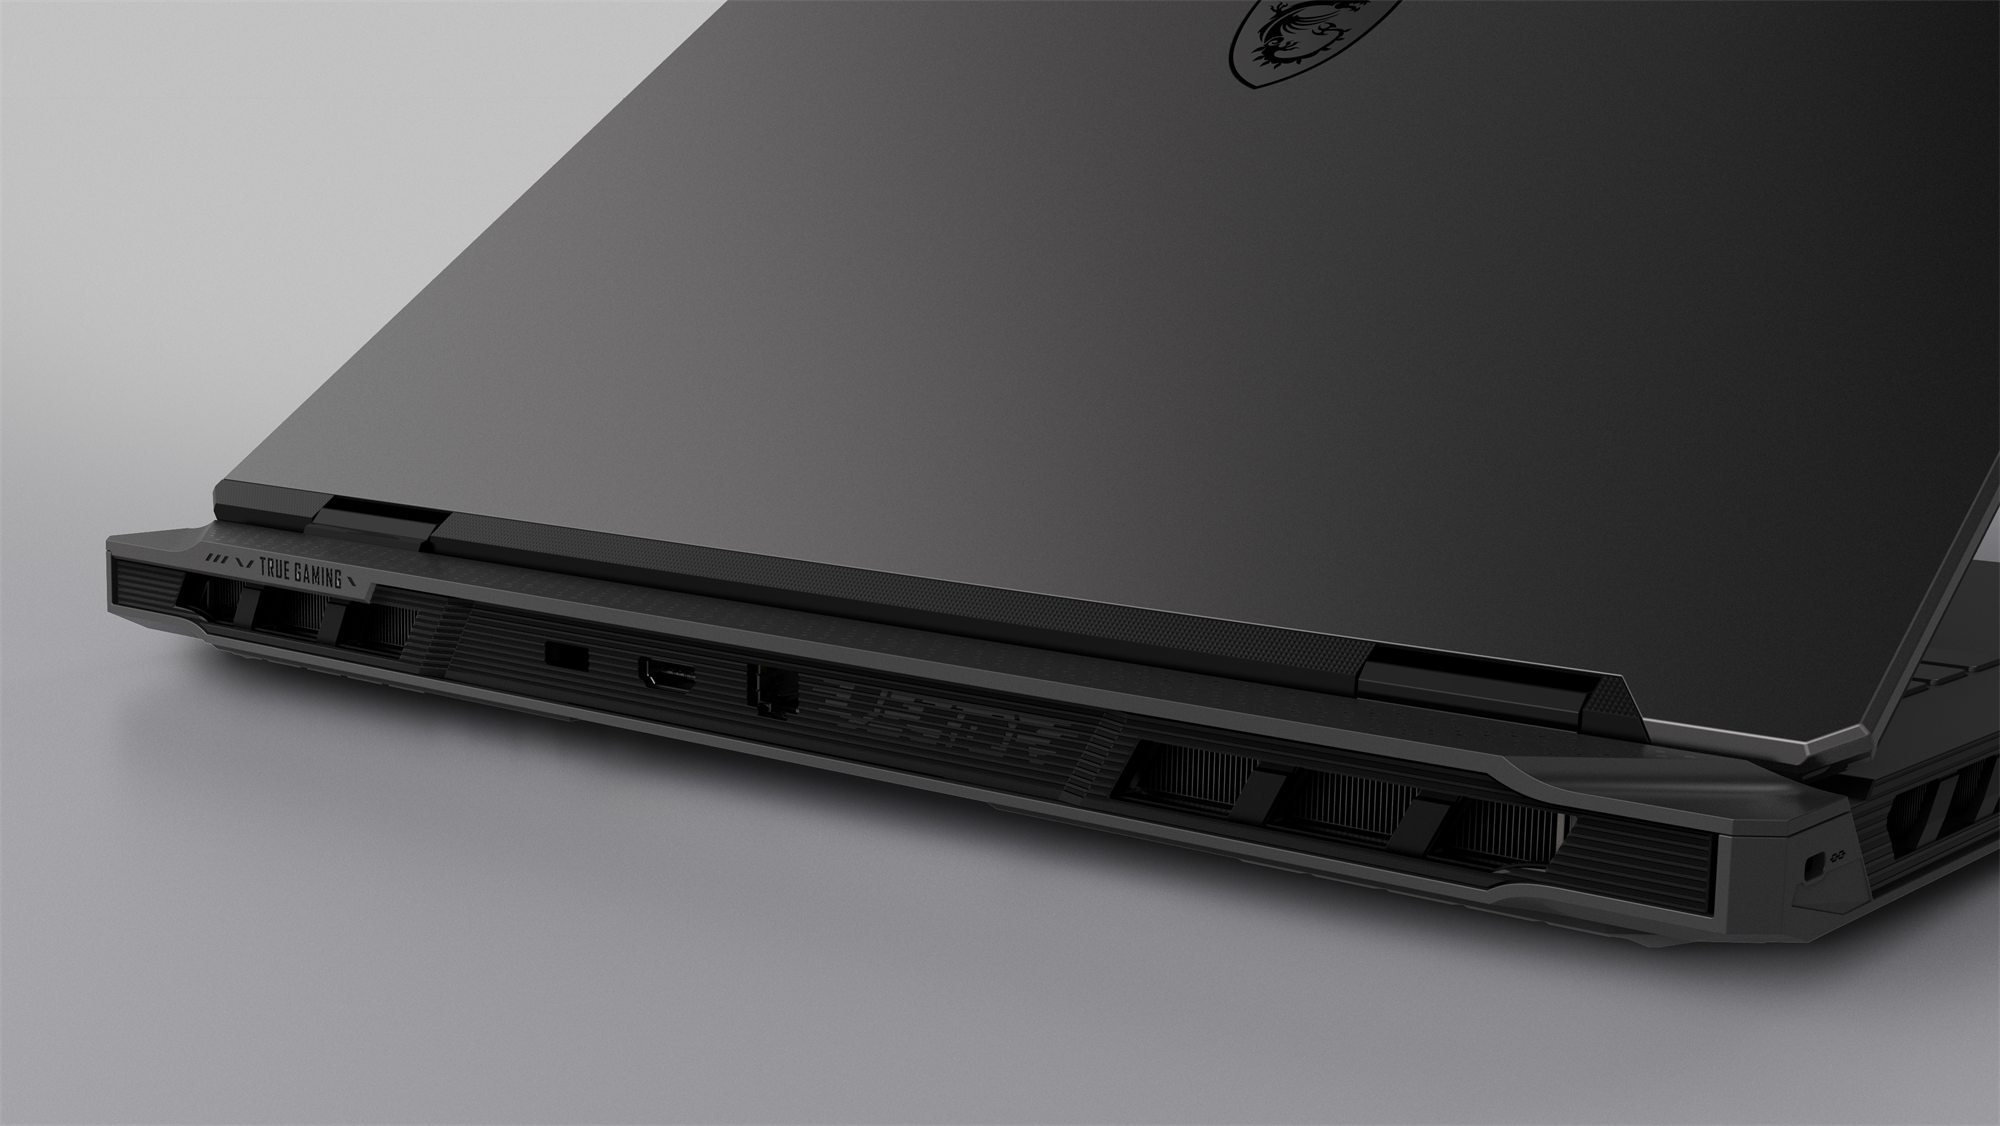
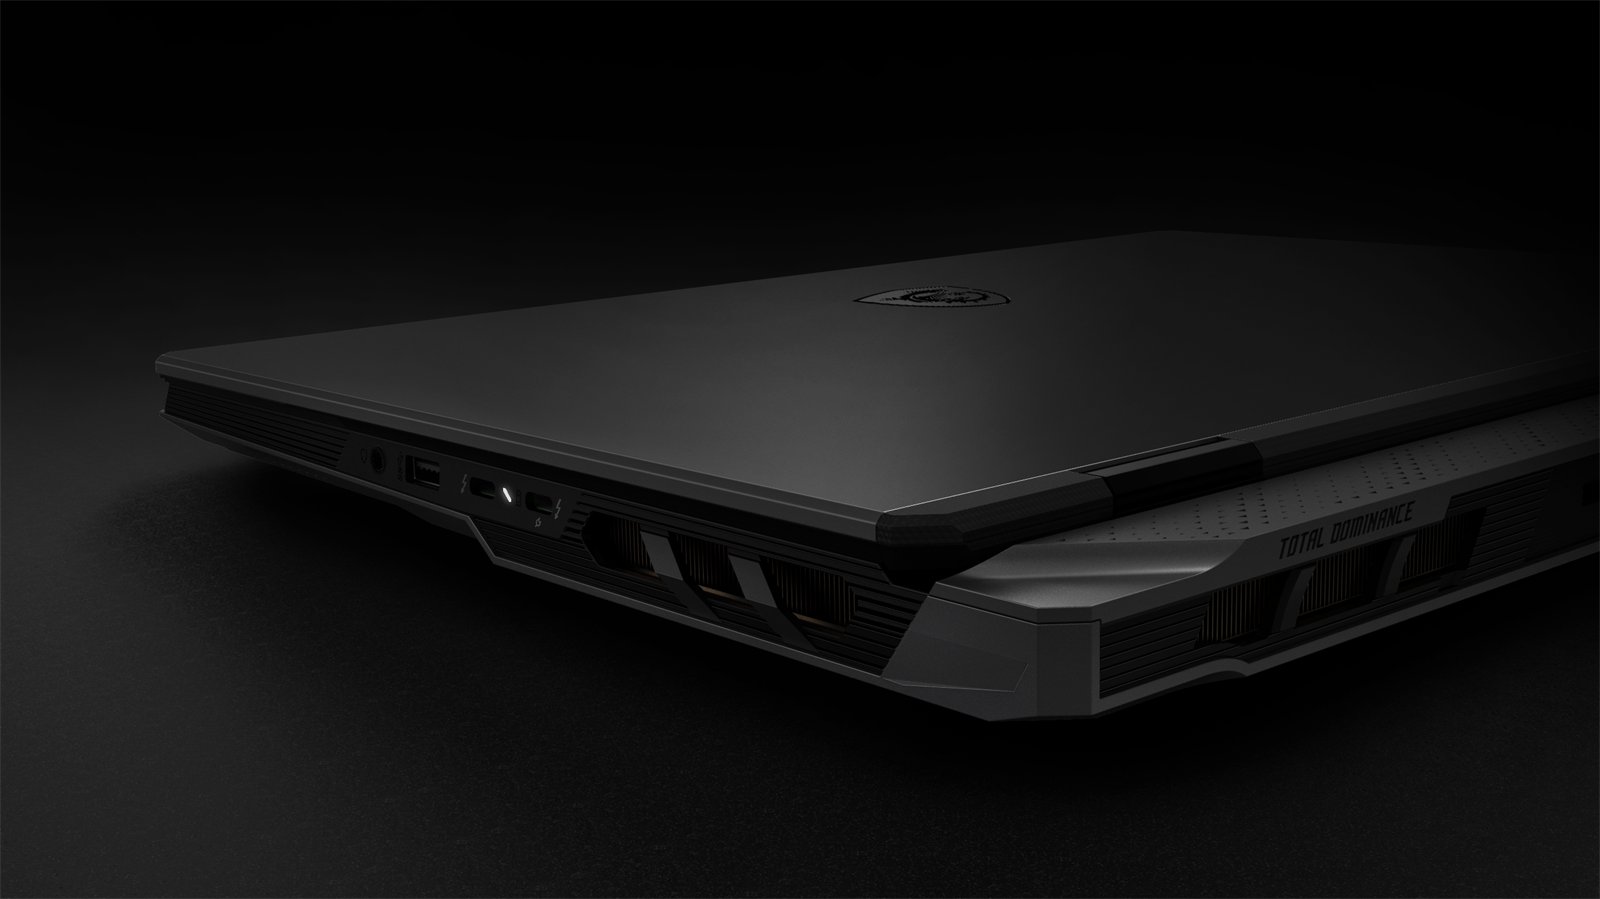
Where Raider 18 has its light bar, Vector 18 has a rear cover in textured plastic. The VECTOR lettering is recessed into that cover and nowhere else, cut by one extra slider in the tool. No print, no extra part, nothing to wear off.Raider 18 放燈條的位置,Vector 18 換成咬花塑膠後蓋。 VECTOR 字樣只凹刻在這個後蓋上,靠模具多開一個滑塊做出來。 不用印刷、不加零件,也不會磨掉。
VECTOR lettering, moulded inVECTOR 字樣,模具成形
Rear cover in the proposal render提案渲染圖中的後蓋
Logo & ColourLogo 與顏色
Three logos,
priced side by side三種 logo,
並排比價
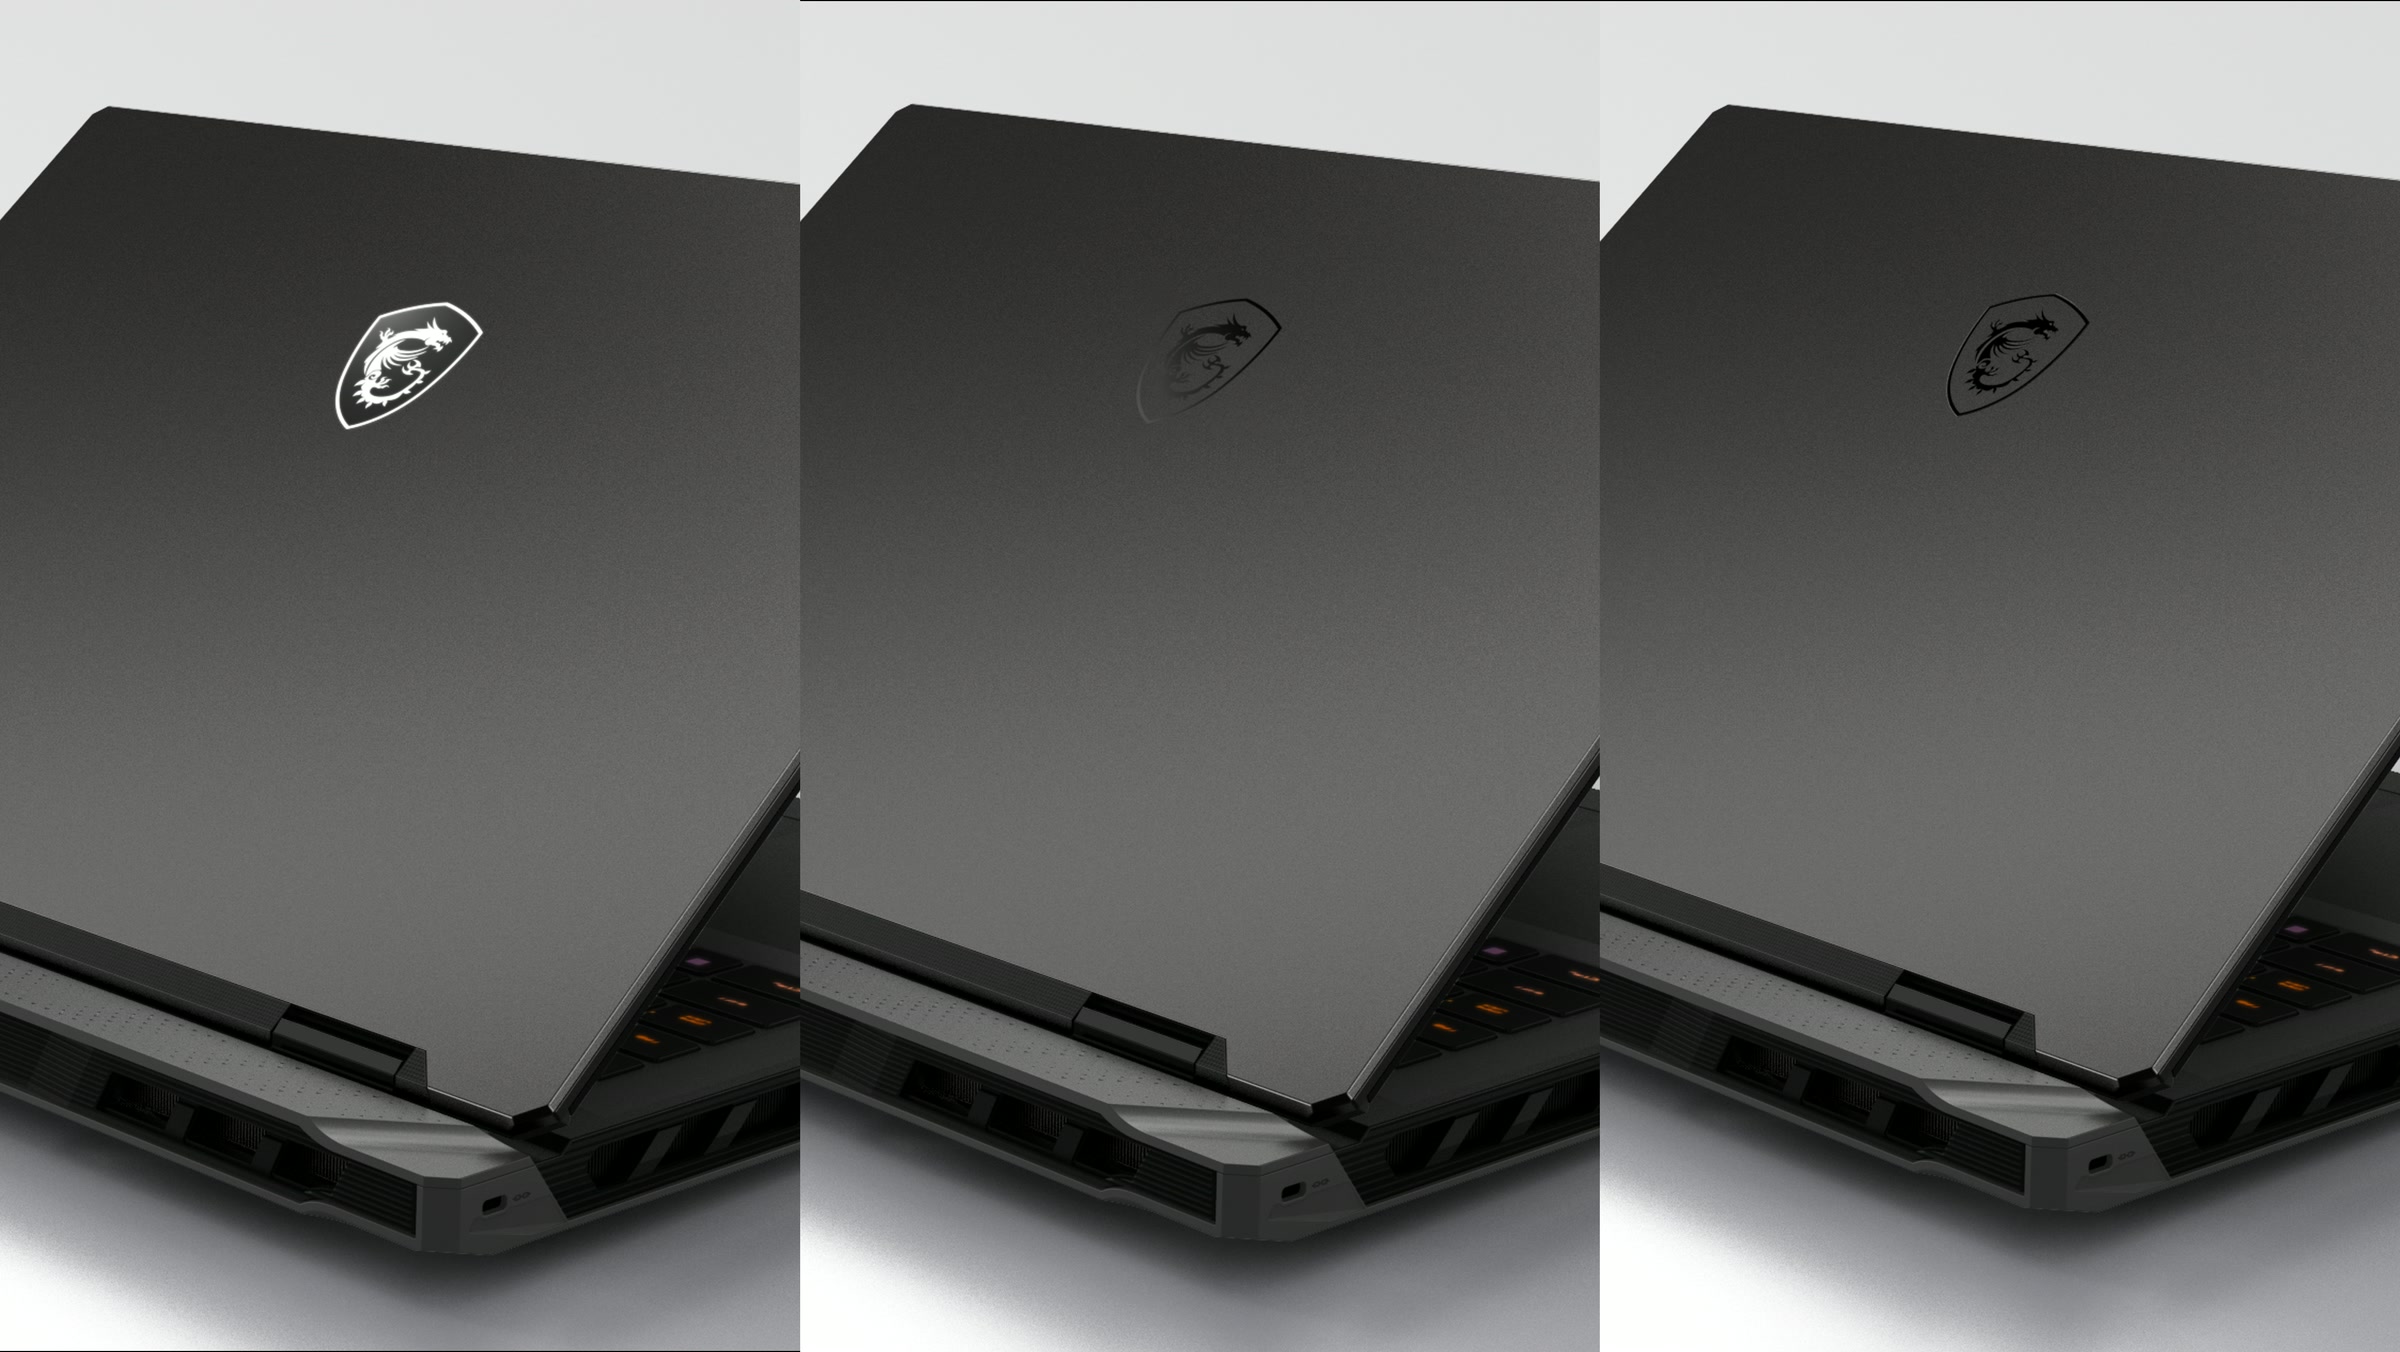
Dropping the illuminated logo was one of the simpler savings, but there were three ways to execute it. I rendered each on the lid and set its cost against the illuminated version. Management chose laser etching, matching Creator X18 HX in size and position.把 logo 的燈拿掉是比較容易省下的一筆,但做法有三種。 我把三種都渲染在 A 件上,並以發光版為基準比較成本。 最後主管選了雷雕,大小與位置比照 Creator X18 HX。
White-lit (non-RGB)白光發光(非 RGB)
1.0× relative cost相對成本
A step back from Raider 18's RGB logo: still lit, but white only比 Raider 18 的 RGB logo 退一步:仍有發光,但只有白光單色
Laser-etched雷射雕刻Chosen採用
~0.8× relative cost相對成本
Sandblast, mirror laser etch, anodise. As on Creator X18 HX噴砂、鏡面雷雕、陽極。 同 Creator X18 HX
Aluminium nameplate金屬鋁銘版
~0.4× relative cost相對成本
As on the GP series同 GP 系列
Cosmos Gray宇宙灰
Ten rounds to one grey十輪,調出一個灰
The aluminium A-side and D-side moved to Cosmos Gray. This model used a different anodising supplier in China, introducing the colour for the first time, so I worked with them directly to hold it to standard. Ten rounds of plates and parts between January and May 2024: too green, not dark enough, too red, gloss too low, then too high. The 30 April part became the standard on 8 May. A teammate checked colour on each round before passing it to me; the requests and the sign-off were mine.鋁件 A 件與 D 件改為宇宙灰。 這款機種的陽極廠不同,是第一次導入這個顏色,所以由我直接與中國陽極廠來回把關。 2024 年 1 月到 5 月共十輪色板與工件:偏綠、不夠黑、偏紅、光澤太低、又太高。 最後以 4 月 30 日的工件,在 5 月 8 日定為標準。 團隊成員協助先看色再交給我確認,發信要求與最後決定都由我負責。