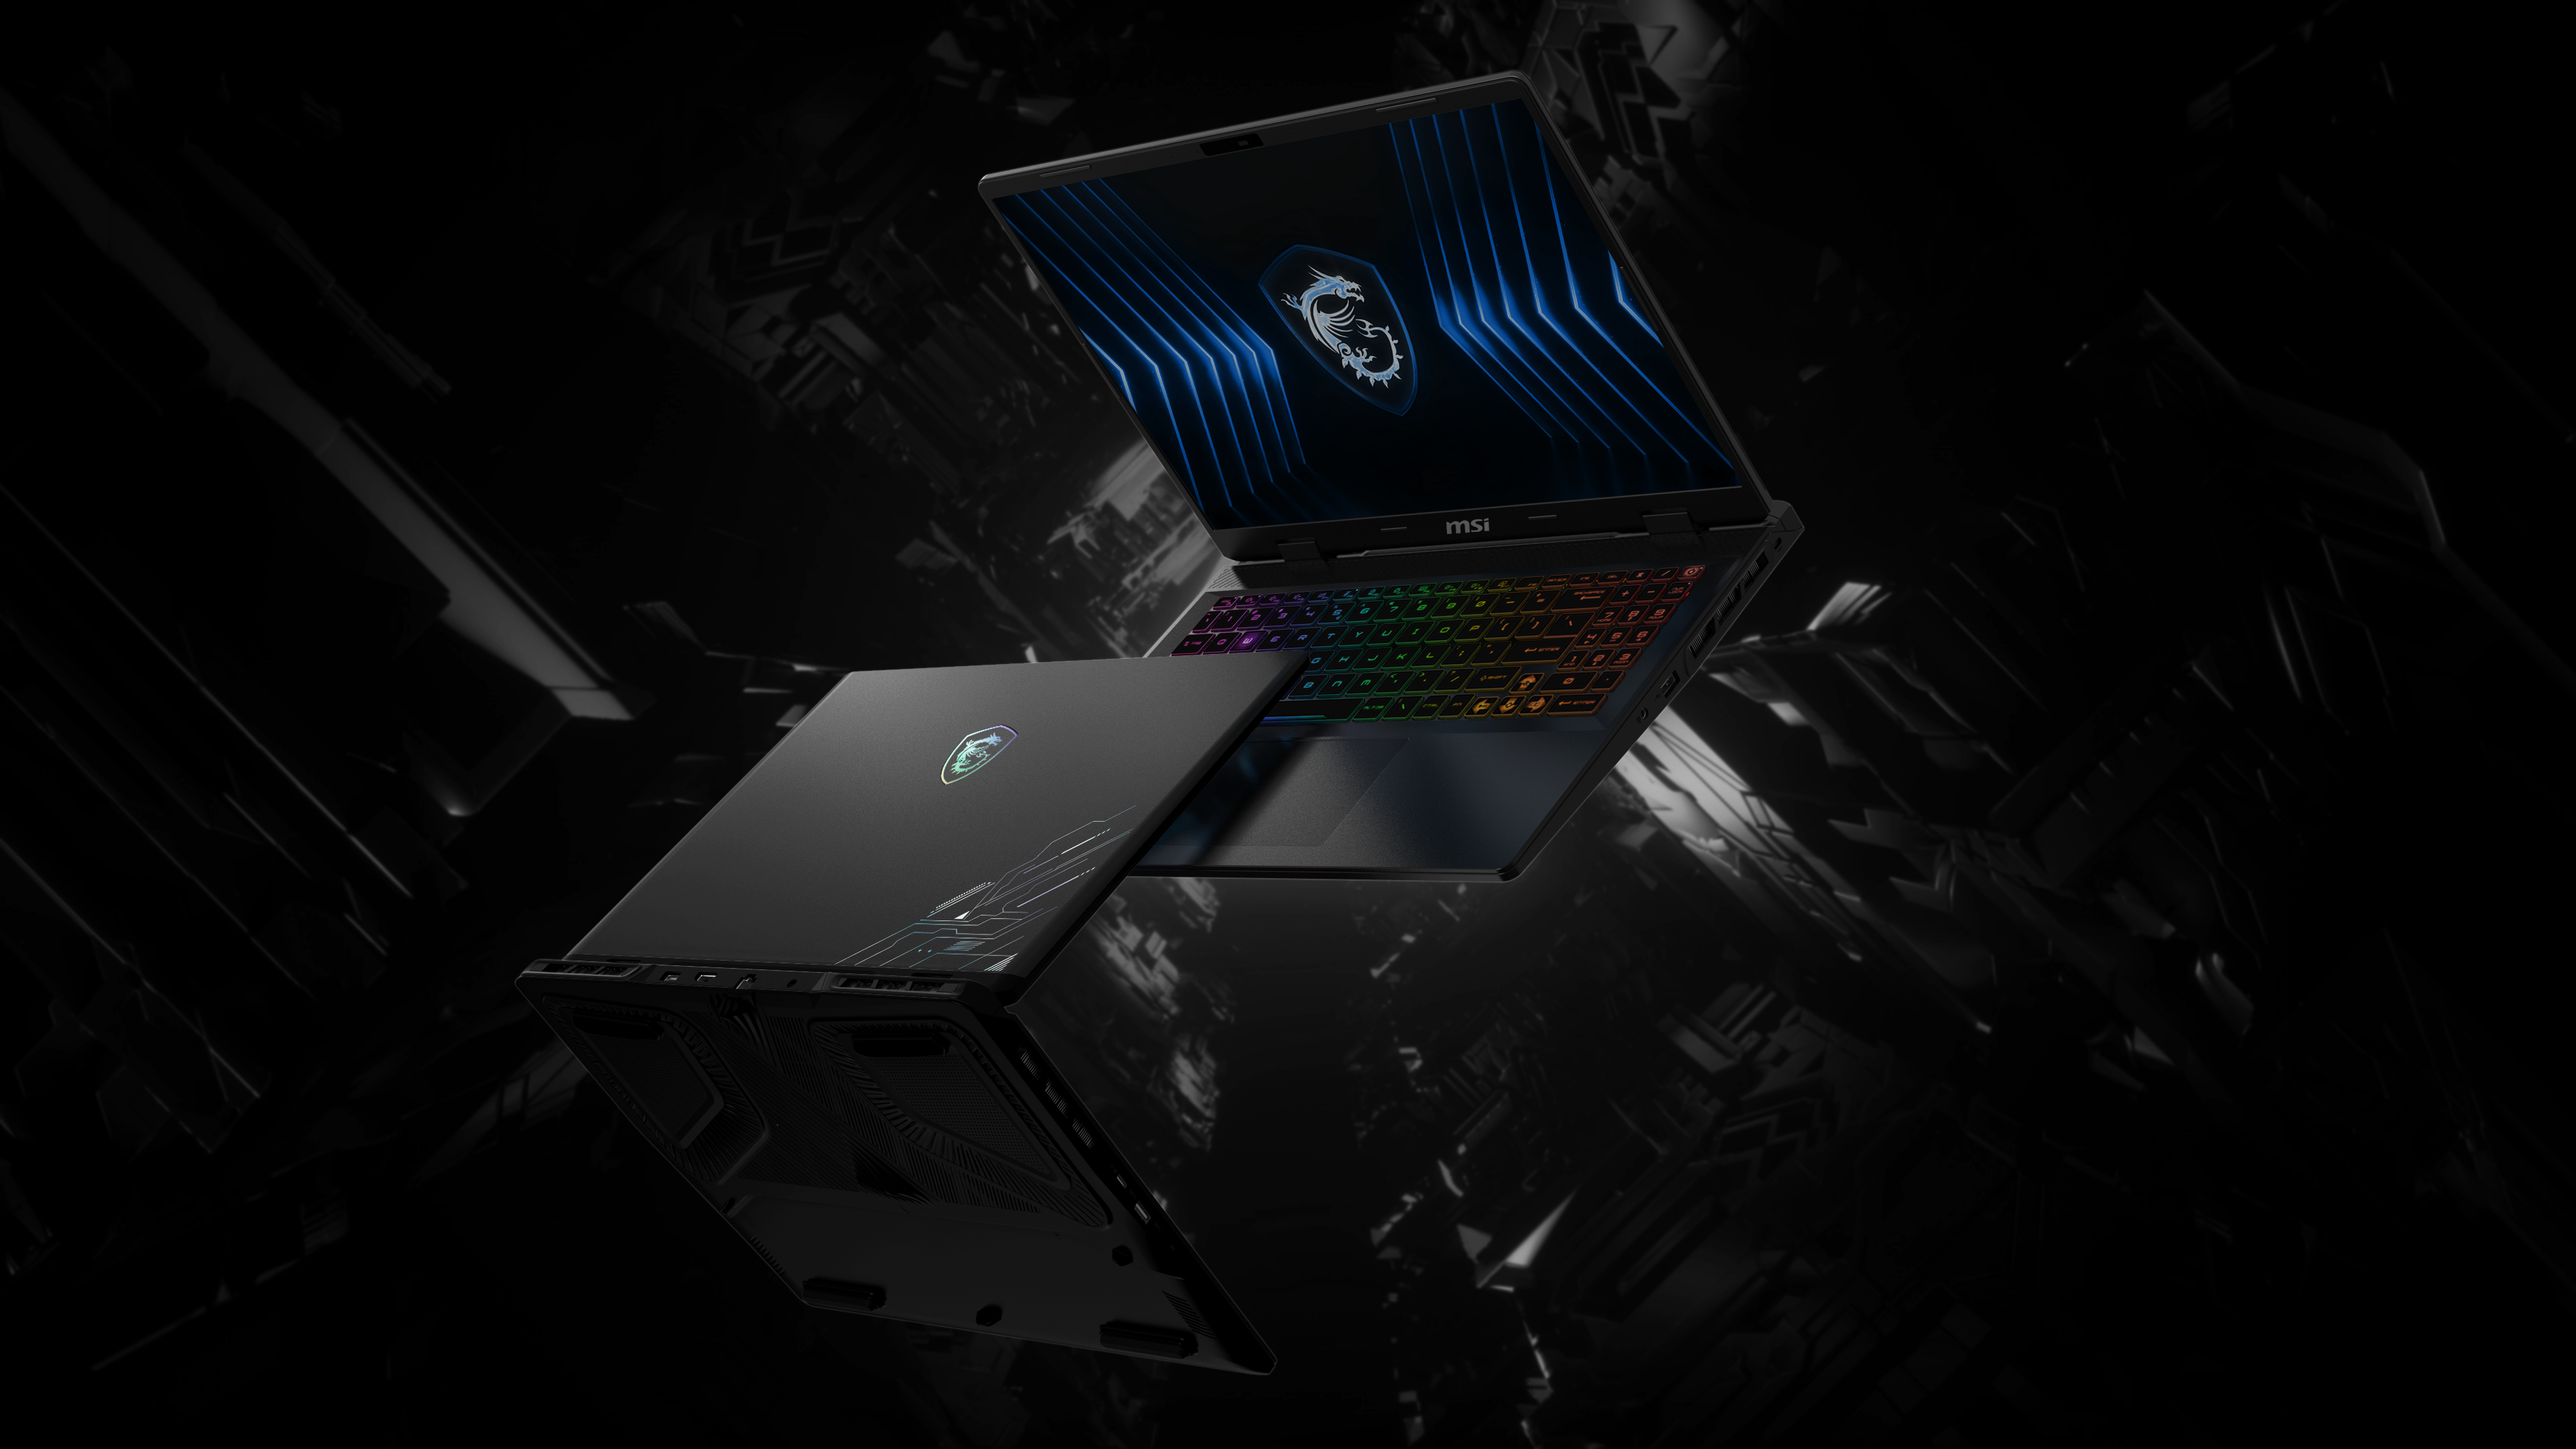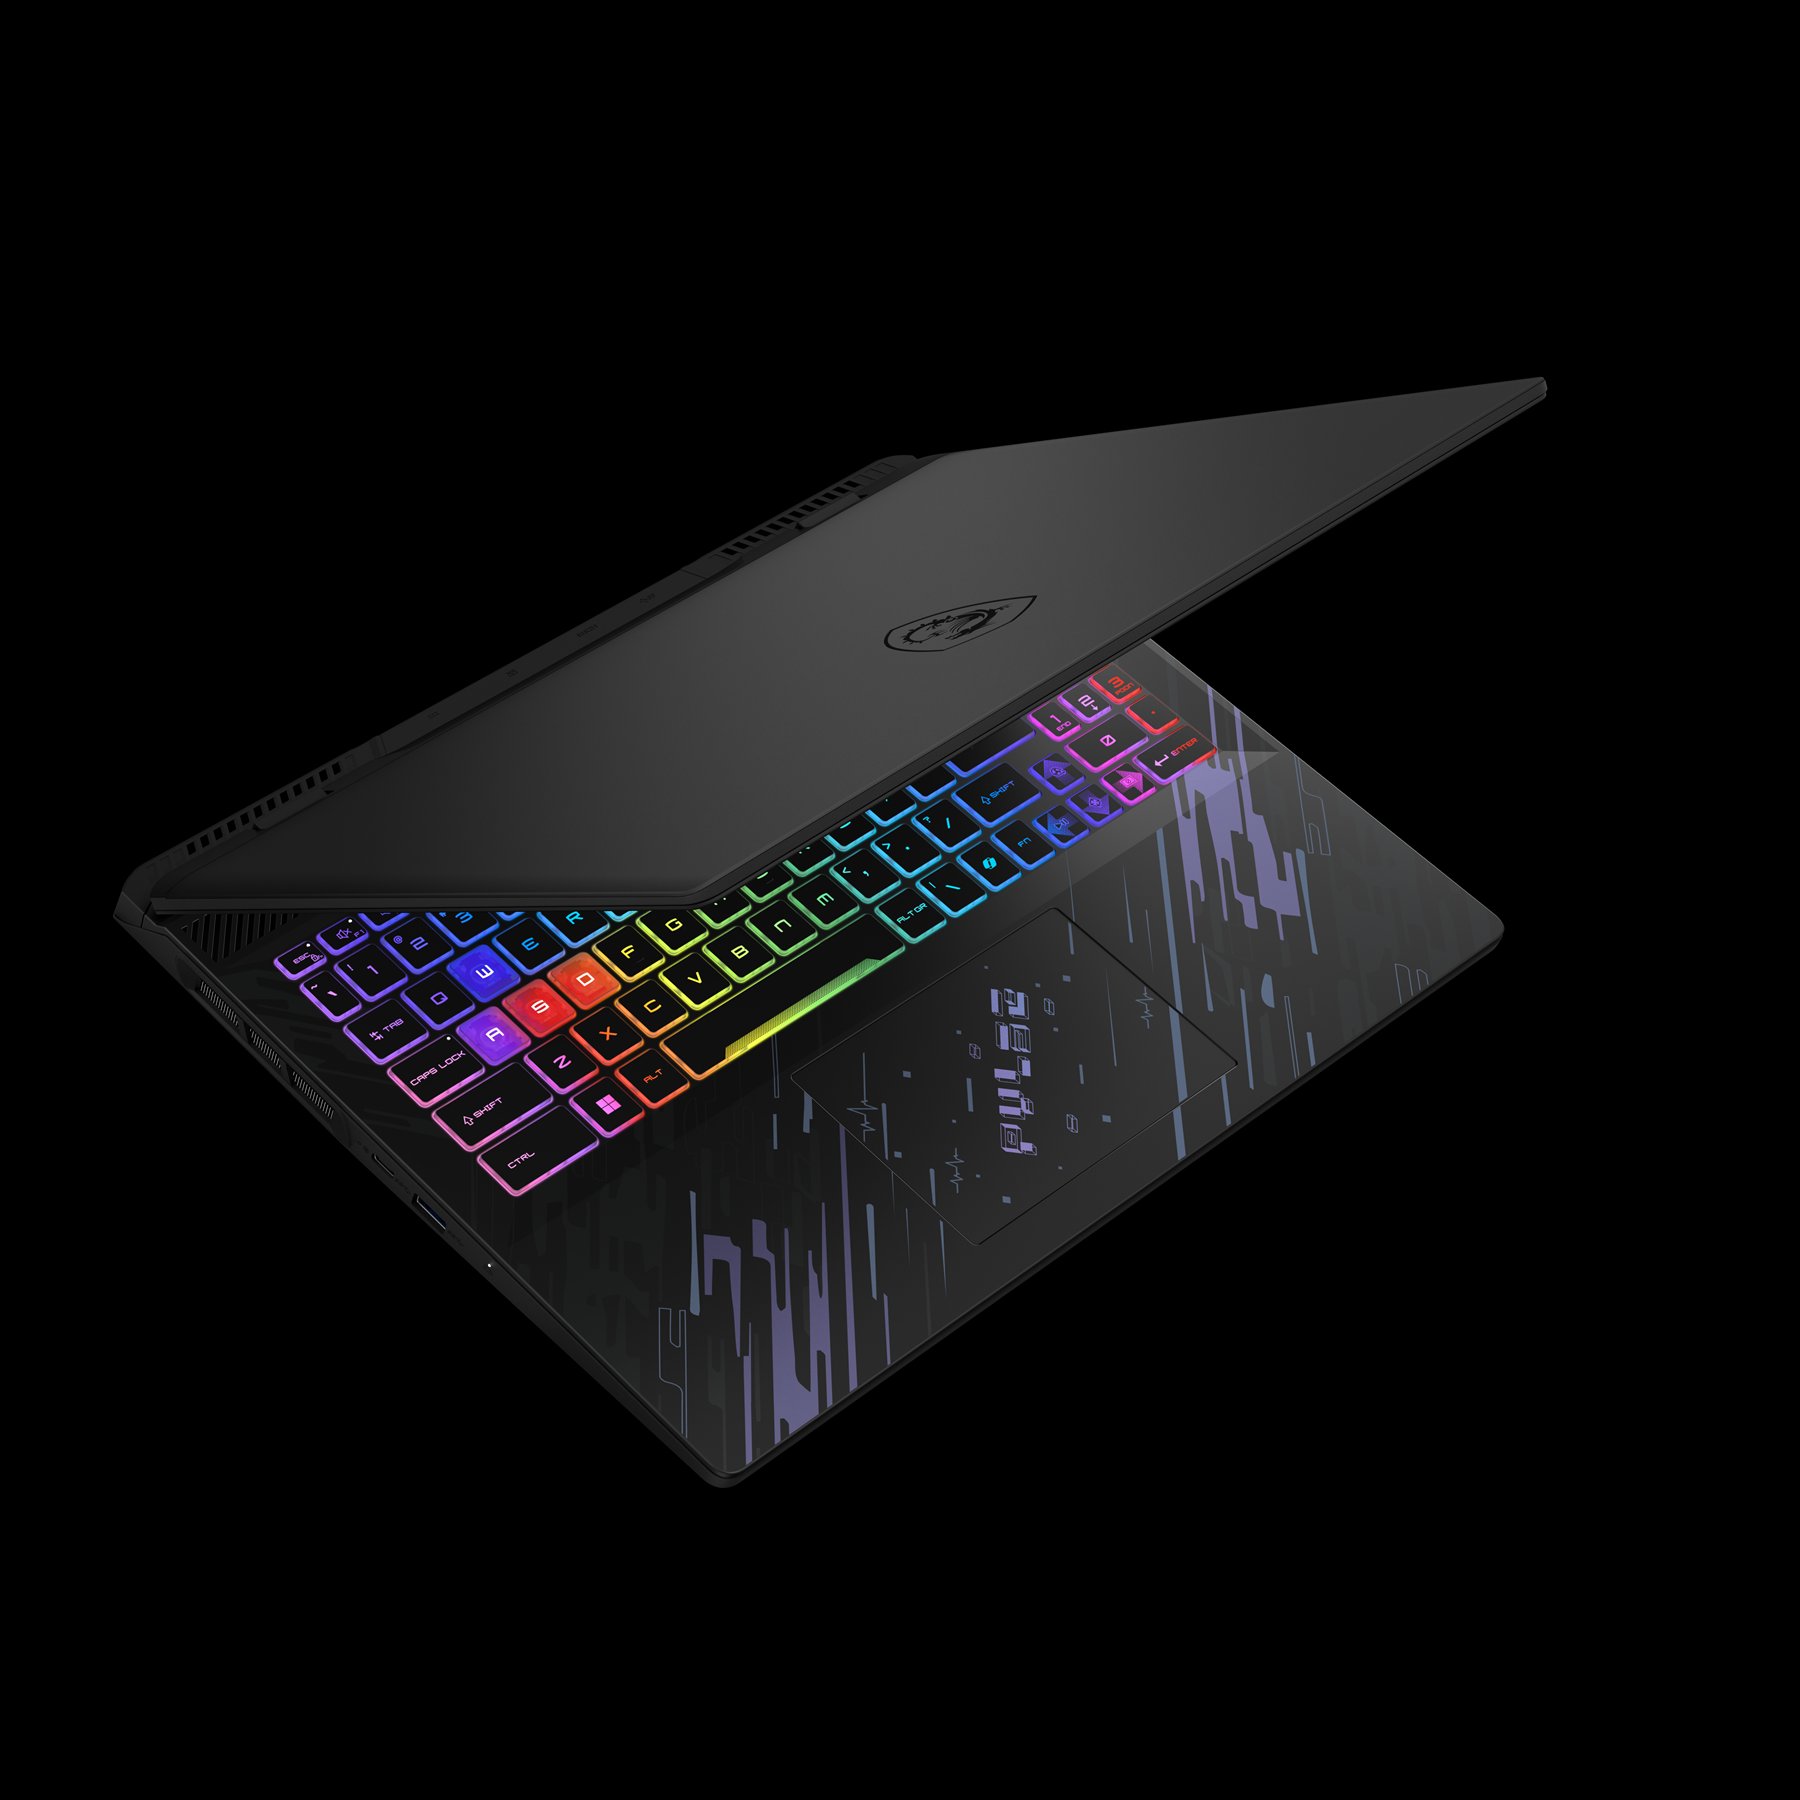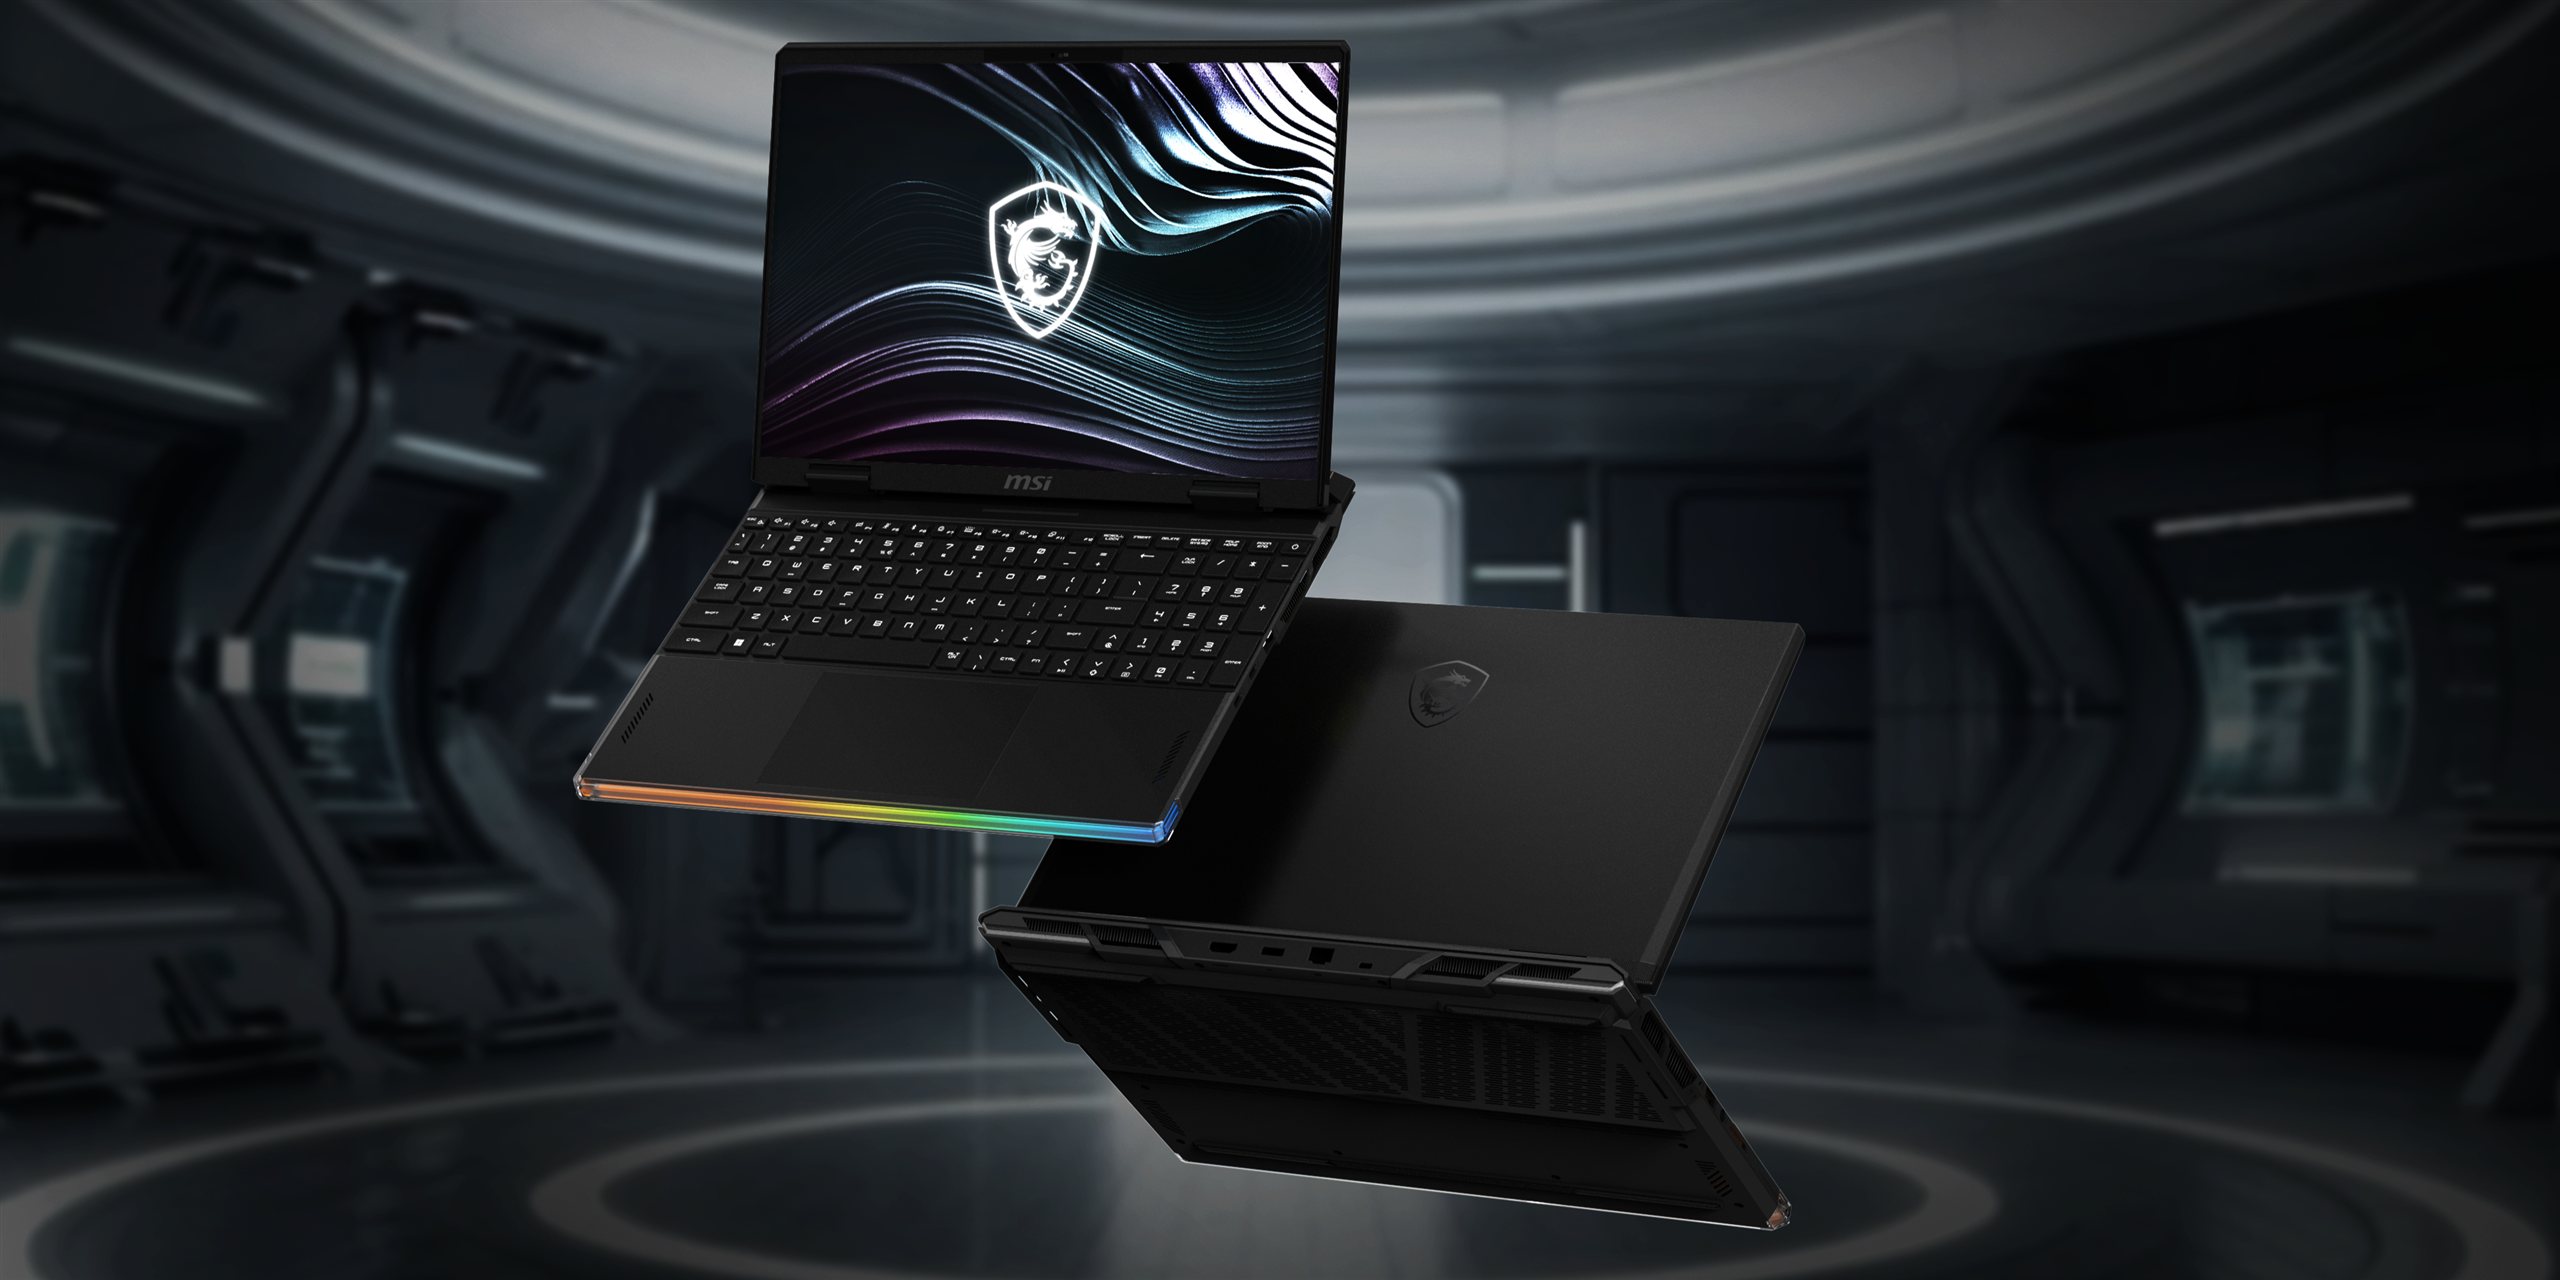
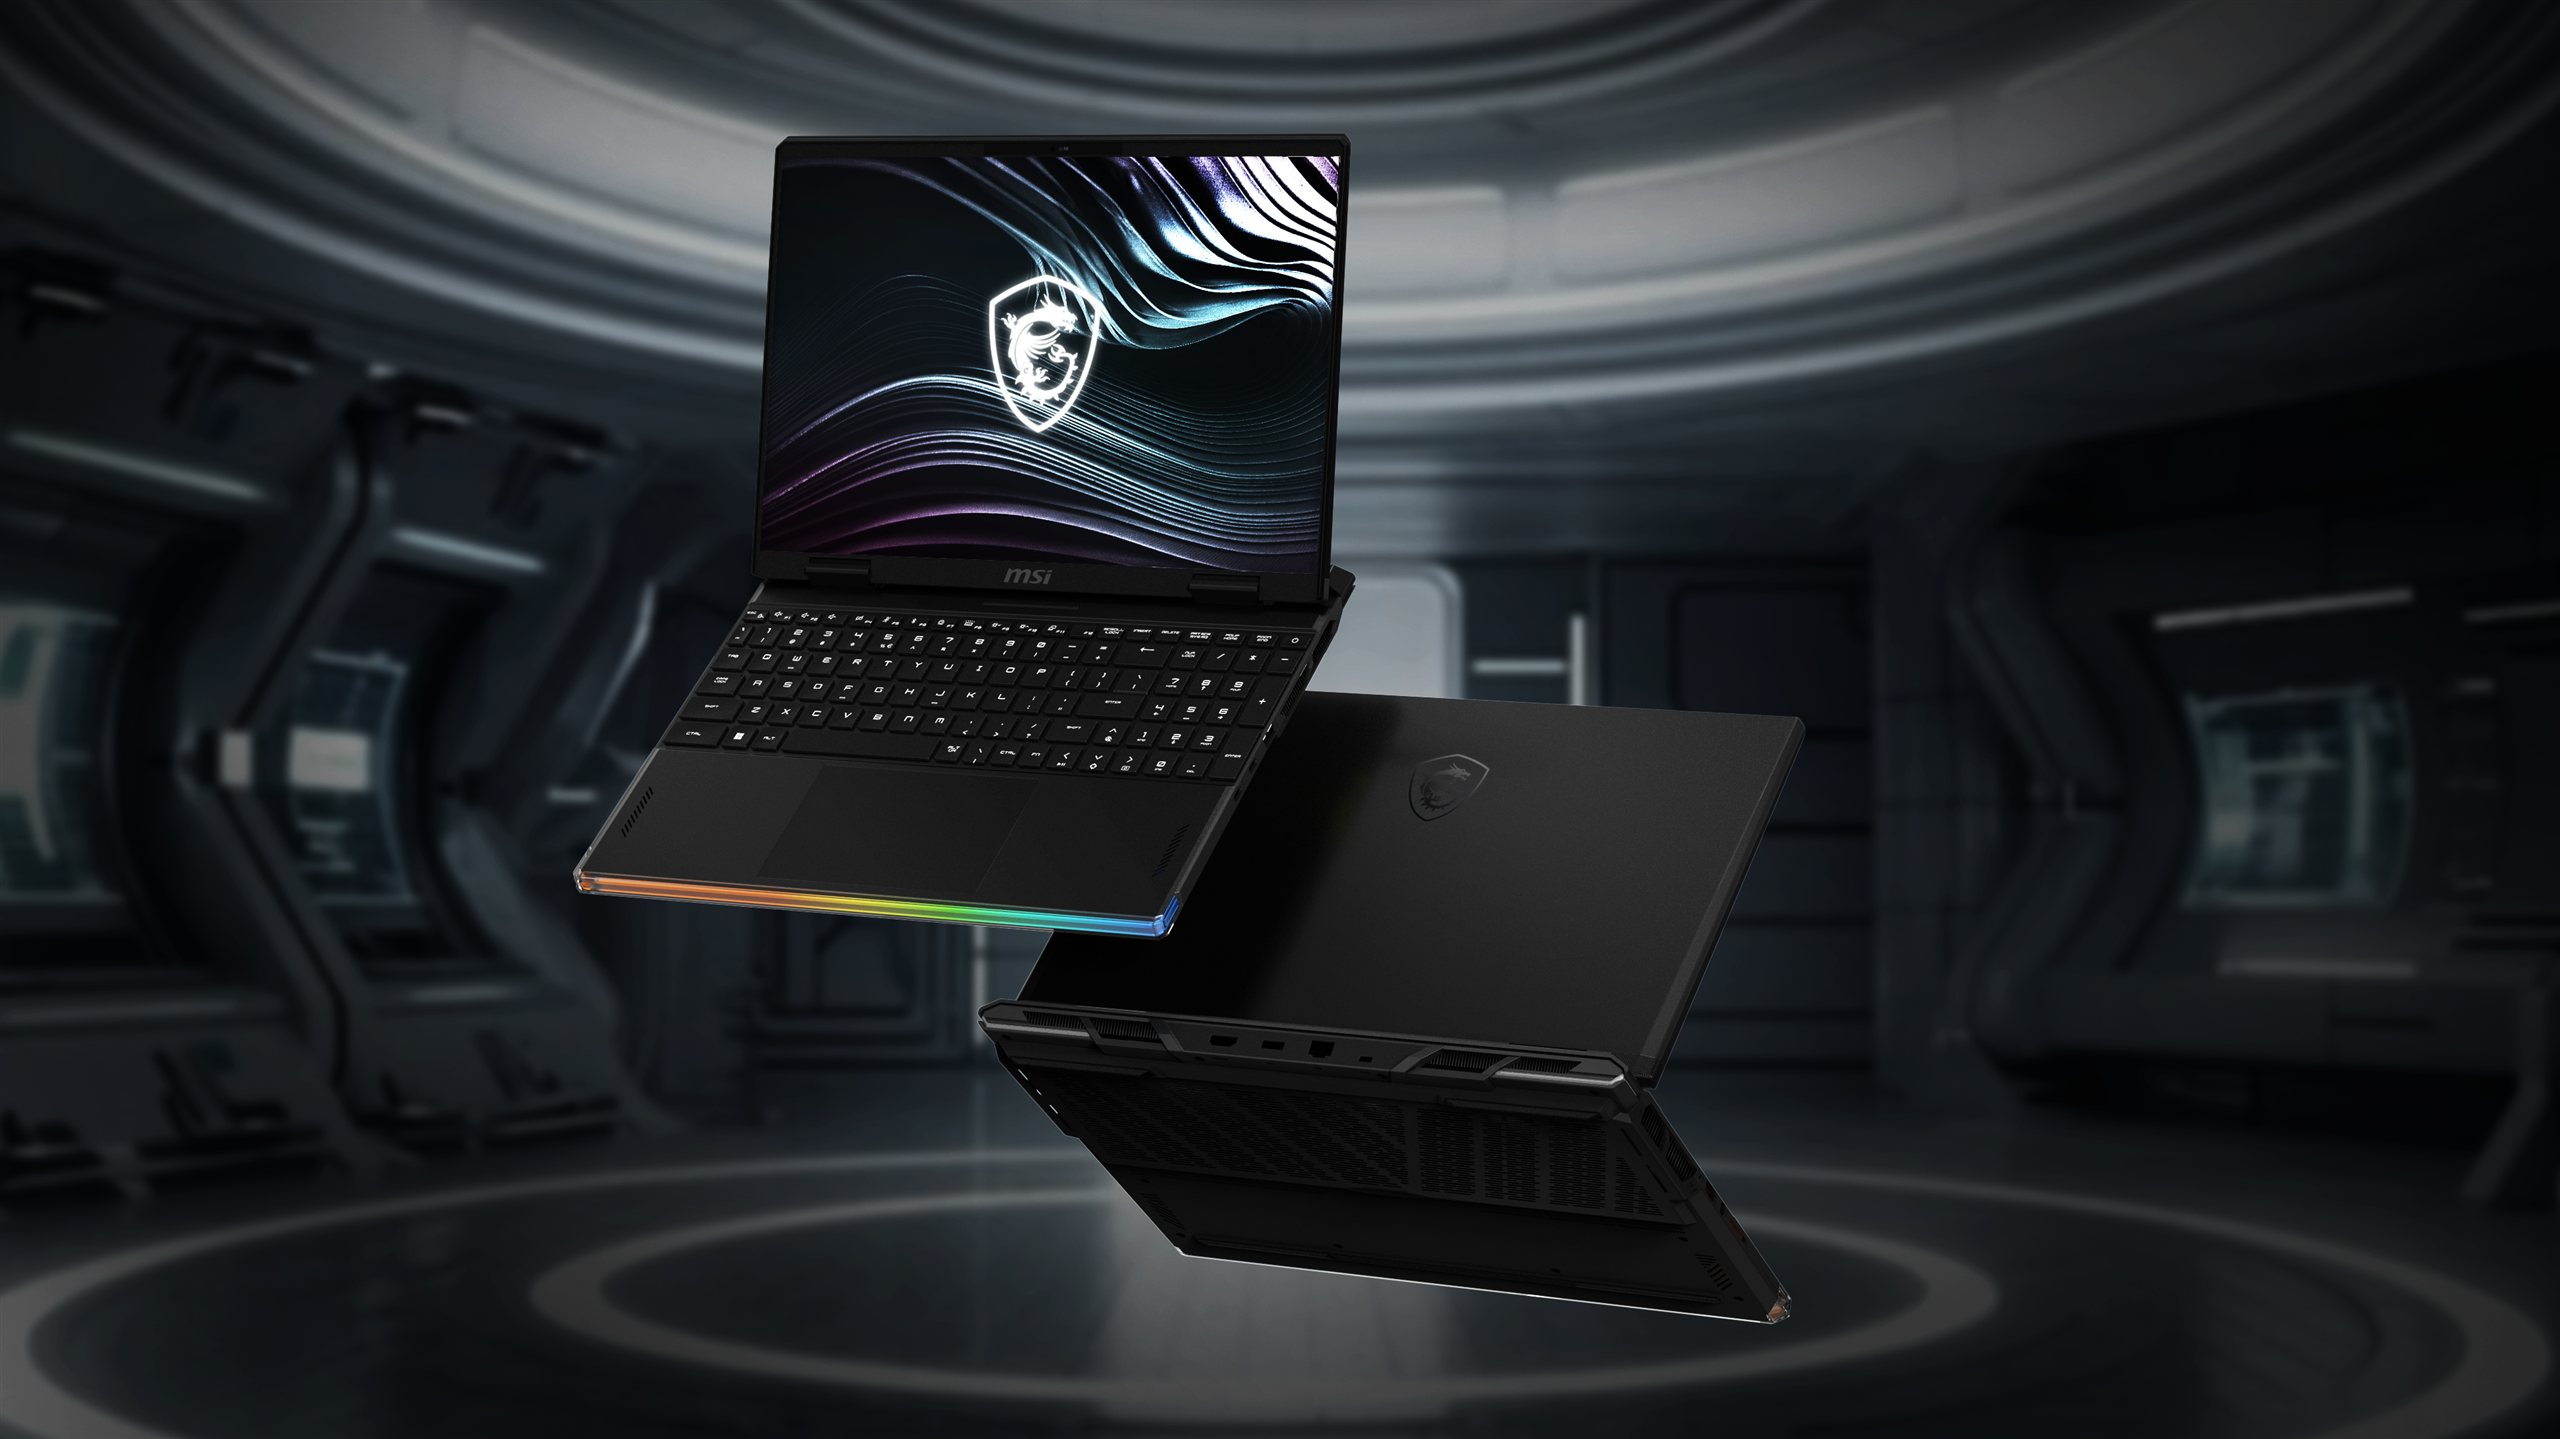
A gaming-laptop proposal built on minimalist deconstruction. Sleek shapes and wraparound lighting create a floating effect that strips away visual weight.
以極簡解構為核心的電競筆電提案。俐落形面與環繞燈效創造懸浮感,大幅削減視覺重量。
I proposed the ID direction and proved it physically, from concept and RGB lighting design through to a working mock-up lighting model built with light guides, LED strips and fibres.
我提出這個 ID 方向並實體驗證,從概念與 RGB 燈效設計,到以導光件、LED 燈條與光纖打造可運作的燈效驗證模型。
Pitched three directions, then developed the one taken forward, a floating body wrapped in light, through tooling review and verification.提出三個設計方向,並將後續推進的方案,也就是被光包覆的懸浮機身,一路帶到模具檢討與驗證。
A 50-degree slashed chamfer carves shadow into the side view; floating and segmentation through tough shapes and light; a slimmer hinge cover.50 度斜切倒角在側視刻出陰影;以硬朗形面與光做出懸浮與分割;更輕薄的轉軸蓋。
Post-Computex rework driven by tooling feedback: slider draft angles, wall thickness, sink-mark risk and diffuser simplification.Computex 後依模具回饋修正:滑塊拔模角、肉厚、縮水風險與 diffuser 造型收斂。
Compared LED light-bar and fibre modules on brightness, LED count and mechanical space, verified with light-guide mock-ups.比較 LED 燈條與光纖模組的亮度、LED 用量與機構空間,以導光件模型驗證。
The references ran from automotive design to spaceship cabins: the Hyundai N Vision 74's slope, the Audi A6 Avant's rear, the BMW i5's tail light. Surfaces that feel engineered, light that wraps the volume instead of decorating it.參考來源從汽車設計到太空艙:Hyundai N Vision 74 的斜背、Audi A6 Avant 的車尾、BMW i5 的尾燈。 講究工程感的表面,以及包覆體積、而非裝飾表面的光。
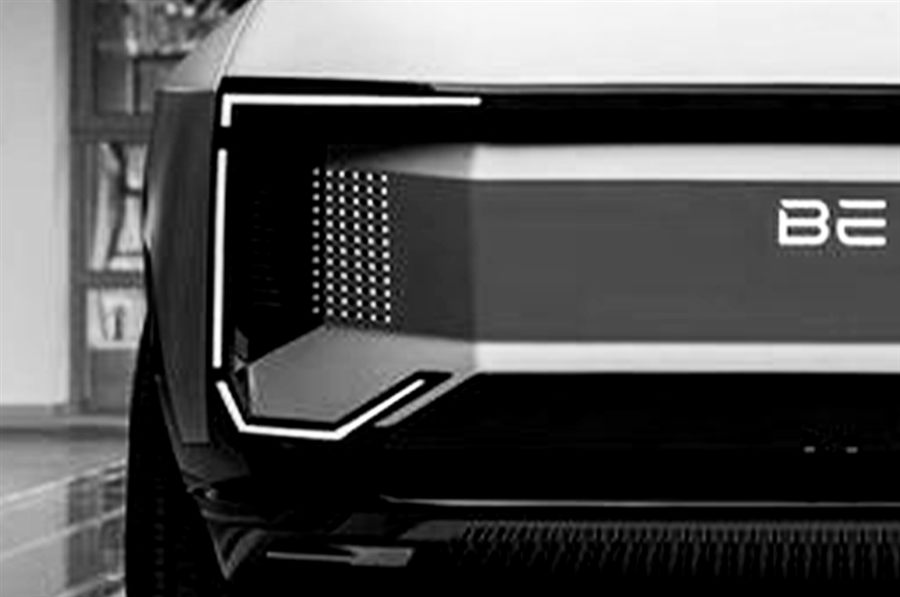
Automotive Light Signature車頭燈語
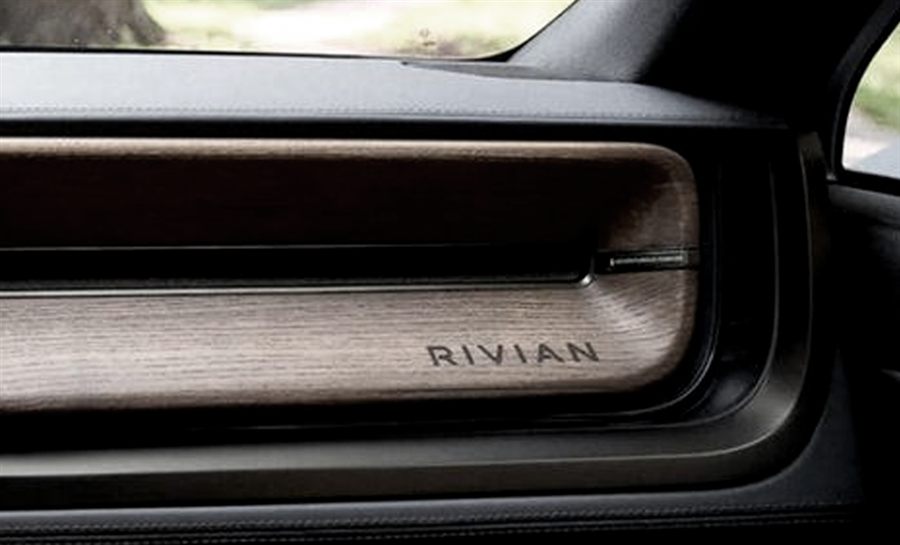
Floating Trim · Clean Cut懸浮飾板 · 俐落切線
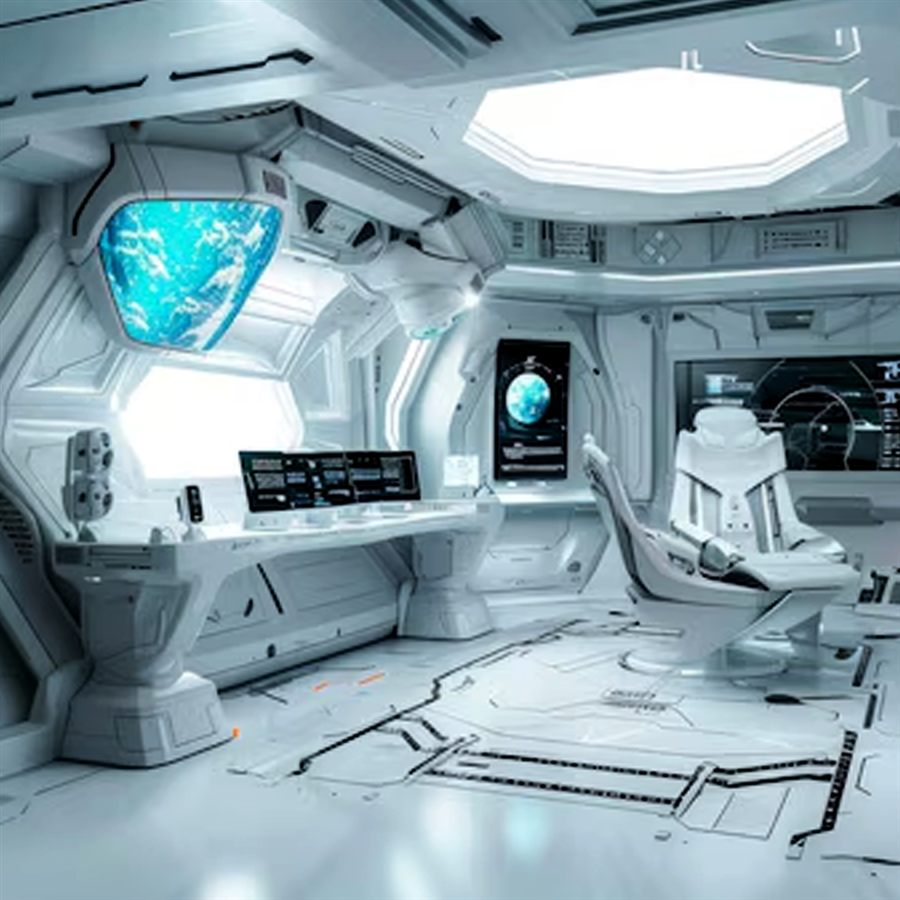
Spaceship Cabin太空艙
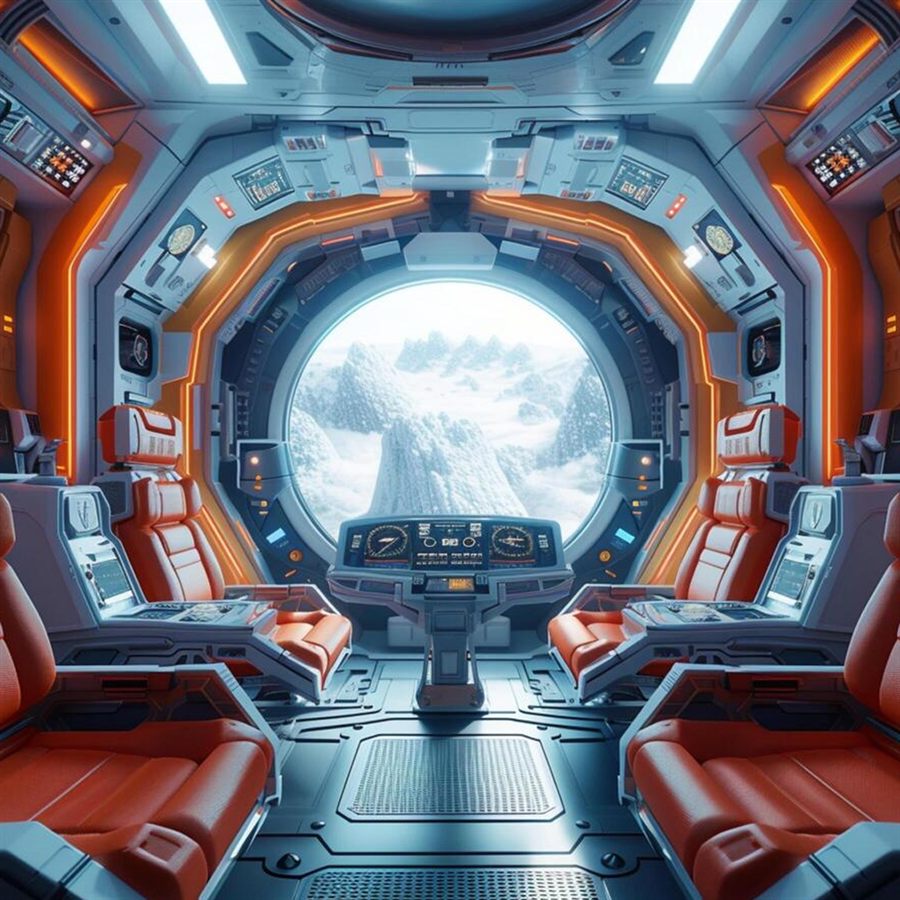
Wraparound Cabin Light環繞艙內光
The first pitch put three directions on the table. The one that went forward into tooling review and mock-up verification was a floating body wrapped in light, deconstructed enough to read thinner than it measures.首輪提案端出三個方向。 後續進入模具檢討與實體驗證的,是這個被光包覆的懸浮機身,以解構手法讓它讀起來比實際更薄。
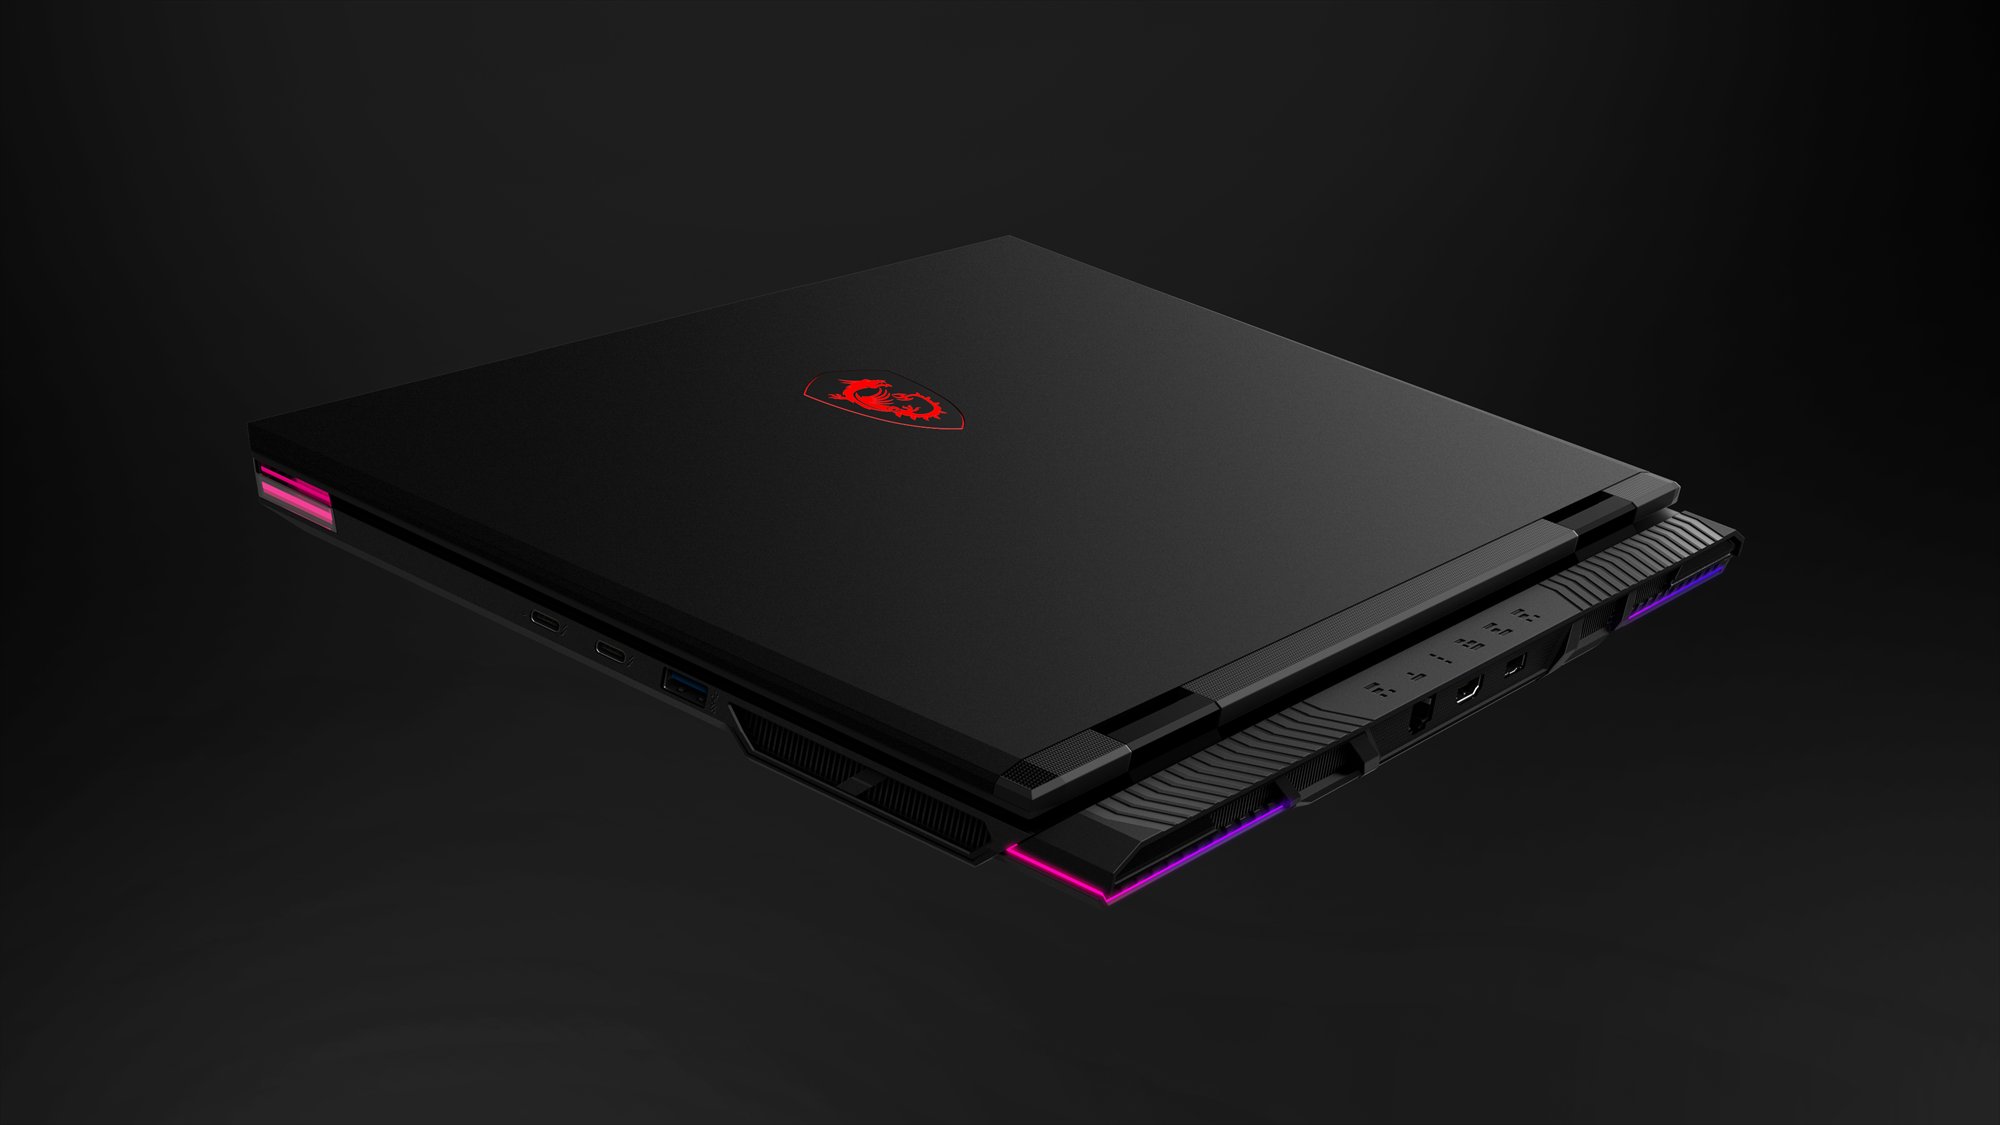
V1 proposal. The direction taken forward for verificationV1 提案。 後續進入驗證的方向
A 50° slash carves shadow into the side view, making the whole body read lighter than it measures. Clean straight cuts trim the mass away, and the hinge cover was slimmed to match.50° 斜切在側視刻出陰影,讓整個機身讀起來比實際更輕。 俐落的直切線削去量體,轉軸蓋也同步收薄呼應。
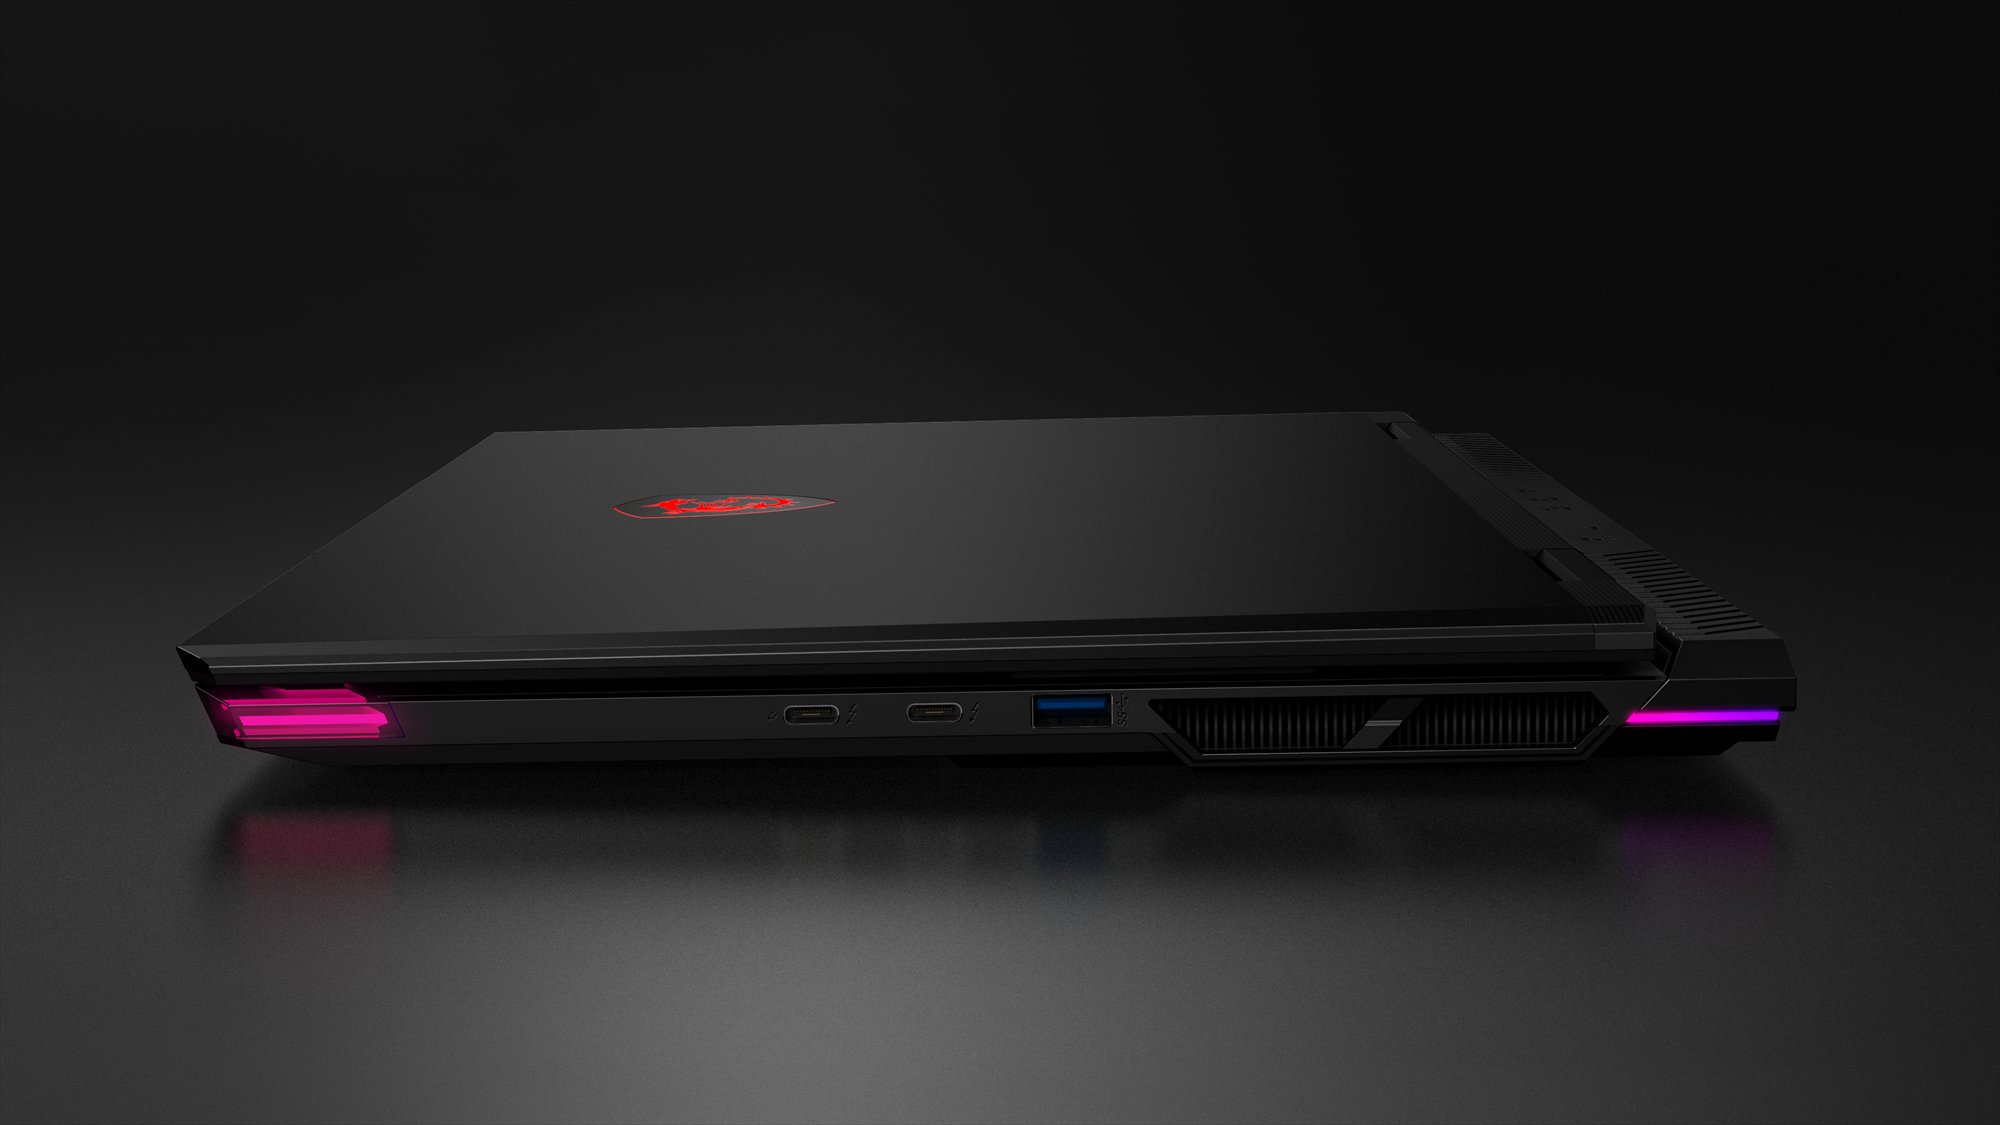
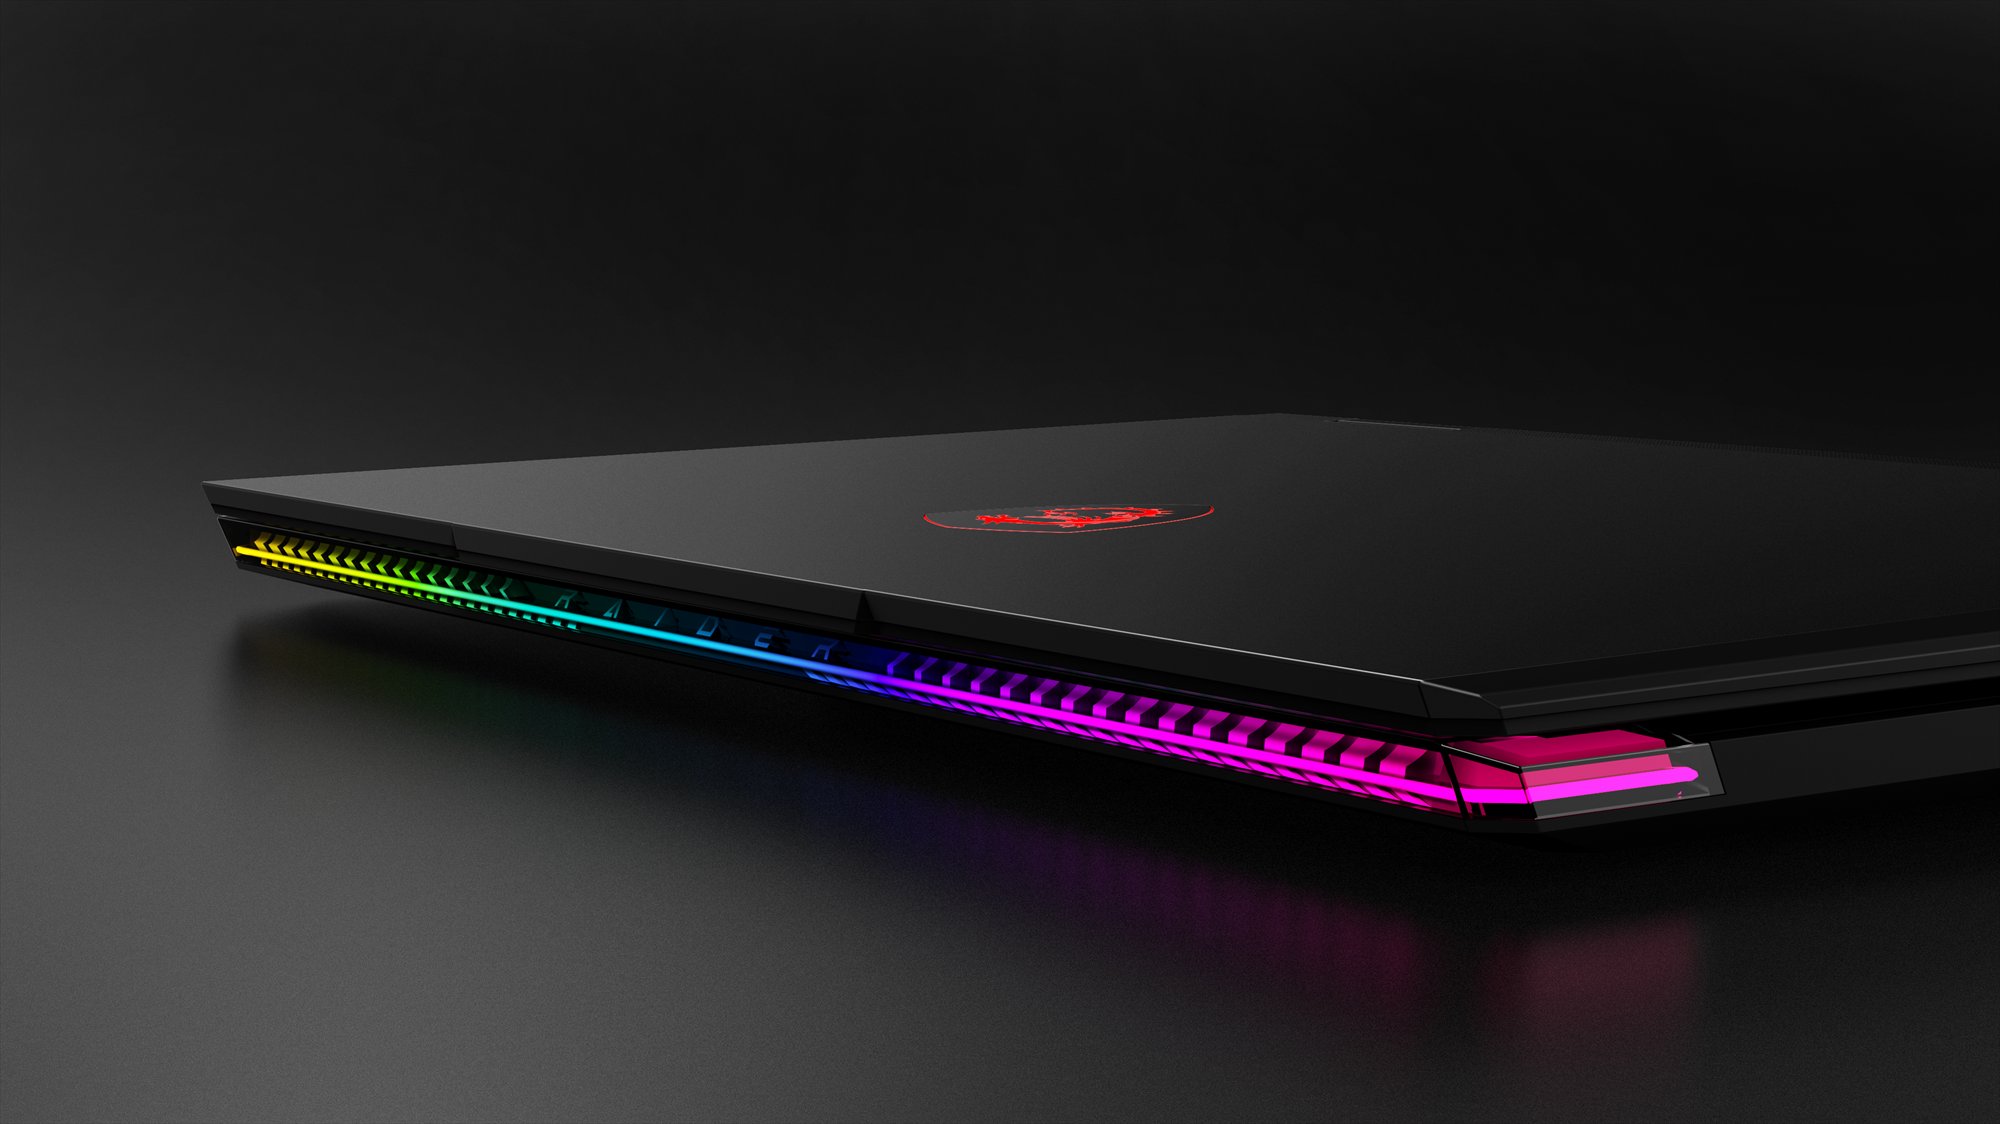
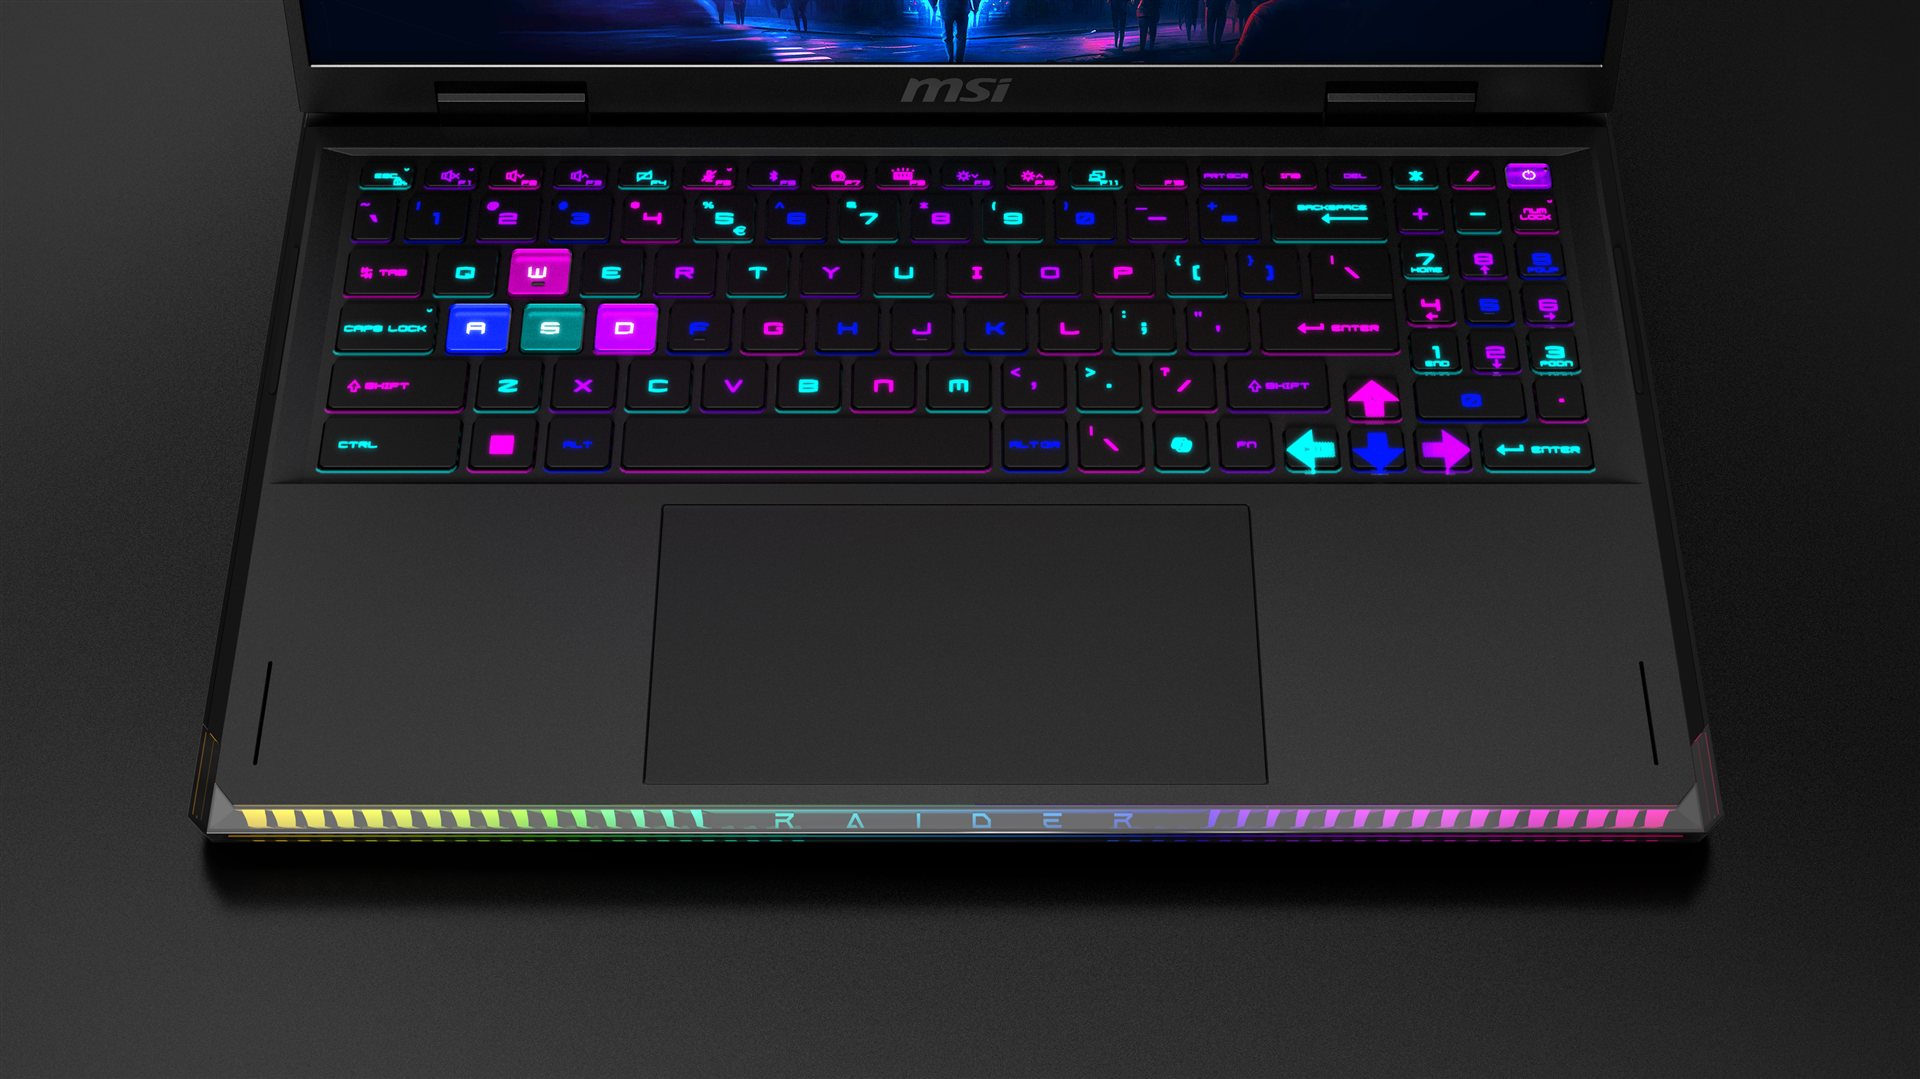
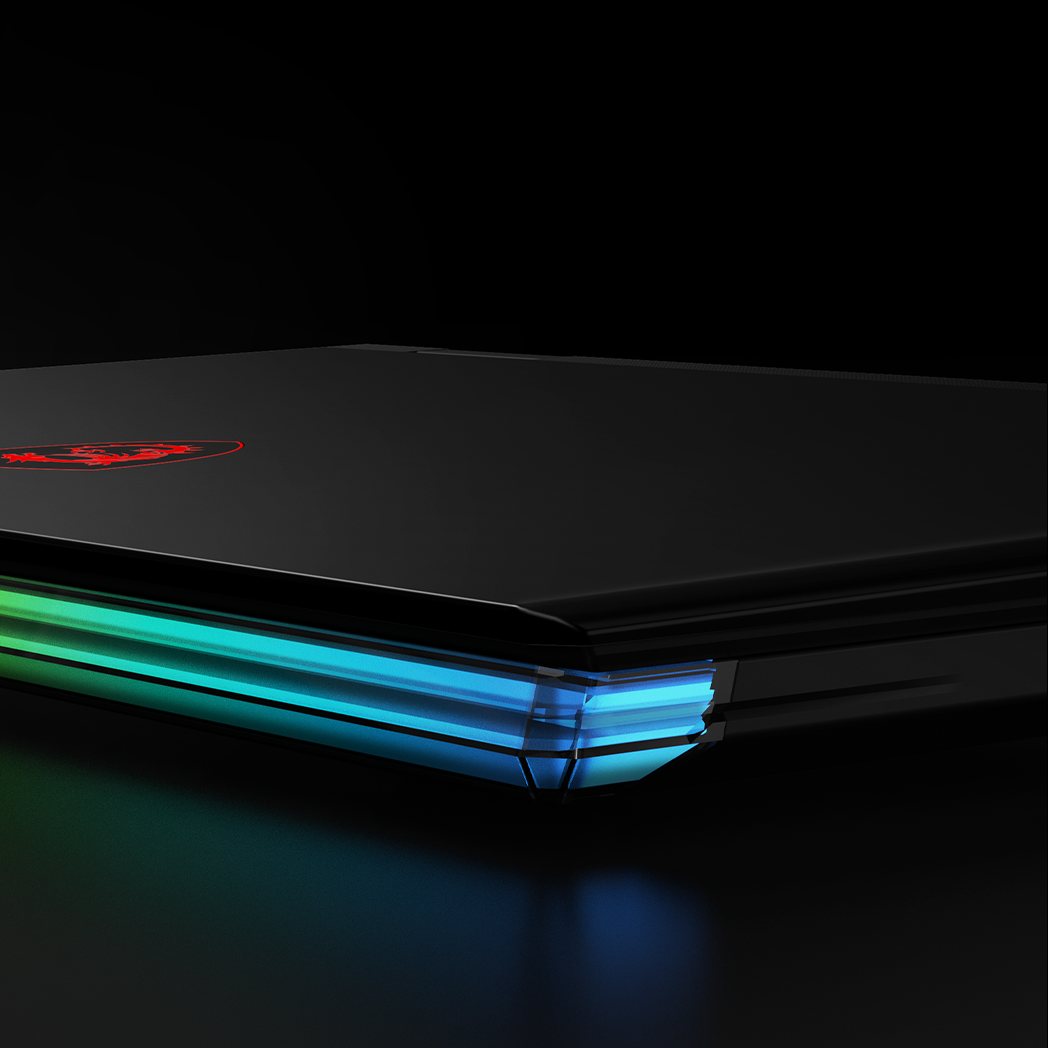
Tough shapes split the volume into two layers, and the wraparound light band separates them, running continuously along the front edge and corners. In the dark, the top body appears to hover on a ring of light.硬朗形面把量體切成兩個層次,環繞光帶再將它們分開,沿前緣與切角連續延伸。 在暗處,上層機身彷彿懸浮在一圈光上。
The review backed the concept far enough to fund a tooling mock-up, so this light got built, not just rendered. What came back from the supplier and the model shop reshaped it, and taught me what the signature would actually cost to make.提案獲得支持,公司願意花錢做模型驗證,所以這組燈效是真的做出來,不是只有渲染。 供應商與模型廠的回饋重塑了它,也讓我看清這組燈語真正的製造代價。
Drawings and the lighting concept went out to the module supplier, Chicony, for a first read. The reply came back as a build spec, not a yes or no.把圖面與燈光概念發給燈效模組供應商群光做初步評估。 回來的不是可不可行,而是一份製造規格。
The inner bar on an FPC LED strip behind a frosted diffuser lens, the centre bar on fibre. Around 40 RGB LEDs, one per character in the text zone. The FPC bends along the lens to reach the corners, but those corners read dimmer.內側光帶用 FPC LED 燈板+霧白 diffuser lens,中央橫條走光纖。 約 40 顆 RGB LED,文字區 1 字對 1 顆。 FPC 可順著 lens 彎曲顧及角落出光,但彎曲處亮度會偏弱。
Masking the blackout and semi-transparent zones by spraying the lens was ruled out on yield. Masking film or double-shot moulding instead, which meant the black areas had to be designed as parts, not as paint.以噴漆處理全遮黑與半透黑區域良率不佳,直接被排除;改以 Mylar 遮擋或雙射成型為優先,也就是說遮黑區要當成「零件」來設計,而不是「漆」。
With the model shop we ran the centre bar on fibre, testing strands across different transmission rates and diameters. The centre never carried light evenly, and the diameters that did were too thick for a chassis that had to stay slim.與模型廠合作,中央橫條實際走光纖,試了各種導光率與直徑的光纖。 中間段始終導不勻,能導勻的直徑又太粗,塞不進必須做薄的機身。
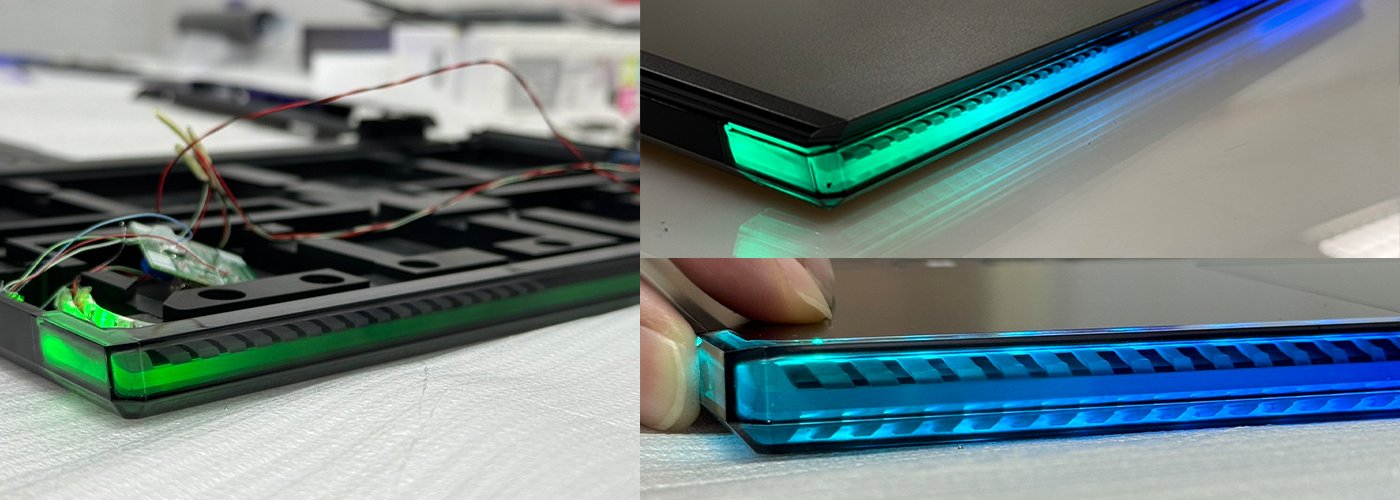
Model-shop mock-up. Fibre through the centre bar, tested across transmission rates and strand diameters模型廠實體驗證。 中央橫條走光纖,測試不同導光率與直徑
About five times the brightness of fibre, and the LED board sits flat against the lens so the mechanical envelope stays small. The trade is LED count, 13–14 per side.亮度約為光纖的 5 倍,且 LED 燈板可平貼於 lens,機構空間需求小。 代價是 LED 用量,單邊 13–14 顆。
Only four LEDs per side, but roughly a fifth of the brightness, and LED boards plus holders at both ends demand more space than the chassis had. The mock-up settled it.單邊僅需 4 顆 LED,但亮度只有約五分之一;且頭尾皆須 LED 燈板與 Holder,機構空間吃不下。 實體模型做出了結論。
The supplier quoted both routes, and the two solutions went to PM and marketing together: the same signature, two very different bills of materials.請供應商為兩條路線報價後,兩款方案一併提報 PM 與行銷:同樣的燈語,兩份差很多的成本結構。
Ribs and 3D lettering read busy in a tight space, and every extra feature is one more detail the tool has to hold. Resolved into two horizontal through-ribs with a chamfered recess for depth.立體肋與文字在有限空間顯得繁雜,而每一道造型都是模具要顧的細節;收斂為兩條橫向貫穿肋,中央斜面凹刻做出光影深度。
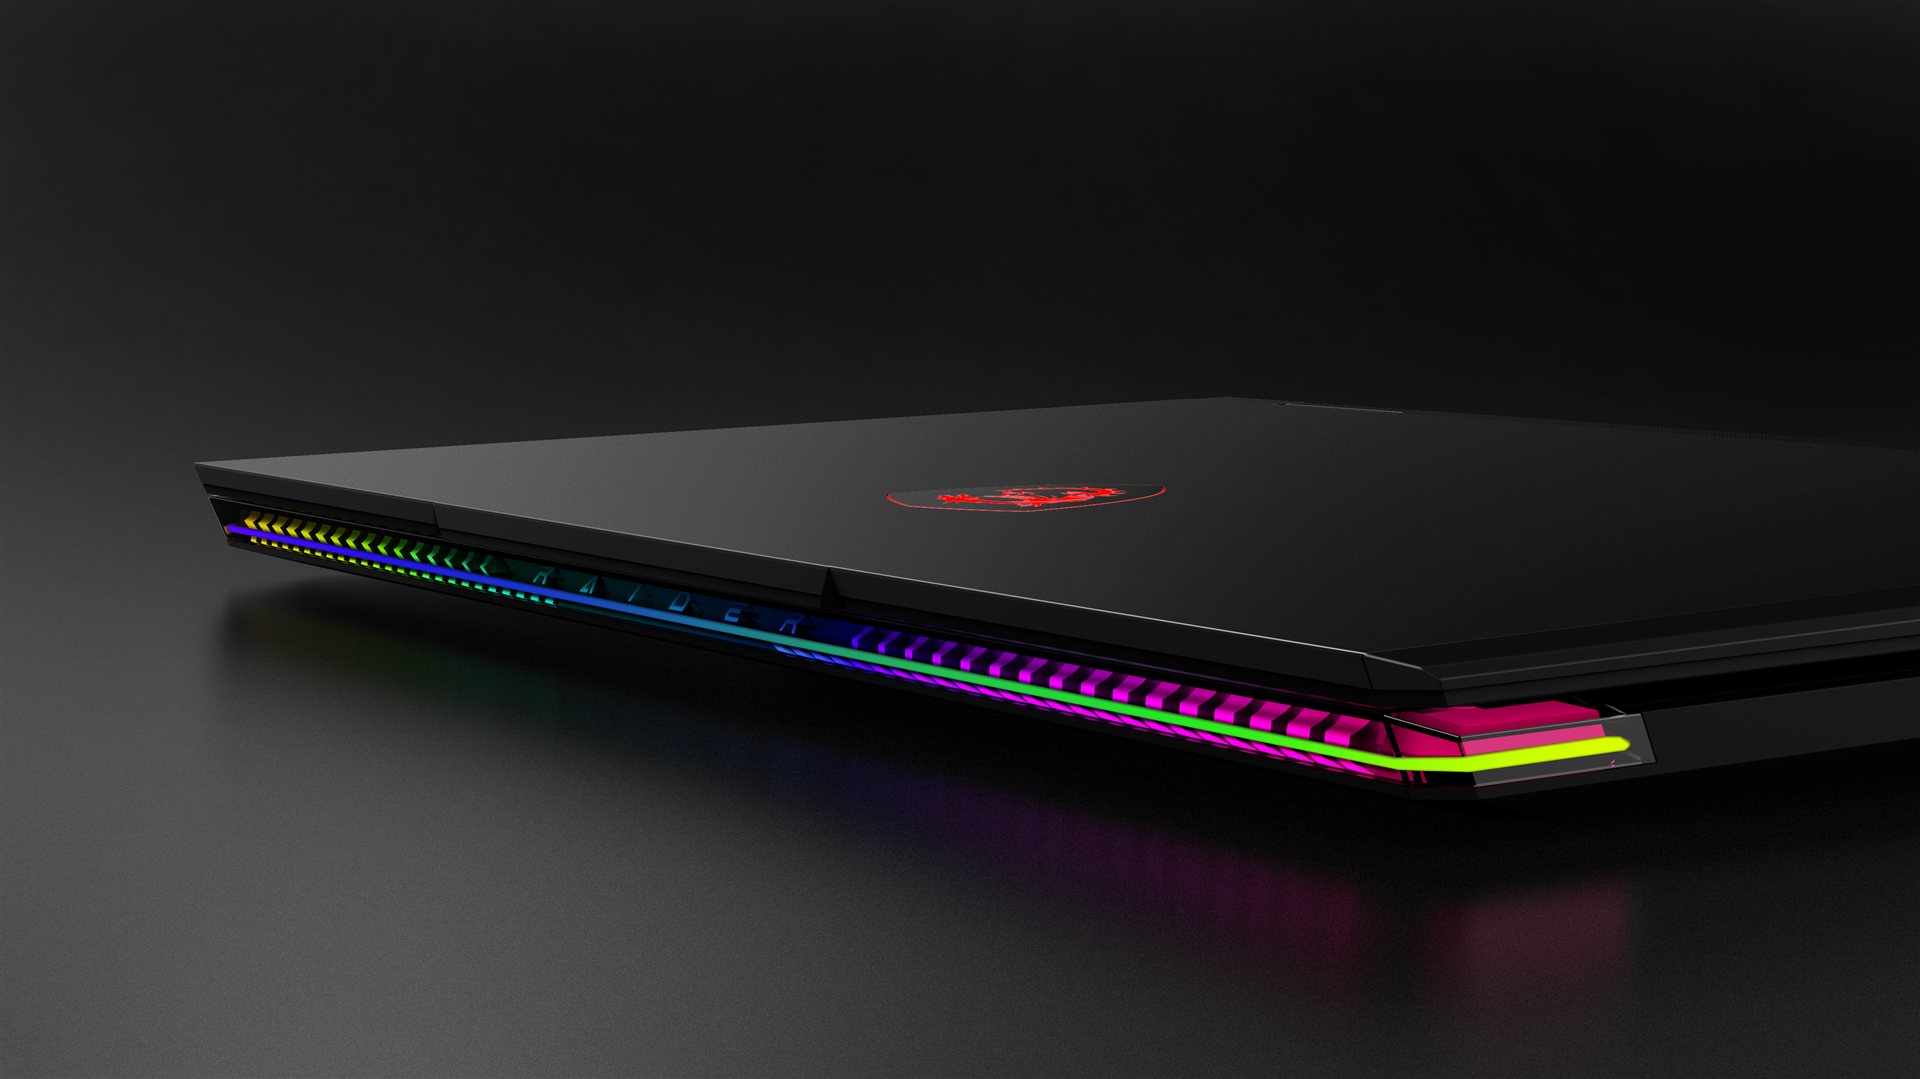
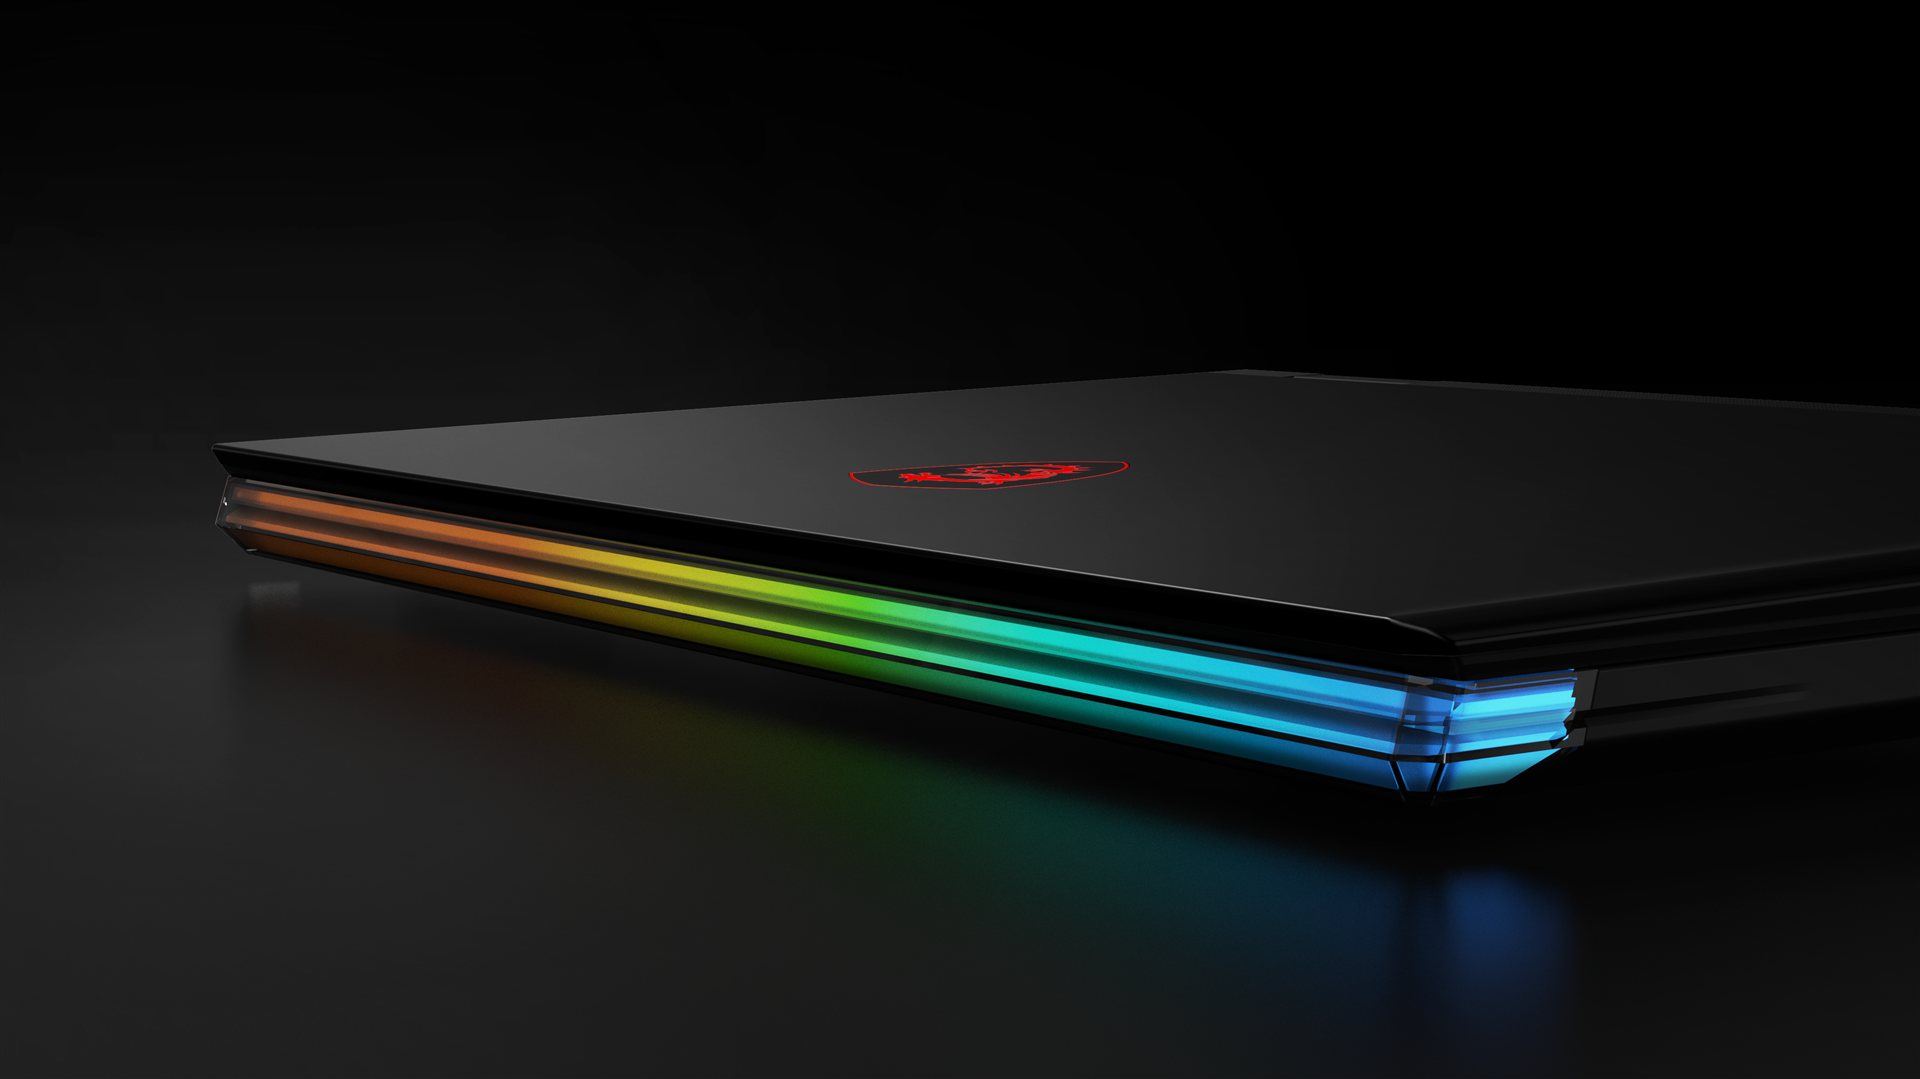
The U-shaped bar ran deep into both sides, forcing thick front walls. Trimming the C-side visible area fixed the slider draft and the thickness at once.ㄇ字型燈條深入兩側,迫使前端肉厚過大;縮減 C-Side 可視面積,一次解決滑塊拔模與肉厚問題。
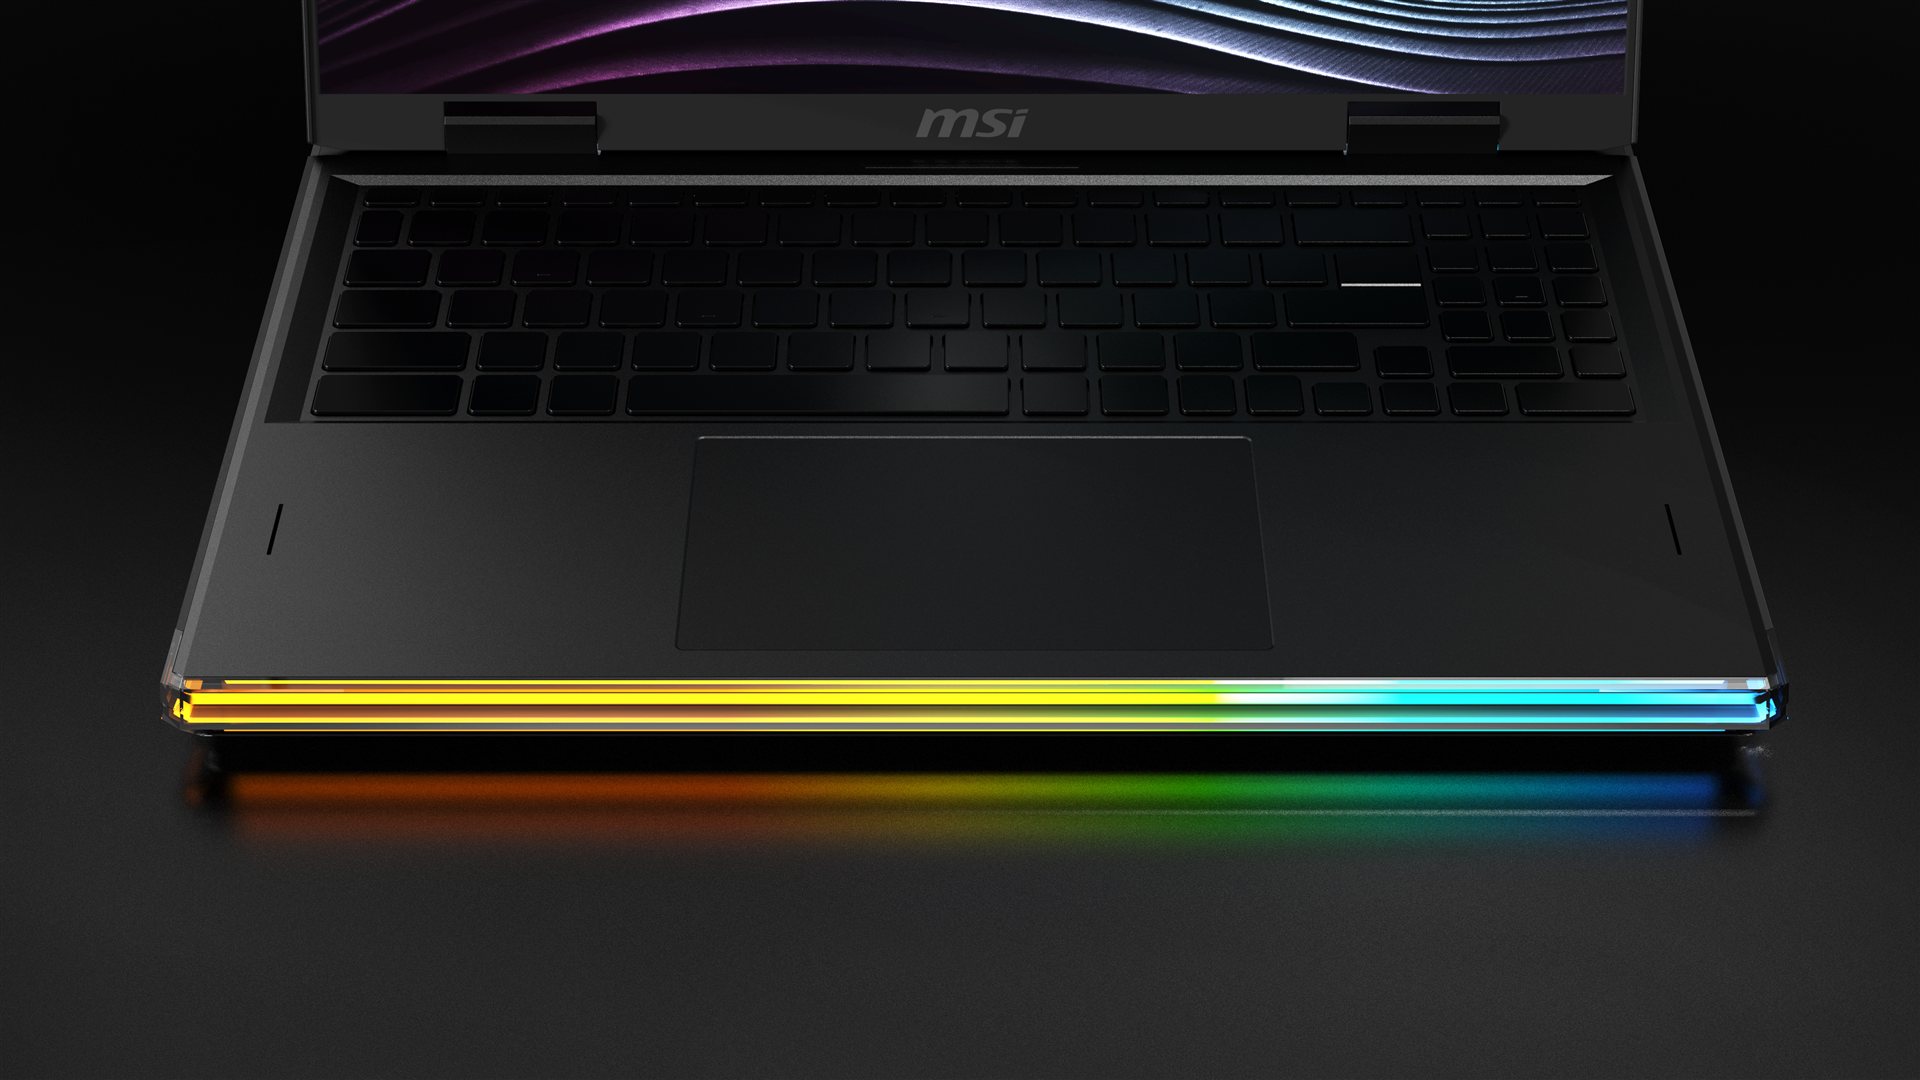
Beyond the two visible changes above, wall-thickness differences at the sides risked injection sink marks. Recessed sculpting on the cavity side keeps the surface true.除了上方兩處可見的修改,兩側肉厚差還帶來射出縮水疑慮。 於母模面兩側做凹刻造型,維持面品。
PM came back with one line: Solution 1 costs too much. Behind that single number sat assembly time at every station, yield (hotspots and dead sections along the bar), the price of the fibre itself, and whether the finished machine could still sit where the range was positioned.PM 只回了一句:方案一成本太高。 但那個數字後面站著的是每一個工站的組裝工時、良率(光帶的亮點與斷光)、光纖本身的單價,以及做出來的機器還撐不撐得起這個產品定位。
Light bar over fibre. The gap that settled the module燈條優於光纖。 決定模組走向的差距
Assembly time, yield, fibre price, product positioning組裝工時、良率、光纖單價、產品定位
Both routes quoted and tabled to PM and marketing together兩條路線一併報價,同時提報 PM 與行銷
The moulded light-guide route carries neither導光板射出路線兩者都沒有
The process risk was already real, and PM wasn't willing to push it. Rather than watch the concept die there, I tabled Solution 2: a moulded light-guide plate that diffuses evenly. Cleaner to look at, and simpler to build.製程難度本來就在,PM 也不願意衝。 與其讓這個概念死在這裡,我把方案二端上桌:導光板塑料射出可均勻暈光。 看起來更俐落,做起來也更簡單。
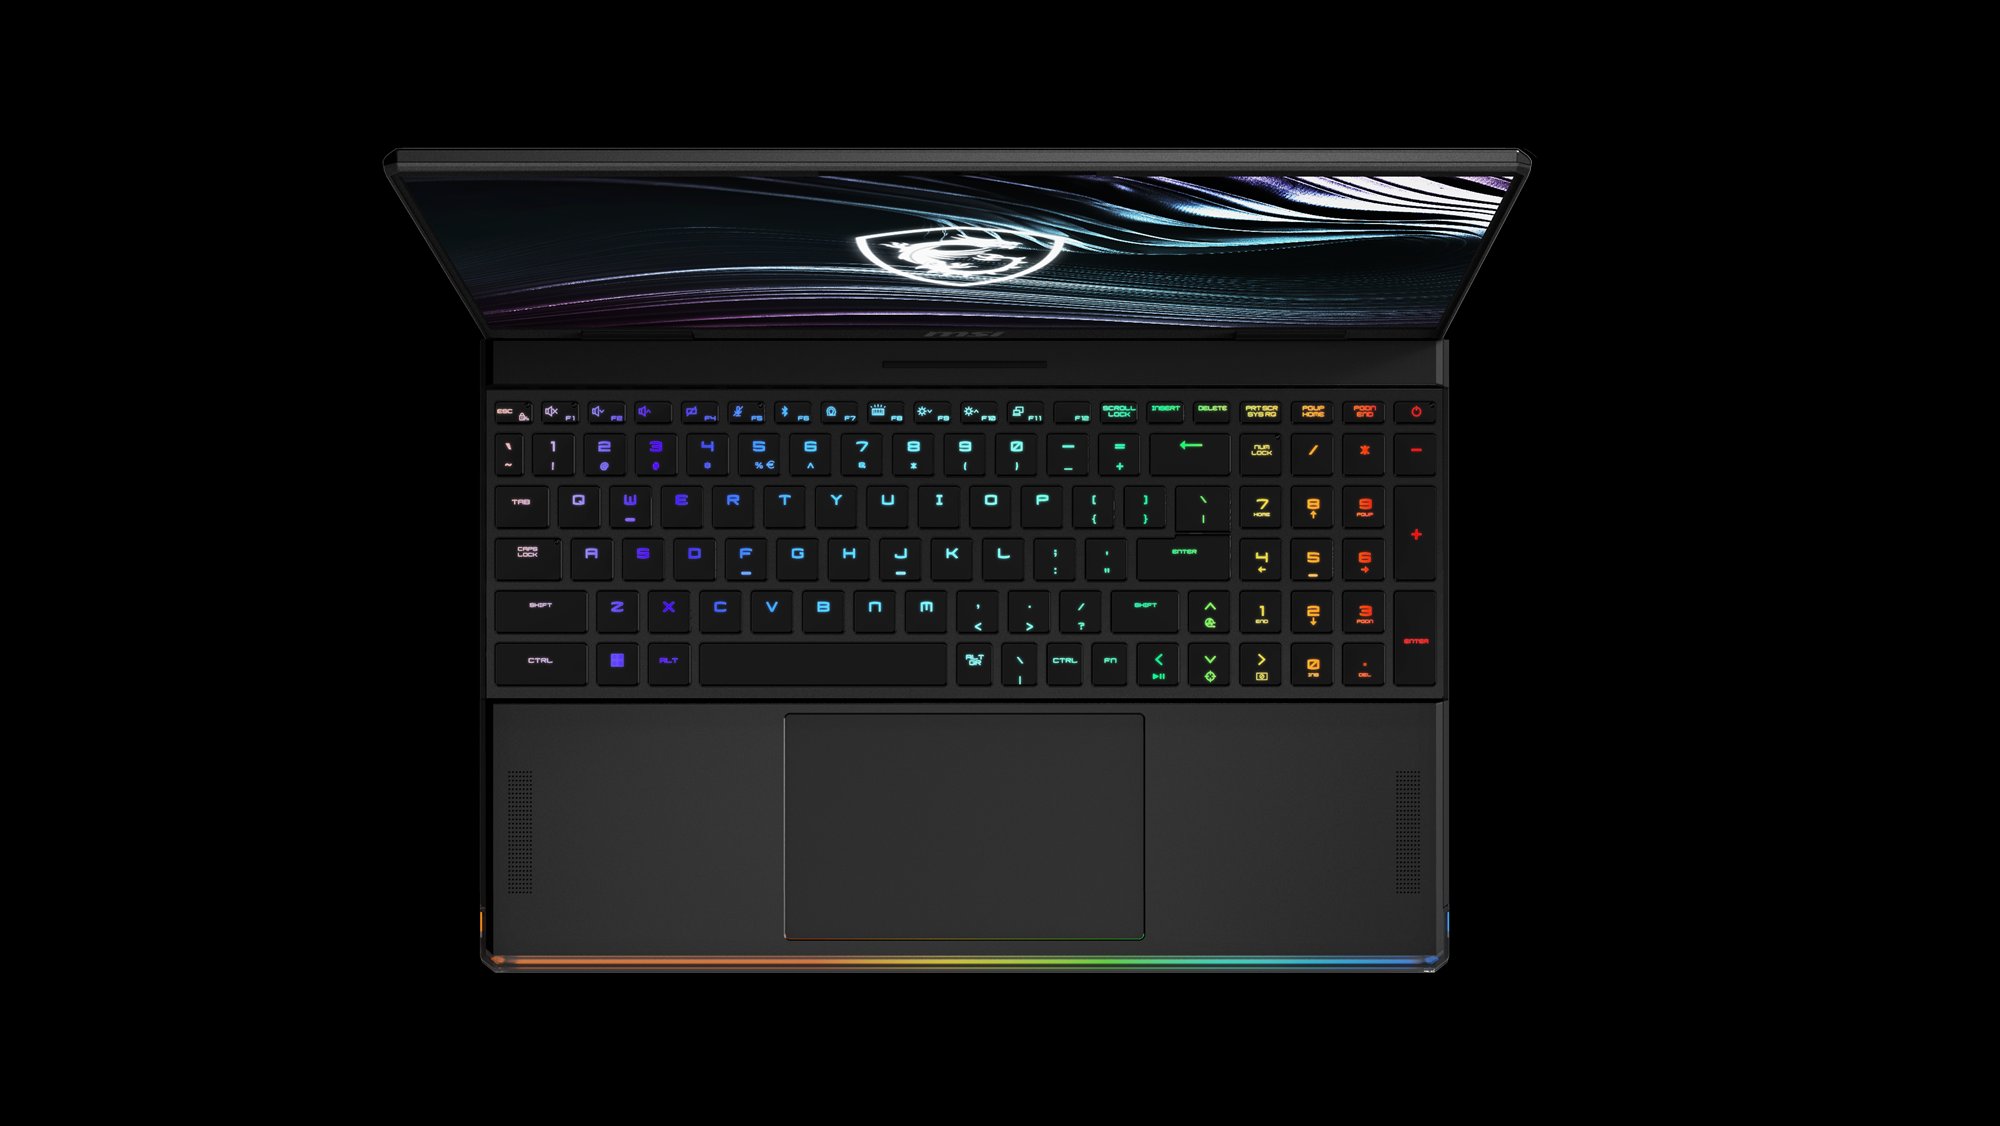
Solution 2 resolved. One continuous band along the front edge, no chevrons, no lettering方案二定案。 前緣一條連續光帶,沒有箭頭紋,沒有立體字
Wraparound RGB, Front Edge環繞 RGB · 前緣光帶
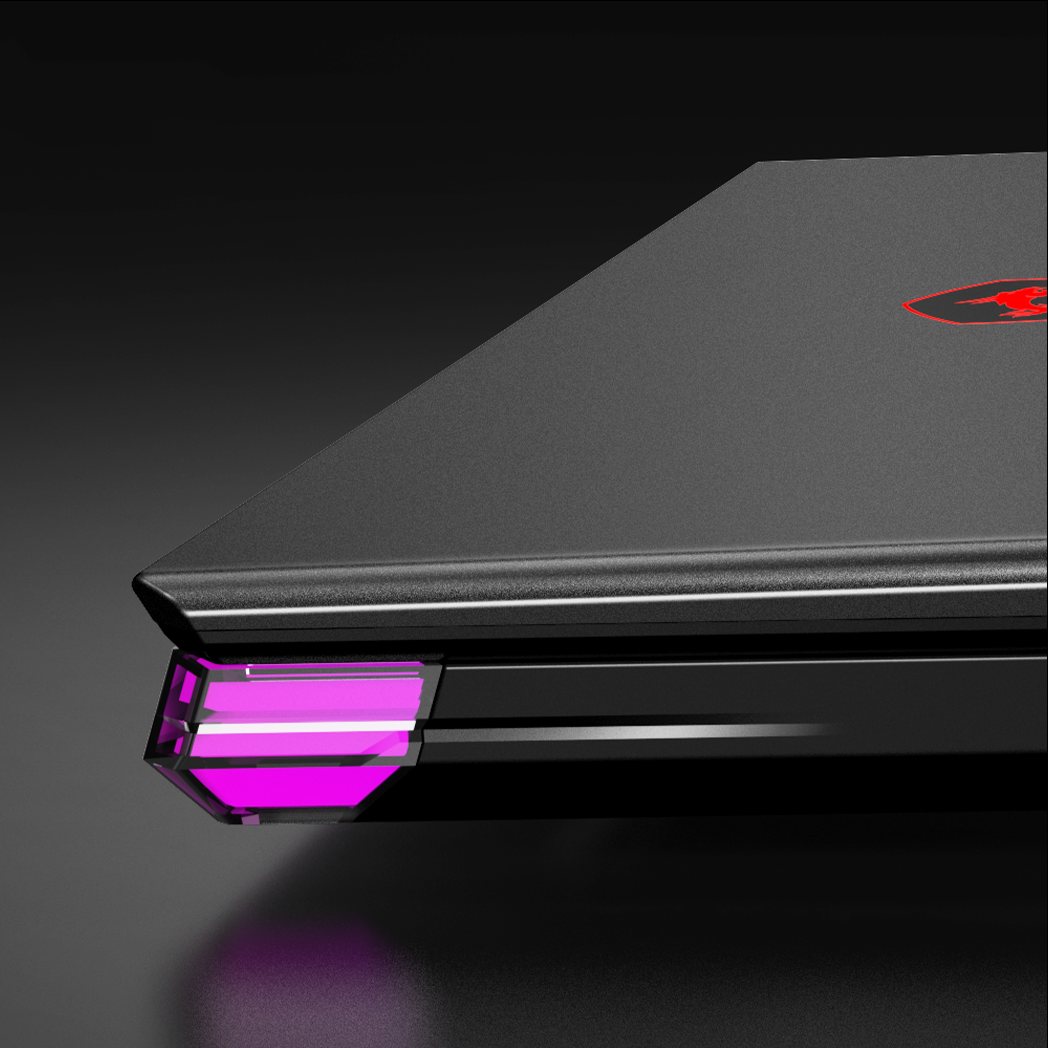
Prism-Cut Corner Light稜鏡切角燈條
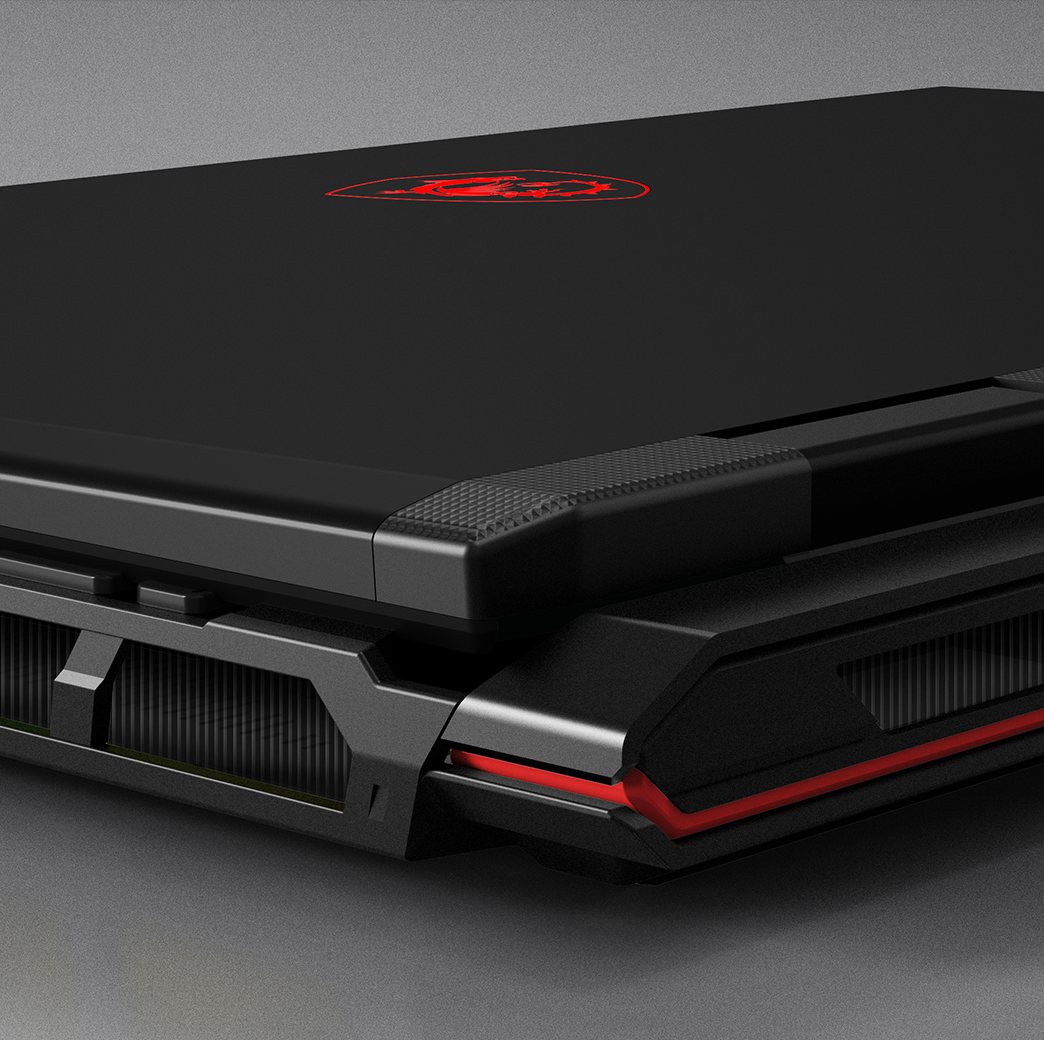
Rear Light Signature後側燈語
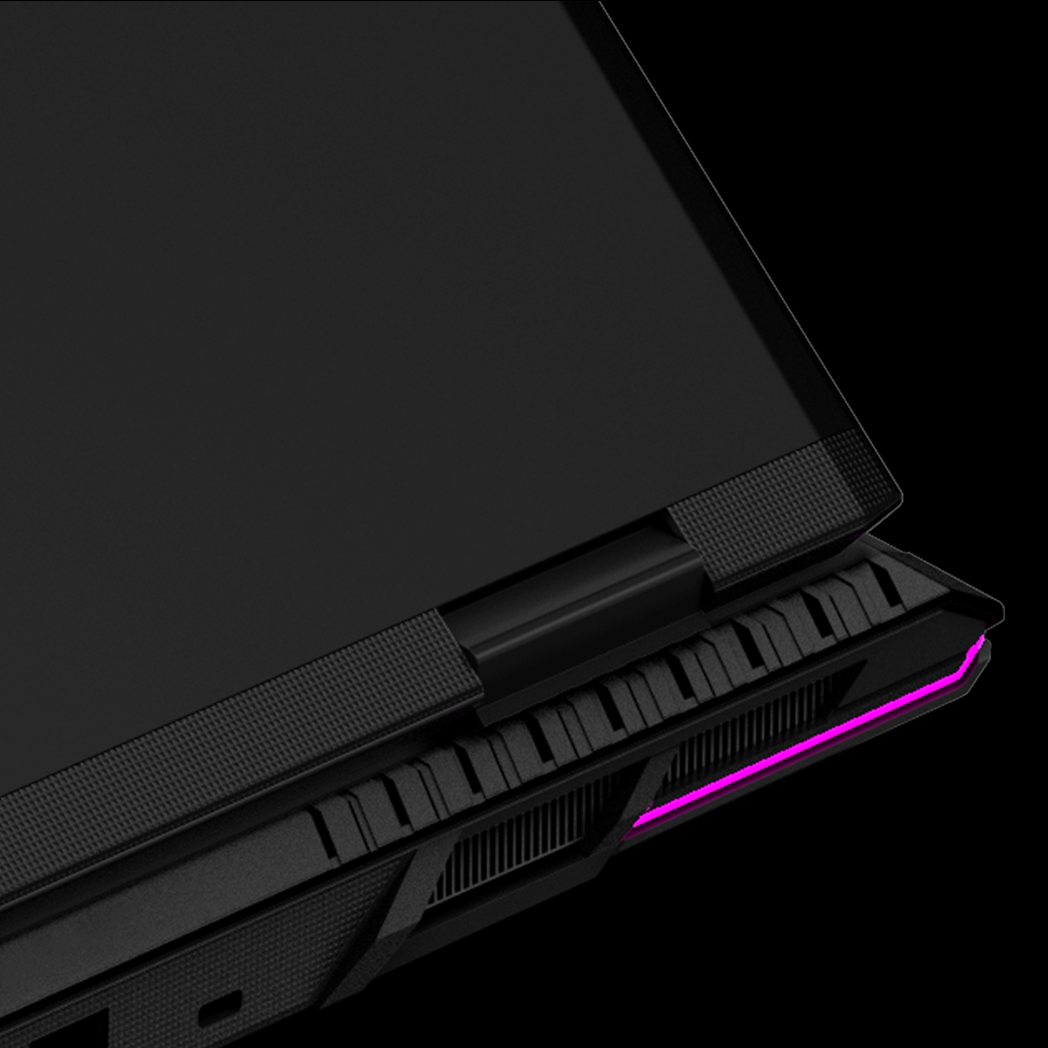
Rear Vents & Hinge後側散熱與轉軸
March 2024, Proposal V12024 年 3 月,首輪提案
Three concepts pitched, one direction taken forward三個概念提案,一個方向繼續推進
Three directions went to the review, and the floating deconstruction with wraparound light was the one carried into development, with the design language locked: 50° slashed chamfer, segmentation, slimmer hinge.三個方向送審,由懸浮解構搭配環繞燈效的方案進入後續開發,設計語言同步定案:50° 斜切、分割手法、更輕薄的轉軸。
June 2024, Proposal V2 after Computex2024 年 6 月,Computex 後二輪修正
Lighting re-engineered with tooling feedback依模具回饋重修燈效
Slider draft angles, wall thickness and sink risk fed back into the design: the bar's visible area was trimmed, the cavity side recessed, and the diffuser resolved into two clean through-ribs.滑塊拔模角、肉厚與縮水風險回饋到設計上:縮減光帶可視面積、母模面凹刻、diffuser 收斂為兩條乾淨的貫穿肋。
Module Verification模組驗證
Fibre tested, and ruled out光纖實測,出局
Renders lie; light guides don't. The centre bar was mocked up in fibre across a range of transmission rates and strand diameters. It never lit evenly, and the diameters that worked were too thick for the chassis. The light-bar module won on brightness, space and cost, and the concept was re-costed around it.渲染會騙人,導光件不會。 中央橫條以不同導光率與直徑的光纖實際打樣。 始終導不勻,可行的直徑又太粗塞不進機身。 燈條模組在亮度、空間與成本上勝出,整個概念也依此重新估算成本。
Ko-Ting Hung